.
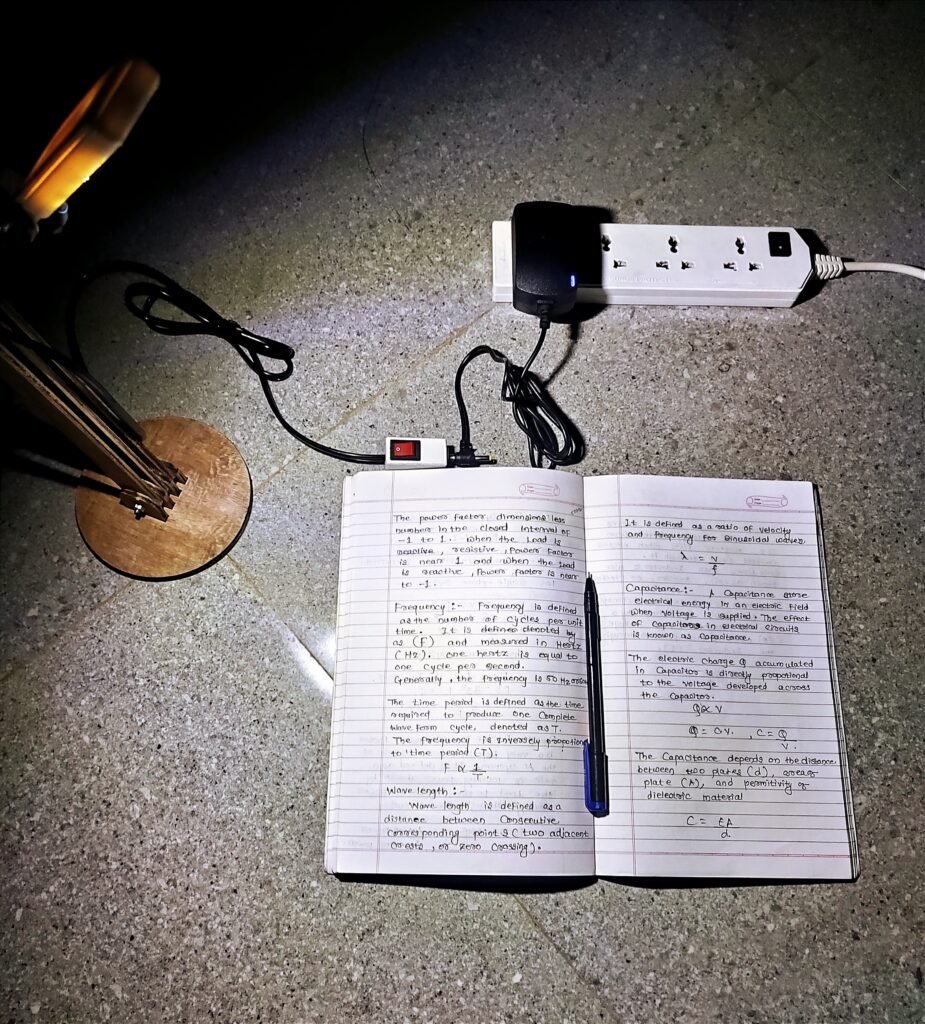
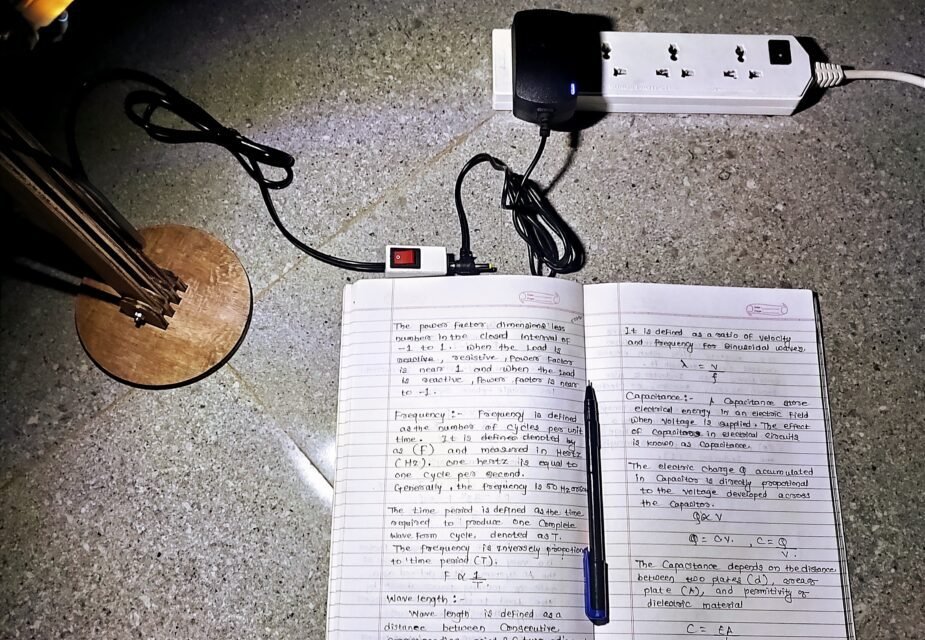
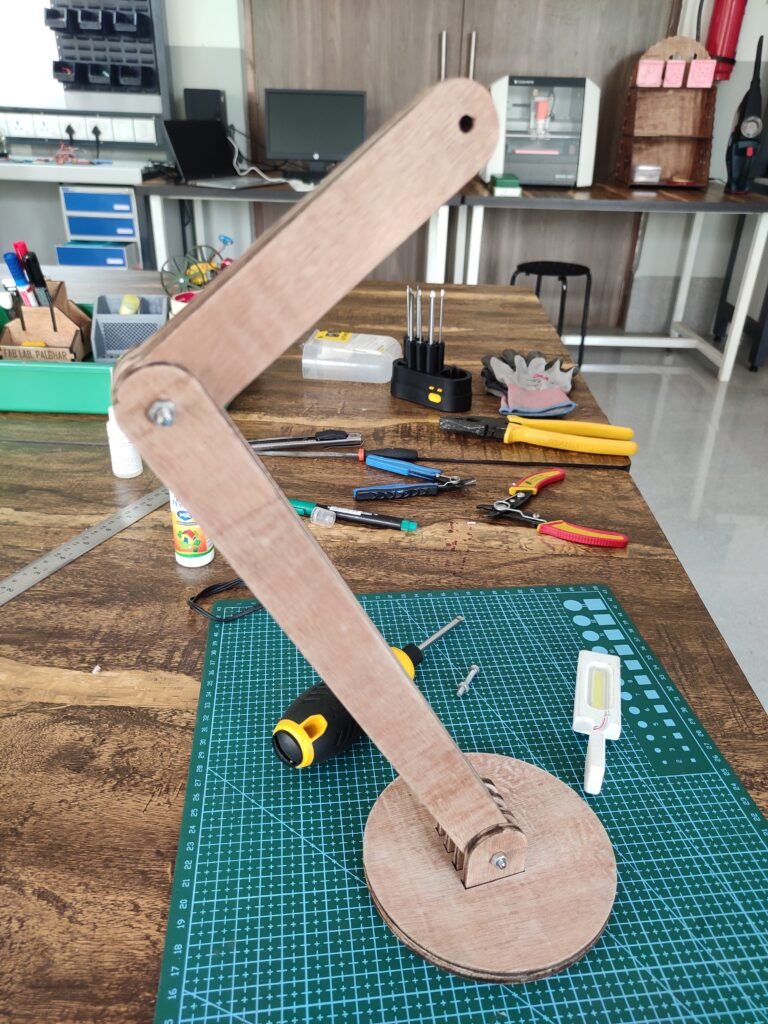
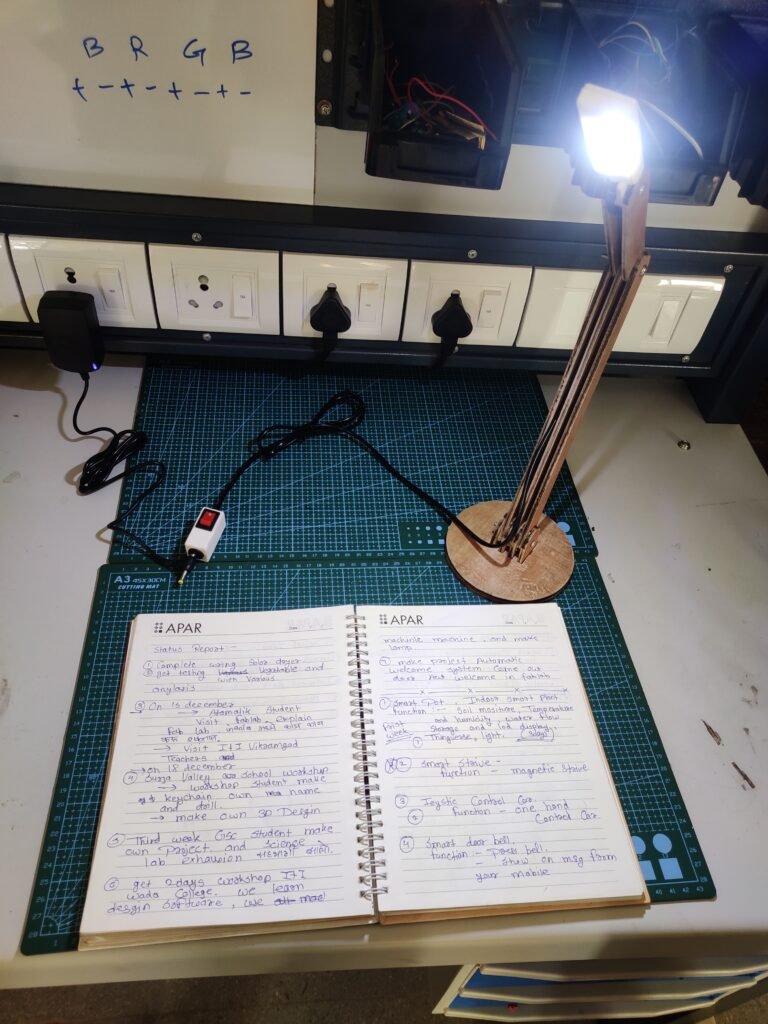
It focuses n a specific area, making it easier to complete tasks such as reading, writing or doing any other work on your desk/table and it is easy to use with flexible neck for perfect light angle which can be adjusted in your work area as per your convenience.
.
.
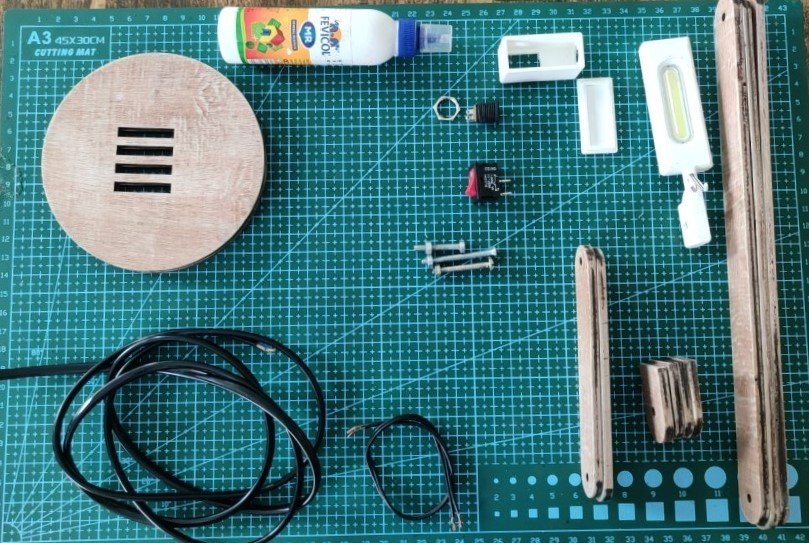
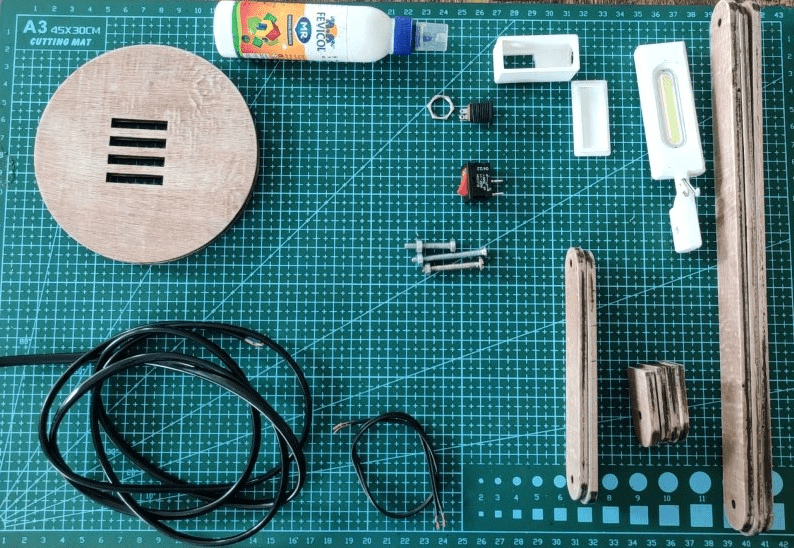
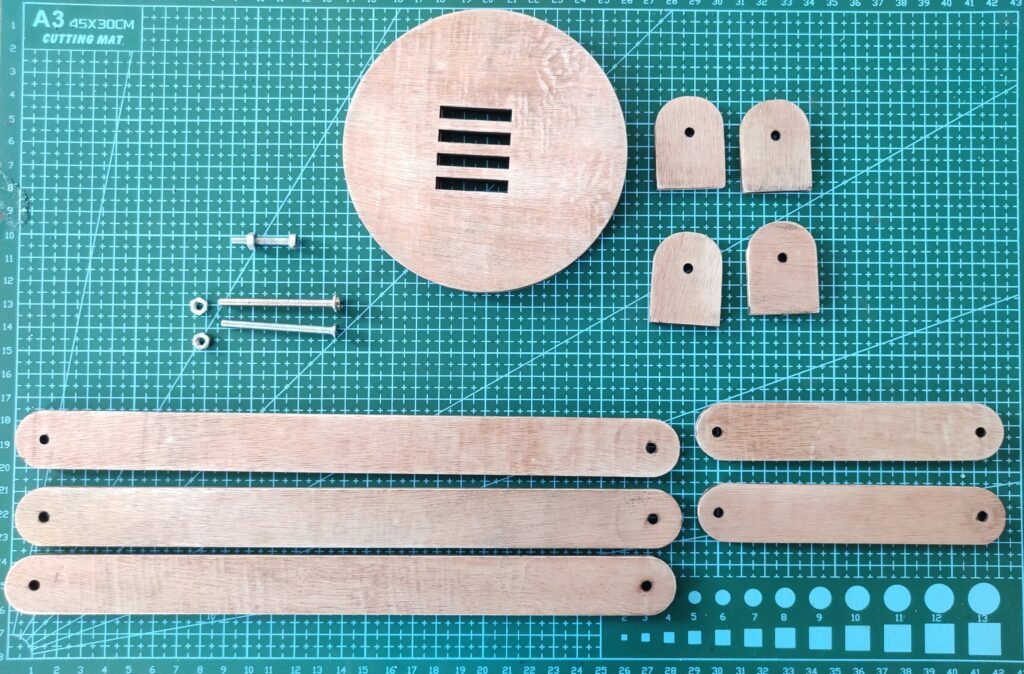
Material List
- 12 Volt (DC) LED (White) X 1
- 1 mm 2 Core Cable (1.5 meter). X 1
- 12 Volt female Connector. X 1
- Rocket Switch. X 1
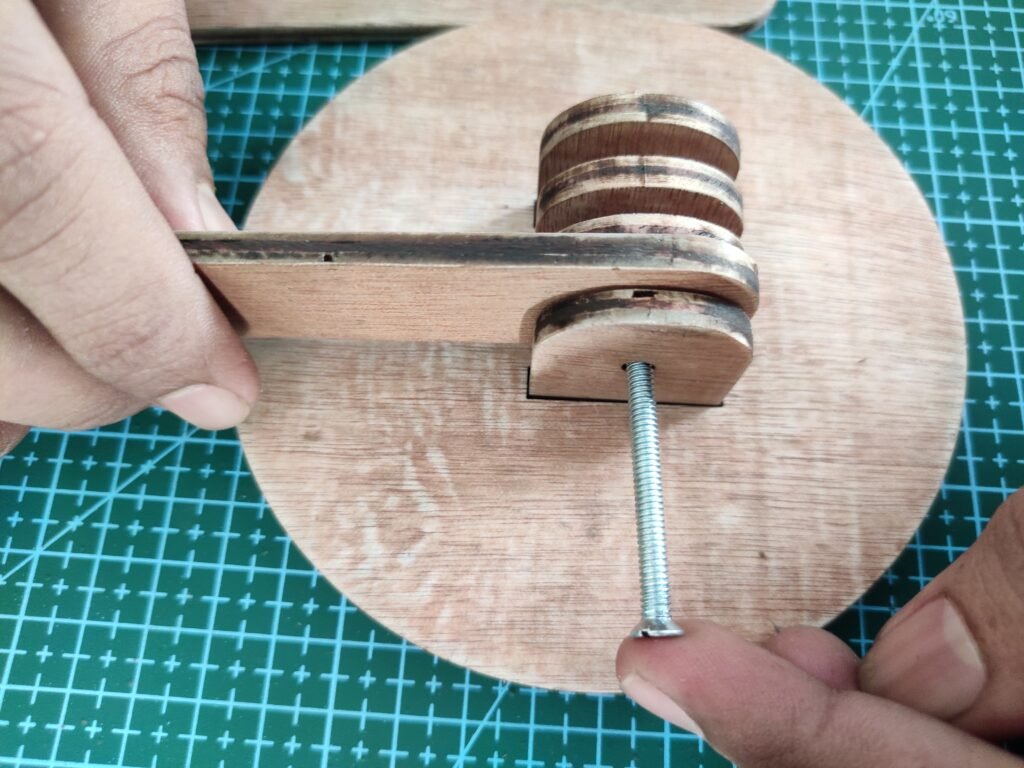
- Minus Screw Head bolt Washer & Butterfly shape wing fasteners (50mm length). X 3
- 5mm Plywood .
- Shrink Sleeve tube
- 12v Adapter.
Tool’s List
- Wire Stripper.
- Nipper Cutter.
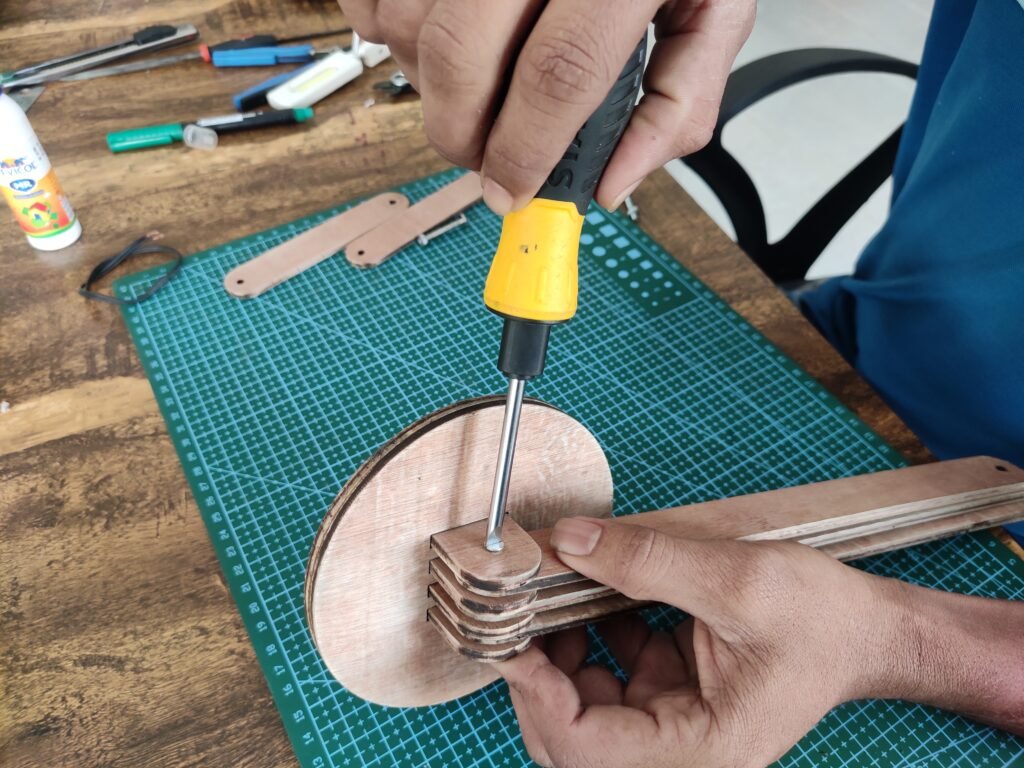
- Minus Screw Driver.
- Fevicol / feviquik.
- Soldering Iron/gun.
- Solder Paste Flux.
- Soldering Wire.

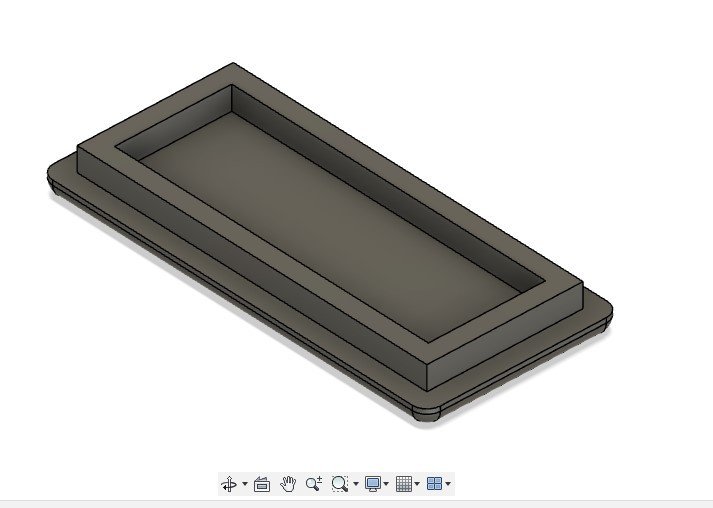
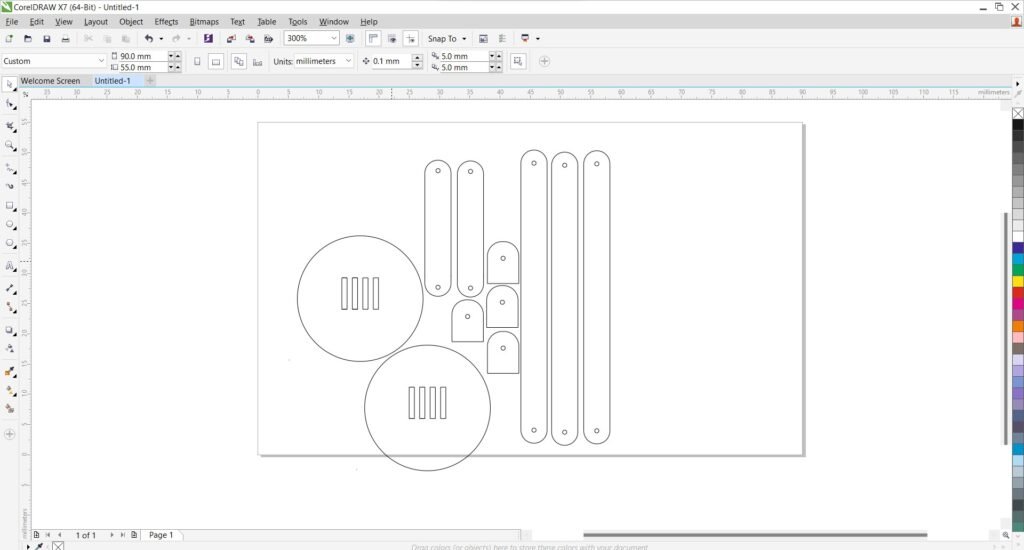
3D printing and Laser Cutting Files
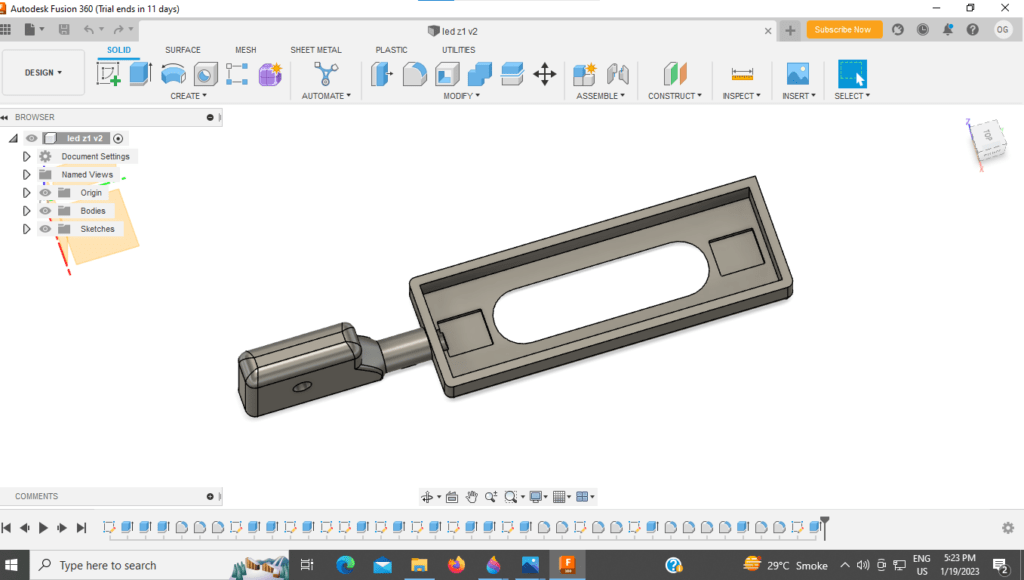


Laser Cutter File
Steps
Follow the following steps.
First cut the all plywood parts in laser cutter, and Print LED case and Switch case in 3D printer .
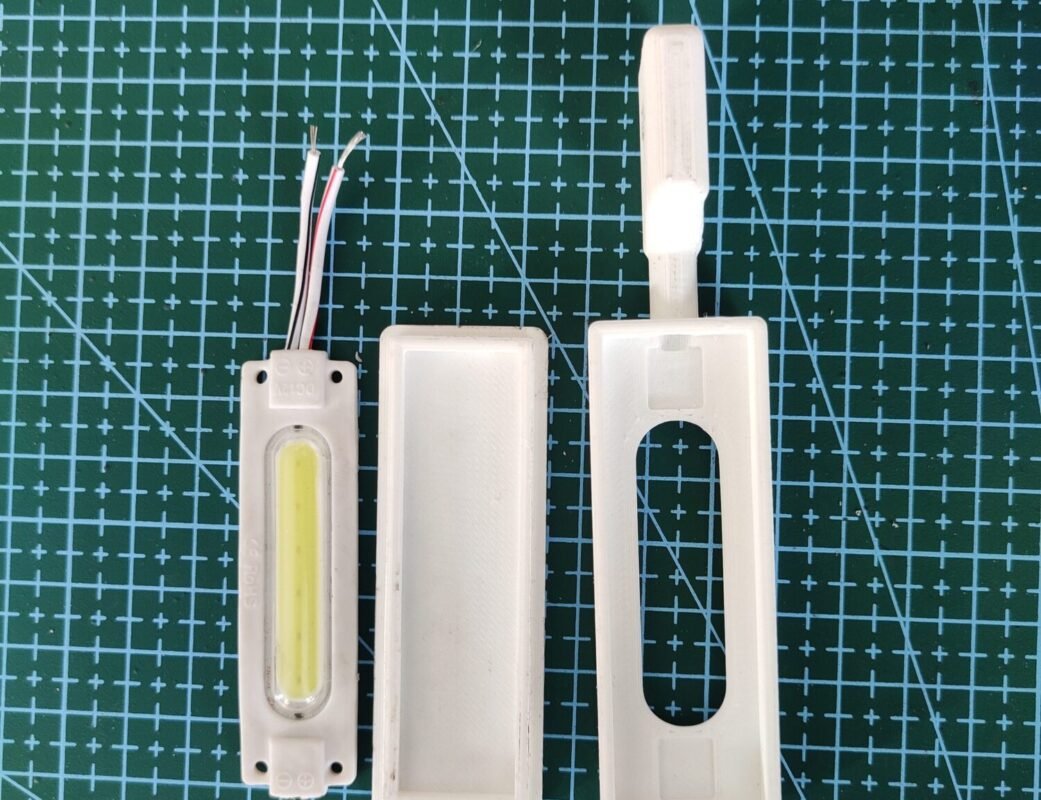
Step- 1
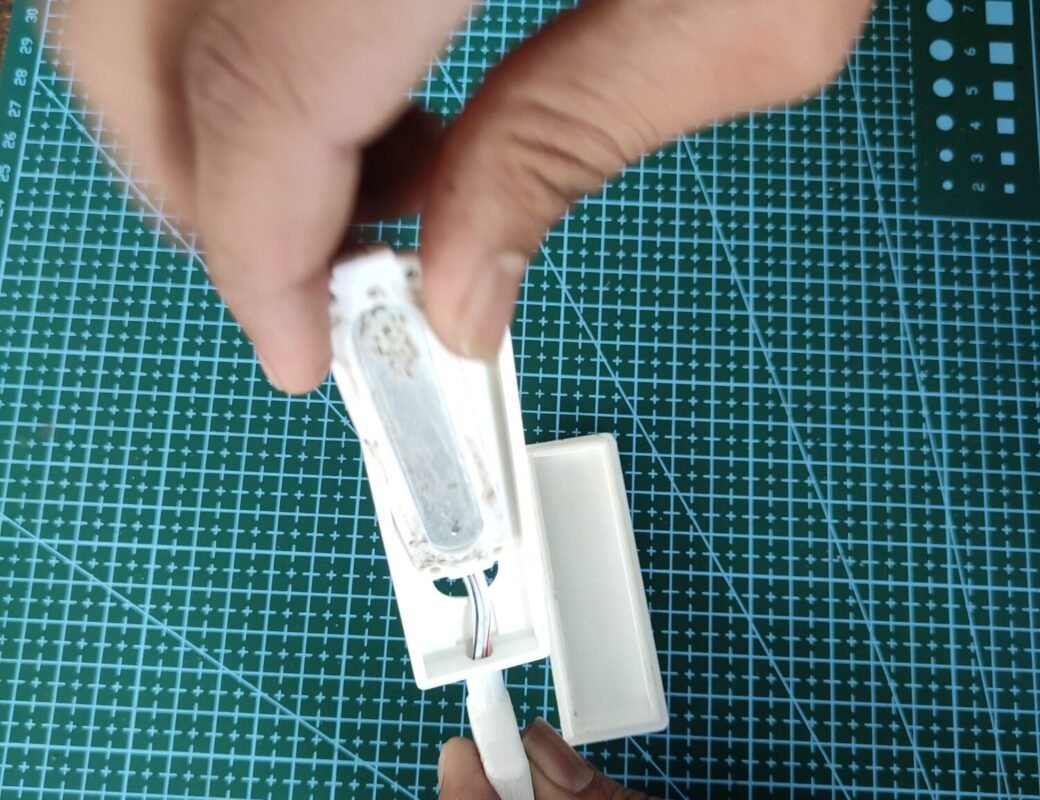
First insert the LED into the led case below shown in photos fig (1a) and (1b).
Step- 2
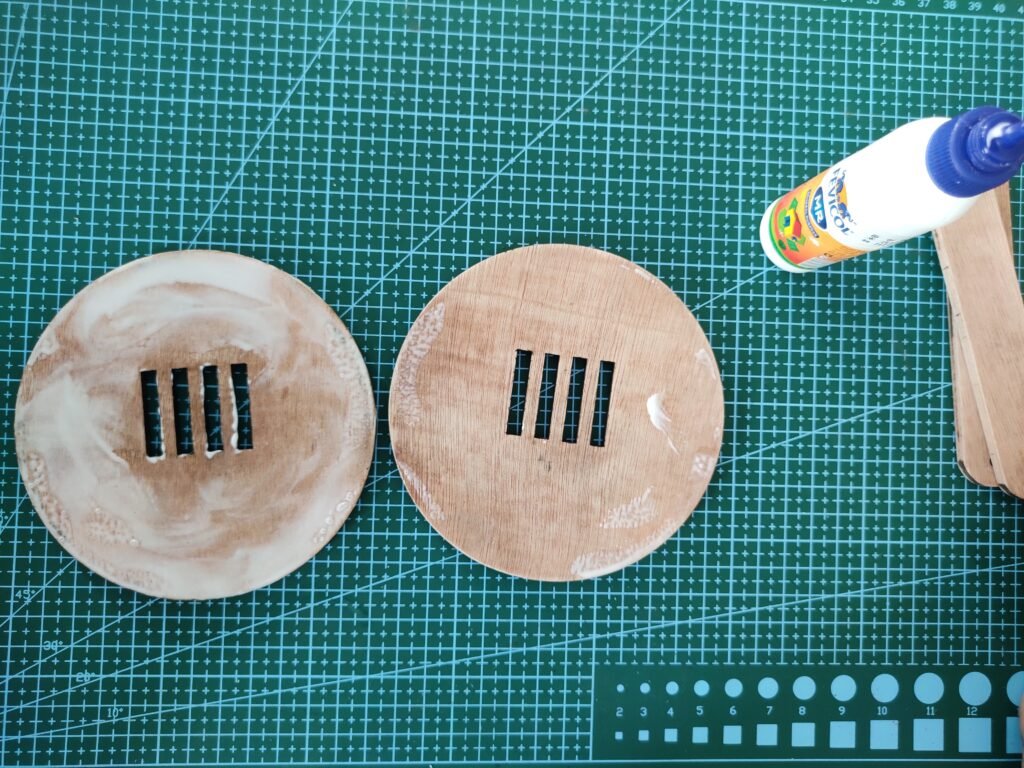
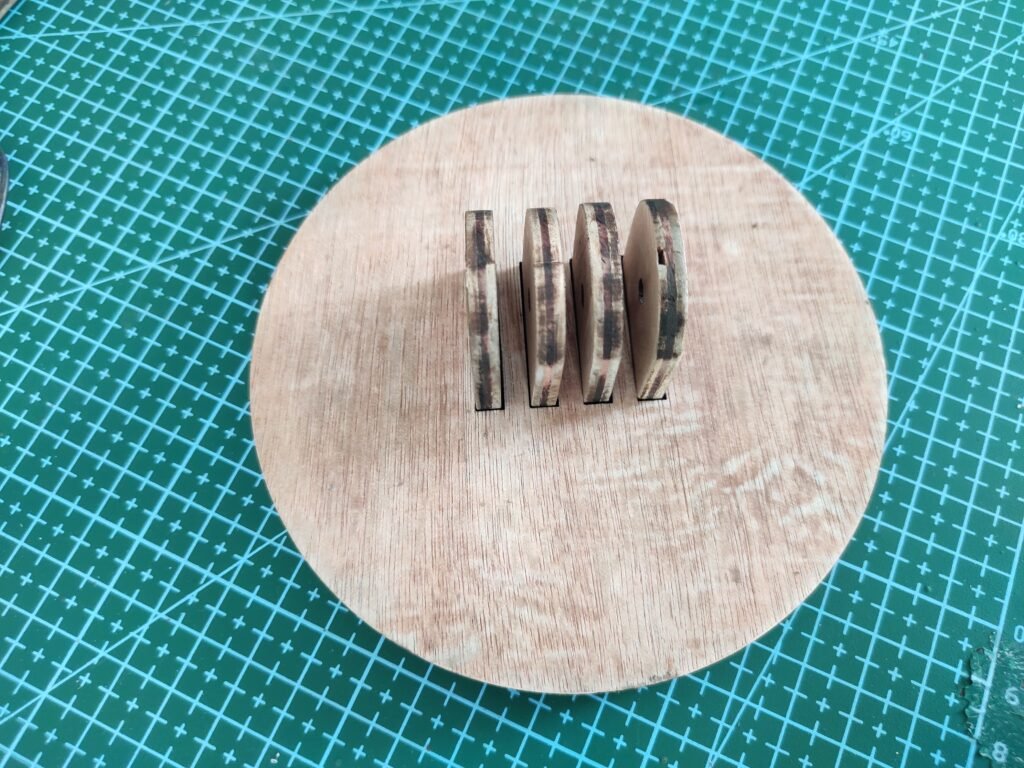
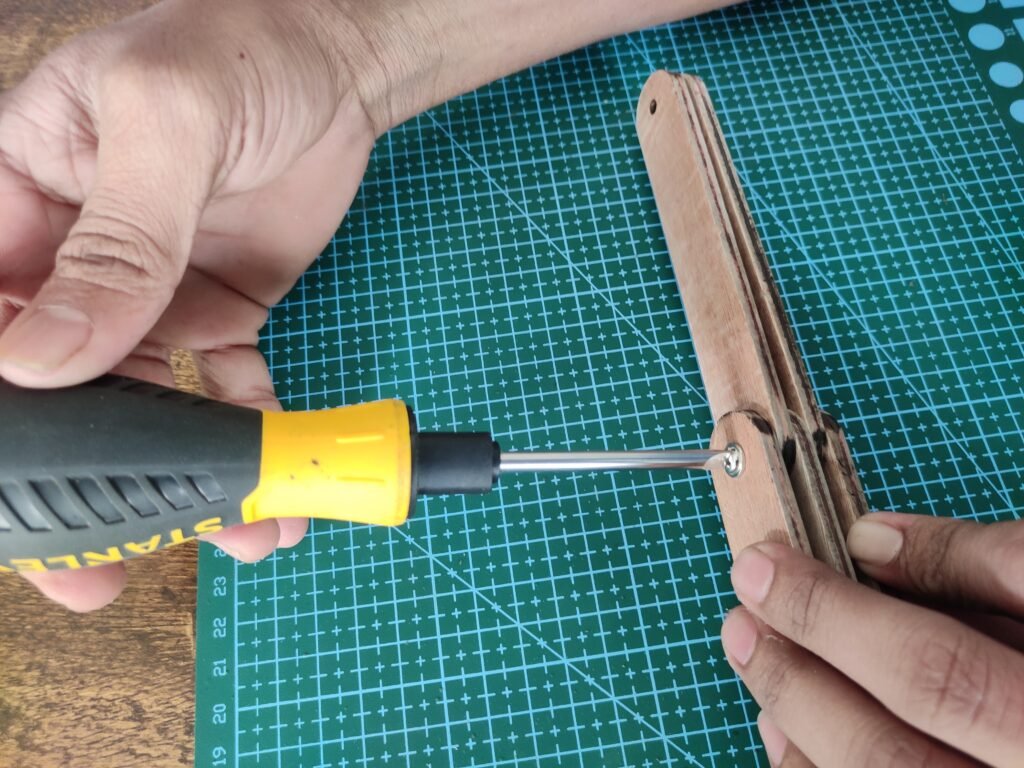
Then we joints the plywood parts. first joint the base plate apply the fevicol inside of both the plates then joint together refer fig.(2a)
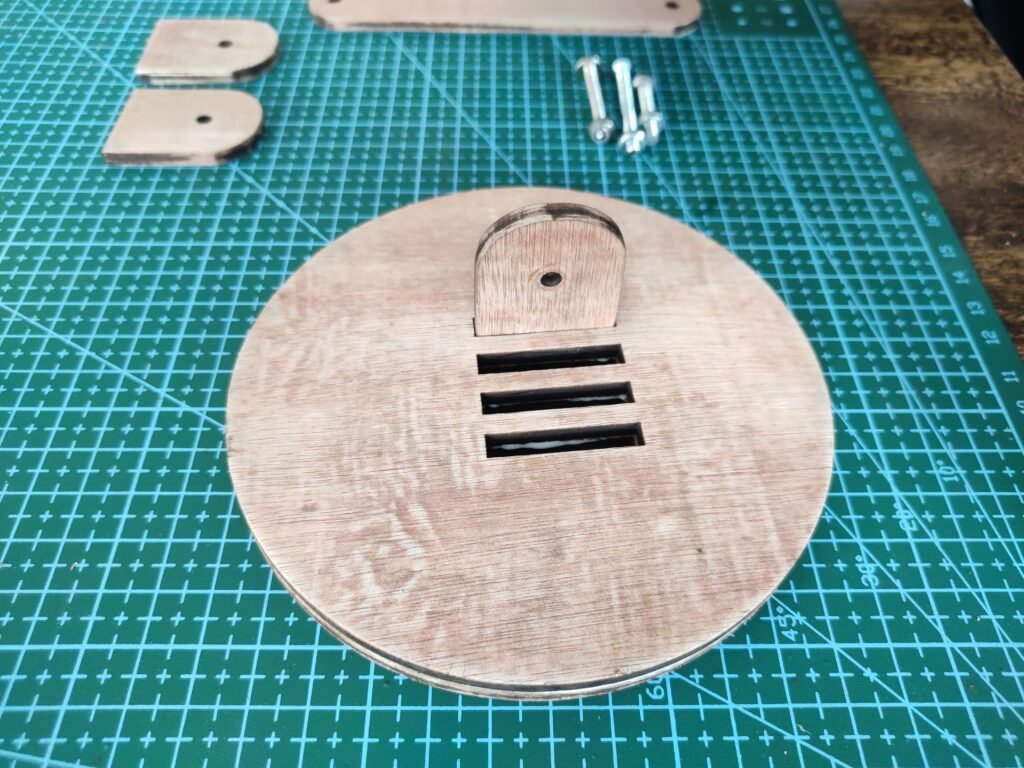
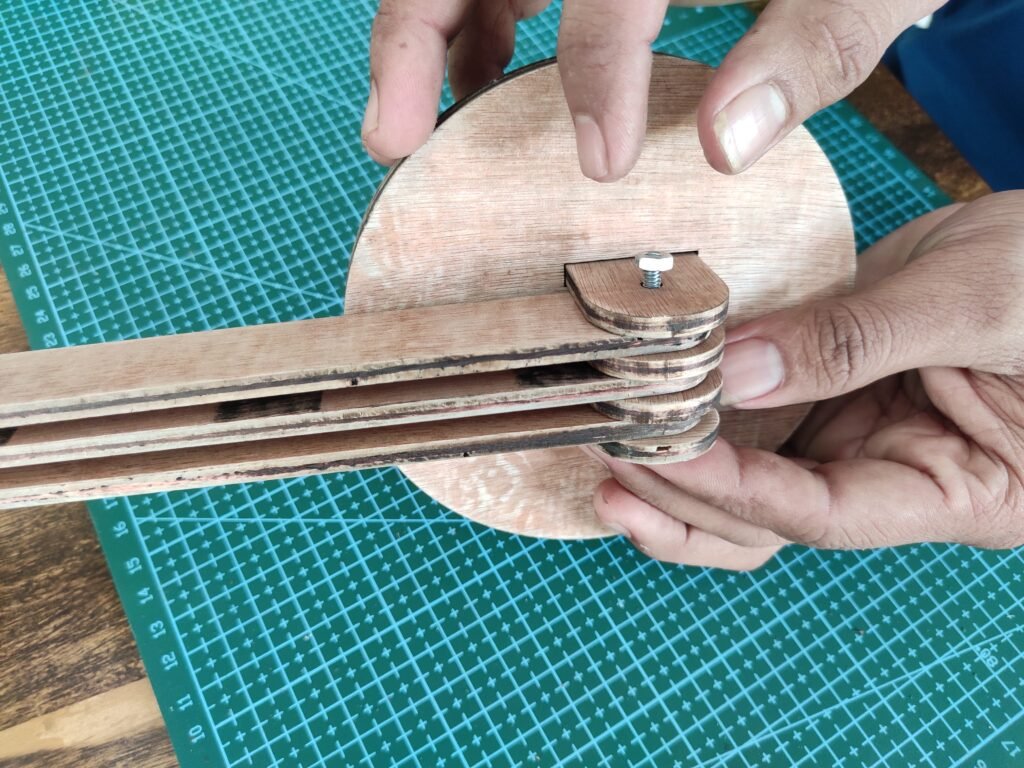
Then joint the base plate of vertical parts below shown in fig.(2b) and (2c) and follow the same procedure joint all the parts.

Step- 3
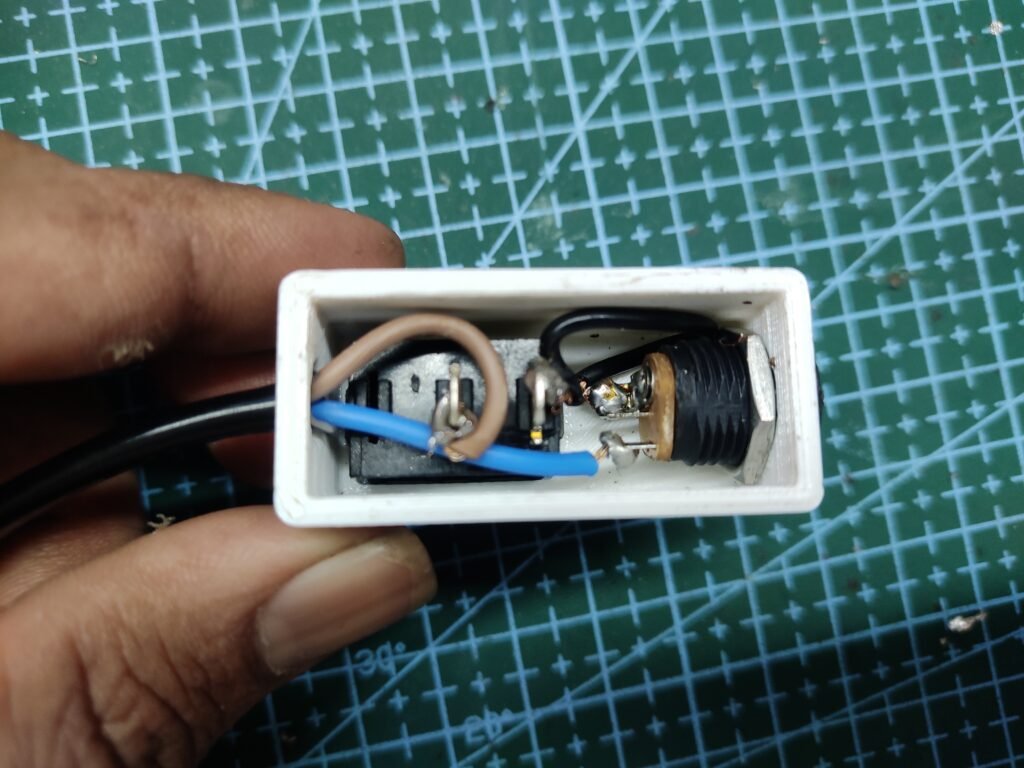
Solder the switch and pin jack follow the below steps.
First solder the pin jack, then solder the on/off switch refer the following photo.

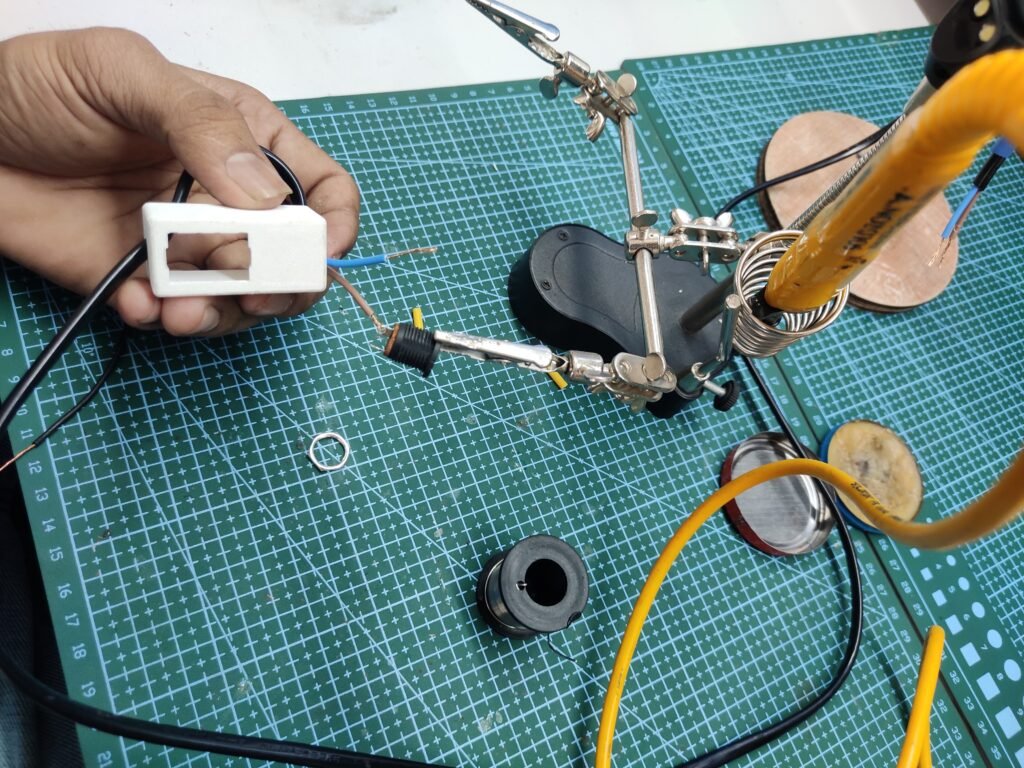
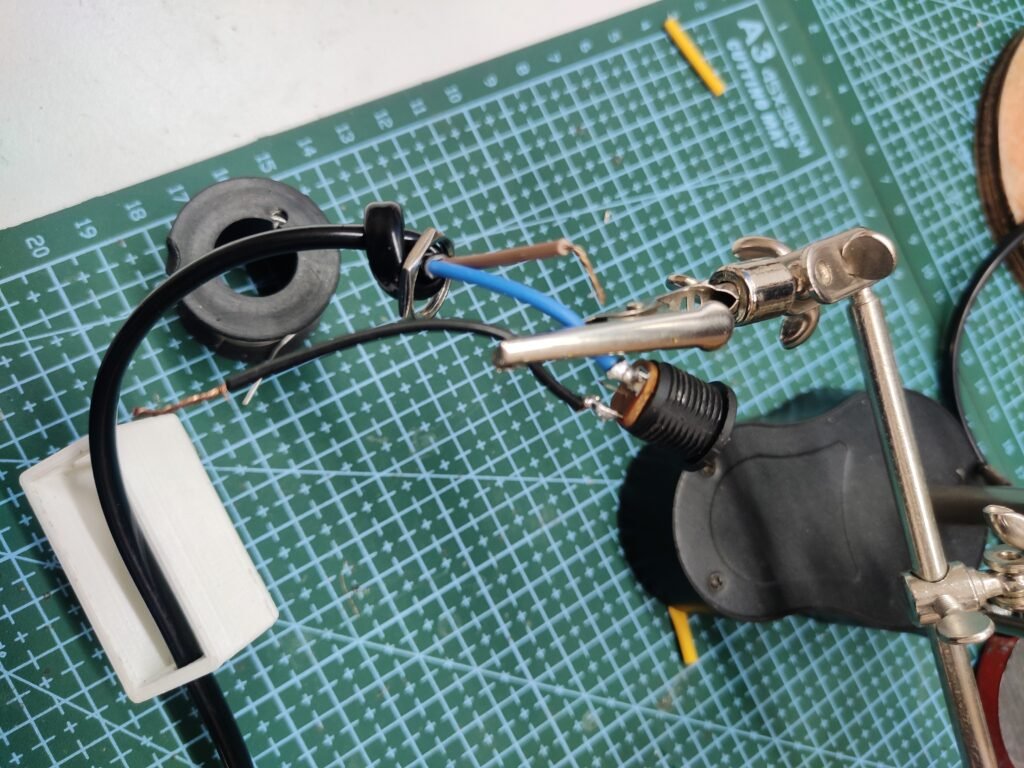
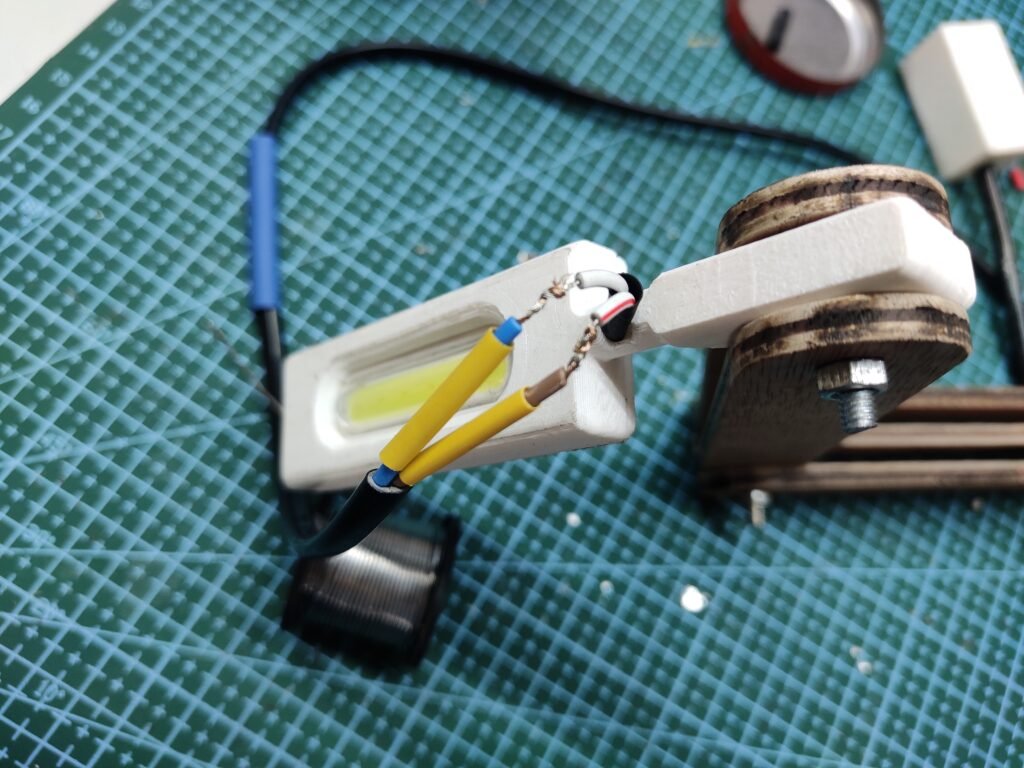
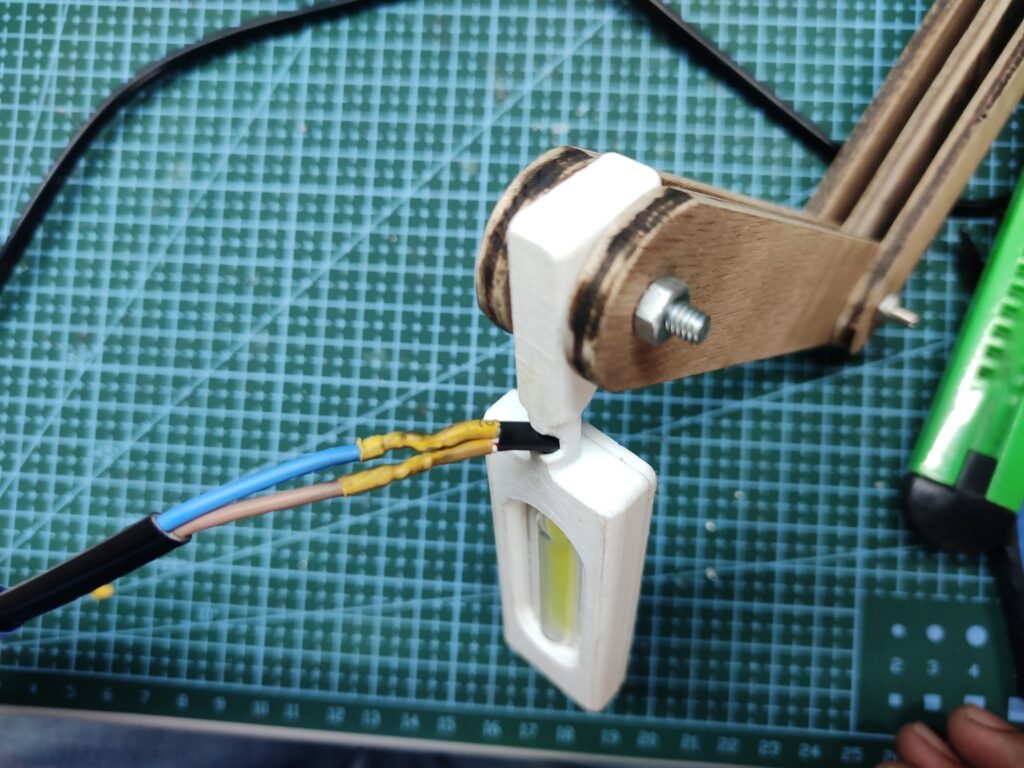
First insert the shrink sleeve tube into the LED wire then Solder the LED wire.
SCAN QR CODE TO DOWNLOAD ALL THE FILES


