1
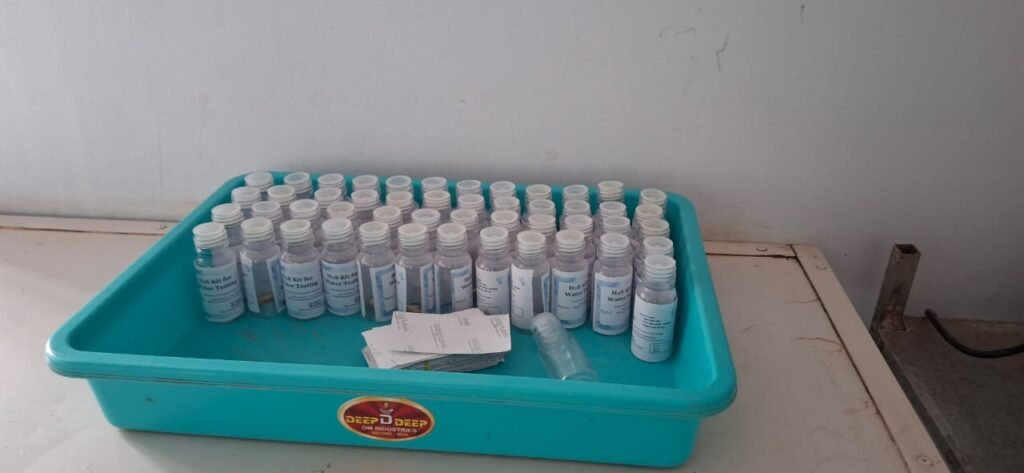
PREPARATION OF H2S KIT
Introduction
H₂S (Hydrogen Sulfide) test kits are widely used for the rapid detection of bacterial contamination in water. These kits work by indicating the presence of H₂S-producing bacteria, which are often associated with fecal contamination. The test is simple, reliable, and suitable for both laboratory and field applications.
- Common bacteria associated with fecal contamination include E. coli, Salmonella, and H₂S-producing bacteria.
- Drinking or using water with fecal contamination can cause waterborne diseases like diarrhea, cholera, typhoid.
Materials
- Whatman Filter Paper No. 41
- Prepared H₂S media
- 50 plastic bottles (30 ml each, new)
- Bottle caps
- 70% Ethanol
Equipment
- Laminar Air Flow (LAF) Cabinet
- UV light (for sterilization in LAF)
- Oven or incubator (50°C)
- Forceps (sterile)
- Sterile gloves
- Scissors or paper cutter (for cutting strips)
- Marker (for labeling bottles and strips)
H2S Media Preparation for 50 Bottle :
| Name of Chemical | Quantity (gm/ml) |
|---|---|
| Bacteriological grade peptone | 20 gm |
| Di – potassium hydrogen phosphate | 1.5 gm |
| Ferric ammonium citrate | 0.75 gm |
| Sodium Thiosulphate | 1.0 gm |
| L-cysteine HCL | 0.125 gm |
| Liquid soap | 1.0 ml |
| Distilled water | 50 ml |
Procedure
Step 1: Preparation of Test Strips
- Take Whatman Filter Paper No. 41.
- Cut the paper into strips of 8 cm × 2.5 cm using scissors or a paper cutter.
- Ensure cuts are even to fit into the 30 ml bottles easily.
- Prepare the H₂S media in a clean, sterile container.
- Dip each paper strip completely into the media so it is fully saturated.
- Handle strips only with sterile forceps to avoid contamination.
- Place all dipped strips on a clean tray to dry.
- Dry the strips in an oven at 50°C for 40 minutes.
- This ensures that the media adheres to the paper and excess moisture is removed.
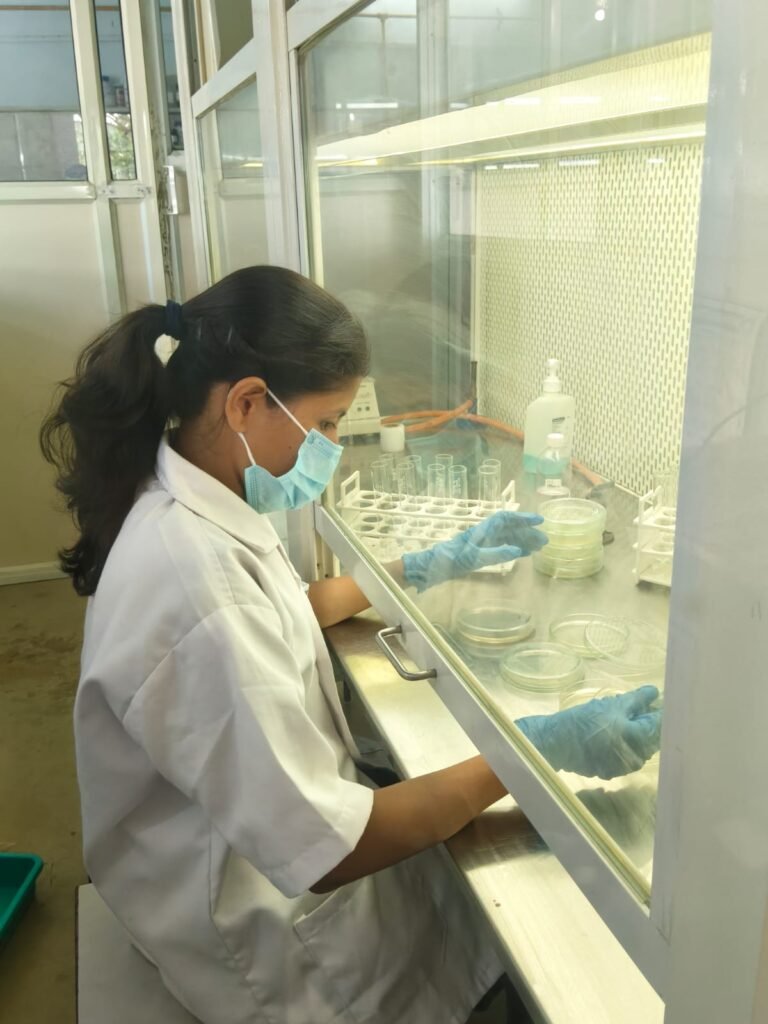
- After drying, transfer the strips into the laminar air flow (LAF) cabinet for sterilization.
Step 2: Sterilization of Plastic Bottles
- Take 50 new 30 ml plastic bottles.
- Clean the outer surface with 70% ethanol before placing them in the LAF.
- Place the bottles under UV light in the laminar air flow cabinet for 1 hour.
- This step sterilizes the bottles and prevents bacterial contamination.
- After sterilization, keep bottles inside the LAF until ready for use.
Step 3: Loading Strips into Bottles
- Wear sterile gloves before handling strips or bottles.
- Use sterile forceps to pick up each dried H₂S strip.
- Place one strip per bottle.
- Avoid touching the strip with your hands or the bottle walls.
- Secure the bottle with a tightly fitting cap immediately after placing the strip.
- Label each bottle with a unique ID or date for tracking.
Step 4: Post-Preparation Handling
- Store the prepared H₂S kits in a clean, dry place away from direct sunlight.
- Handle bottles carefully to prevent moisture or contamination from entering.
- Inspect bottles for any signs of contamination before use.
Precautions
- Always work inside a laminar air flow cabinet when handling strips or bottles.
- Use 70% ethanol to sanitize surfaces, equipment, and hands.
- Wear sterile gloves at all times during the procedure.
- Use sterile forceps for transferring strips.
- Ensure bottle caps are tightly closed to prevent contamination.
- Avoid prolonged exposure of strips to open air.
- Regularly check UV lights for functionality to ensure sterilization is effective.
Workflow Summary (Step-by-Step Visual Guide)
- Cut Filter Paper → 8×2.5 cm strips
- Dip Strips → H₂S media
- Dry Strips → Oven 50°C, 40 min
- Sterilize Strips → Laminar Air Flow
- Sterilize Bottles → UV light, 1 hour in LAF
- Load Strips → Forceps, one strip per bottle
- Seal & Label → Tight caps, record ID/date
2
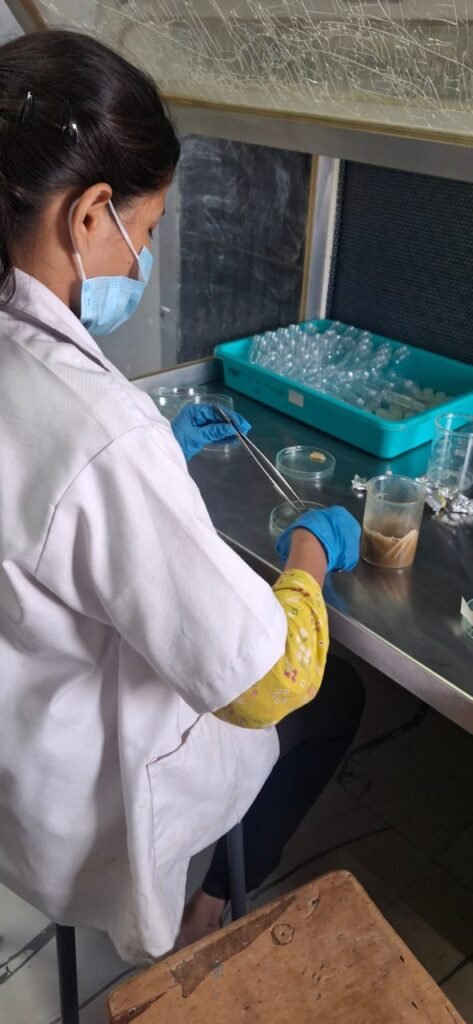
Isolation of Bacteria and Fungi from a Decomposed Sample
This activity of isolation of bacteria and fungi from decomposed samples was performed under the guidance of Sayali Mam.
Decomposed organic materials like compost, agricultural waste, and spoiled plant matter contain many microorganisms such as bacteria and fungi. These microbes help in decomposition, nutrient recycling, and improving soil fertility. In this experiment, bacteria and fungi were isolated from a decomposed sample using serial dilution and spread plate techniques.
For bacterial isolation, Nutrient Agar (NA) medium was prepared, while Potato Dextrose Agar (PDA) with Streptomycin was used for fungal isolation. All media, glassware, and instruments were sterilized by autoclaving at 121°C and 15 psi for 15 minutes to avoid contamination.
Media preparation
A) Nutrient Aga (NA)
1. dissolve 7 gm of NA powder in 250 ml distilled water
2.close with cotton plug and foil paper.
3.Autoclave at 121°C- 15 psi for 15 min.
4.Cool to 45 to 50°C and pour into sterile petriplate.
B) Potato Dextrose Agar (PDA)
1. Dissolve 9.75 gm of PDA in 250 ml distilled water.
2.Close with cotton plug and foil paper.
3.Autoclave at 121°C-15 psi for 15 min.
4.Cool to 45 to 50 and pour into sterile petriplate.
5.Add streptomycin after cooling to prevent bacterial growth.
[ First make the streptomycin stock solution.
Stock-Dissolve 100 mg streptomycin sulphate in 10 ml sterile water=10mg/ml.
For 250 ml PDA: Add 1.25 ml of that stock after aautoclaving ]
About 1 gm of decomposed sample was mixed with sterile distilled water and serial dilutions were prepared from 10⁻¹ to 10⁻⁷. From selected dilutions, 0.1 ml sample was spread on NA and PDA plates using a sterile glass spreader.
The plates were incubated in an inverted position to prevent water droplets from disturbing colony growth. Bacterial plates were incubated at 37°C for 24–48 hours, while fungal plates were incubated for 3–5 days.
After incubation, bacterial colonies appeared as small, smooth, shiny colonies, while fungal colonies showed cottony and fluffy growth. Isolated colonies can further be purified and studied for their morphology and characteristics.

6/6/2026
Separation of Fungi
(Sterilize the laminar and keep the sterilized petri plates in the lamina then turn on the UV tube for about 30 min.)
1) Make a PDA media and (5.85gm PDA in 150 ml distilled water.)
2) Close with cotton plug and foil paper.
3) Autoclave it.
4) Transfer the media into laminar (turn off the UV and turn on the blower. Let the media cool.
5) Add streptomycin after cooling to prevent bacterial growth and pour the media (Add streptomycin at 50 – 55 and do not wait to cool down the media completely otherwise the media will not spread evenly in the petri plates).
Here we made a streptomycin stock solution of 10 ml (500mg in 10ml) and added 150mL from micro pipette into the PDA media.
6) After the media get solidify transfer the distinct colonies plates in the laminar.
7) Take the sterilized inoculating loop and take the loop to spore mass or colony surface and streak it on new plate making zigzag motion.
8) Cover and name the plates and keep it in the incubator for observation.
30/5/26
3
Isolation of bacteria from kalki fertilizer and agreewaste fertiliser solutions
Media preparation
Nutrient Agar
A) Nutrient Aga (NA)
1. Dissolve 7 gm of NA powder in 250 ml distilled water
2.Close with cotton plug and foil paper.
3.Autoclave at 121°C- 15 psi for 15 min.
4.Cool to 45 to 50°C and pour into sterile petriplate.
About 1 gm of decomposed sample was mixed with sterile distilled water and serial dilutions were prepared from 10⁻¹ to 10⁻9. From selected dilutions, 0.1 ml sample was spread on NA plates using a sterile glass spreader.
The plates were incubated in an inverted position to prevent water droplets from disturbing colony growth.
4
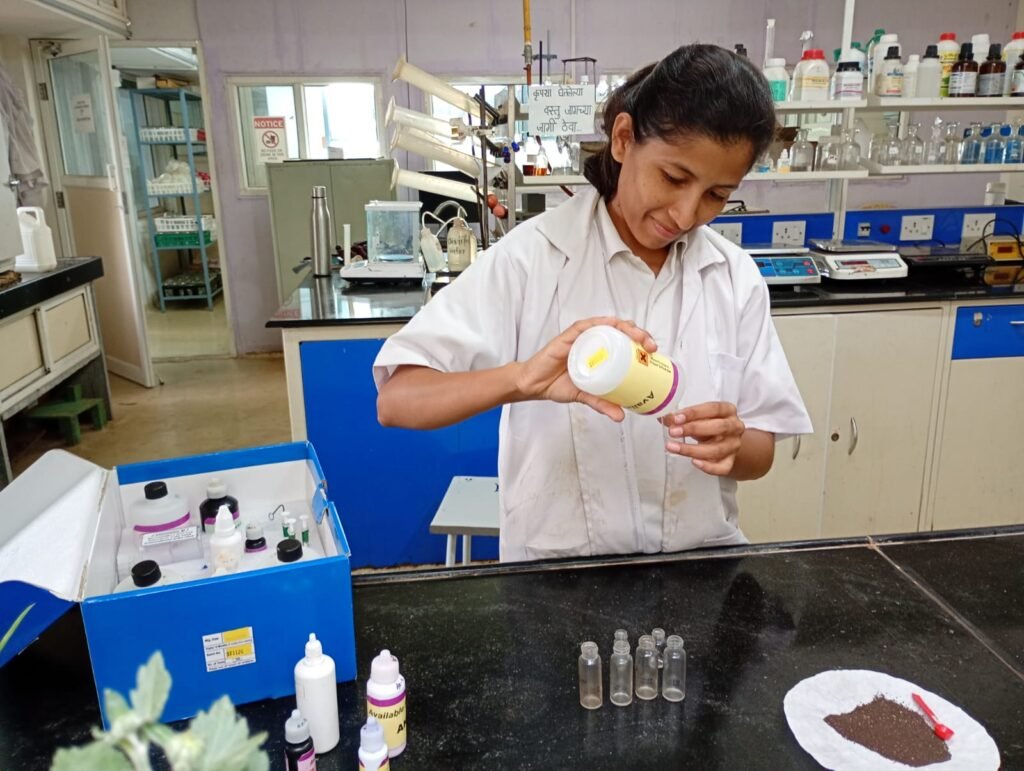
Soil Testing
In soil lab 6 parameters are tested.The farmers from nearby villages often come to test the soil.
We use Prerna Kit to test the soil.
A) pH TEST
1.Take Reagent pH-1 in Test Bottle No.1 upto 5ml. mark.
2. Add 2 flat spoonfull of soil (2gm) in Test Bottle No.1 with the help of funnel.
3. Put the cap and mix by gentel inversion for one minute.Allow the bottle to stand for 10 min. Soil will settle and seperate to leave clear liquid layer on the top.
4. Insert the pH colour chart in the Comparator Unit. Now the pH Colour Comparator can be used for matching of pH test colour.
5. Place the Bottle No.1 in pH COLOUR COMPARATOR and match the colour of top liquid layer with colours on the comparator. Read Soil pH directly on comparator.
6. Note the pH
B) Available Nitrogen (N) in Soil
- Take in Take Bottle No. 1, Nitrogen Reagent AN-1 upto 6 ml.mark.
- Using funnel, add one flat spoonfull of Soil(one gm) In Test Bottle No. 1.
- Put the cap and mix by gentel inversion for one minute.Allow the bottle to stand for 10 min. Soil will settle and seperate to leave clear liquid layer on the top.
- In clean bottle No.2, carefully transfer 2 ml of upper clear liquid from the Bottle No.1,using dropper.
- To test Bottle No.2 , add 4 drops of Reagent AN-2. and mix gently.
- To test Bottle No. 2, add 4 drops of Reagent AN-3,Put cap and mix gently.Wait for 5 min.
- Insert the Available Nitrogen Colour Chart in the Comparator Unit.Now the Nitrogen Colour Comparator can be used for matching Available Nitrogen test colour.
- After 5 min, mix gently and place the Bottle in Nitrogen Colour Comparator and match the colour of the bottle with colour on comparator.
- Read the available nitrogen directly on Comparator.
- Note the reading
C) Available Phosphorous (P) in Soil
- Take in Test Bottle No. 1, Phosphorous reagent AP-1.
- using funnel, add one flat spoonfull (1 gm) of soil in Test Bottle No.1
- Put cap and mix by gentle inversion for one min. Allow the bottle to stand for 5 min . Soil will settle and seperate to leave clear liquid layer on the top.
- carefully draw upper clear liquid in dropper and transfer the same to Test Bottle No.2 to make level up to 3 ml.Mark.
- Take 3 ml liquid in Bottle No.2, add 6 dropes of phosphorous Reagent AP-2 and mix gently by swirling . Add 3 drops of reagent AP-3.Put cap and mix well.Blue colour will develop in Bottle No. 2.
- Insert the Available Phosphorous Colour chart in the Comparator Unit. Now the Phosphorous Colour Comparator can be used for matching of Available Phosphorous test colour.
- Place the Bottle in Phosphorous colour comparator and match the colour of the bottle with the colours on Phosphorous Colour Comparator.
- Read the available phosphorous directly on the colour comparator.
D) Organic Carbon in Soil
1.Using 100mg. spoon, take one spoonfull 9100mg.) of finely ground Soil in Test Bottle No.1.
2.To the Bottle No.1 , add 0.5ml. of Reagent OC-1 with the help of 1ml . Green coloured Syringe.
3.To the Bottle No. 1 add 80 drops of Reagent OC-2 and mix by gently swirling . put cap. Wait for 30 min.
4. Add Reagent OC-3 to make the level in Bottle No. 1 upto 5 ml.mark. Mix by gentle swirling. Allow the bottle to stand for 5 min .Soil will settle and seperate to leave clear liquid layer on the top.
5.Insert the Organic Carbon Colour chart in the Comparator Unit.
Now the Organic Carbon Colour Comparator can be used for matching Organic Carbon test colour.
6. Place the Bottle in ORGANIC COLOUR COMPARATOR and match the colour of top liquid layer with the colour slots on COMPARATOR by holding the comparator against day light.
E) Available Potassium (K) in Soil
1.Take in Test Bottle No. 1, Potassium Reagent AK-1 upto 6 ml.mark.
2. Using spoon and funnel, add two flat spoonful of Soil in test Bottle No.1
3. put cap and mix by gentle inversion for one min. Allow the bottle to stand for 5 min. Soil will settle and seperate to leave clear liquid layer on the top.
4. Carefully draw upper liquid in dropper and transfer the same to another clean Bottle No.2, to make level up to 2 ml.Mark
5.To 2 ml liquild in bottle No.2, add one tablet of potassium Reagent AK-2 .Do not put cap. Mix by Swirling. Allow tablet to dissolve completely. Mix by swirling intermittantly to assist dissolution. Proceed further only after complete dissolution of Tablet.
6. Now, add to Bottle No.2, 4 drops of Reagent AK-3 and mix. Water will turn Purple in colour.
7. Now, add to Bottle No.2, reagent AK-4 two drops at a time and mix gently after each addition .Keep Count of drops and continue addition of two drops at a time, until Colour Changes from Purple to Blue.
8. Count the totle no. of drops of reagent AK-4 required for colour colour change .
9. Note the reading.
F) Electric Conductivitly in the Soil
1.Take a Beaker and fill the soil till the bottom surface gets covered.
2. Pour distilled water upto 8 ml.And wait for 5 min.
3. On the EC meter ,shift to ec . Dip The EC meter in the beaker .
4. Note the reading
