1
PREPARATION OF H2S KIT
Introduction
H₂S (Hydrogen Sulfide) test kits are widely used for the rapid detection of bacterial contamination in water. These kits work by indicating the presence of H₂S-producing bacteria, which are often associated with fecal contamination. The test is simple, reliable, and suitable for both laboratory and field applications.
- Common bacteria associated with fecal contamination include E. coli, Salmonella, and H₂S-producing bacteria.
- Drinking or using water with fecal contamination can cause waterborne diseases like diarrhea, cholera, typhoid.
Materials
- Whatman Filter Paper No. 41
- Prepared H₂S media
- 50 plastic bottles (30 ml each, new)
- Bottle caps
- 70% Ethanol
Equipment
- Laminar Air Flow (LAF) Cabinet
- UV light (for sterilization in LAF)
- Oven or incubator (50°C)
- Forceps (sterile)
- Sterile gloves
- Scissors or paper cutter (for cutting strips)
- Marker (for labeling bottles and strips)
H2S Media Preparation for 50 Bottle :
| Name of Chemical | Quantity (gm/ml) |
|---|---|
| Bacteriological grade peptone | 20 gm |
| Di – potassium hydrogen phosphate | 1.5 gm |
| Ferric ammonium citrate | 0.75 gm |
| Sodium Thiosulphate | 1.0 gm |
| L-cysteine HCL | 0.125 gm |
| Liquid soap | 1.0 ml |
| Distilled water | 50 ml |
Procedure
Step 1: Preparation of Test Strips
- Take Whatman Filter Paper No. 41.
- Cut the paper into strips of 8 cm × 2.5 cm using scissors or a paper cutter.
- Ensure cuts are even to fit into the 30 ml bottles easily.
- Prepare the H₂S media in a clean, sterile container.
- Dip each paper strip completely into the media so it is fully saturated.
- Handle strips only with sterile forceps to avoid contamination.
- Place all dipped strips on a clean tray to dry.
- Dry the strips in an oven at 50°C for 40 minutes.
- This ensures that the media adheres to the paper and excess moisture is removed.
- After drying, transfer the strips into the laminar air flow (LAF) cabinet for sterilization.
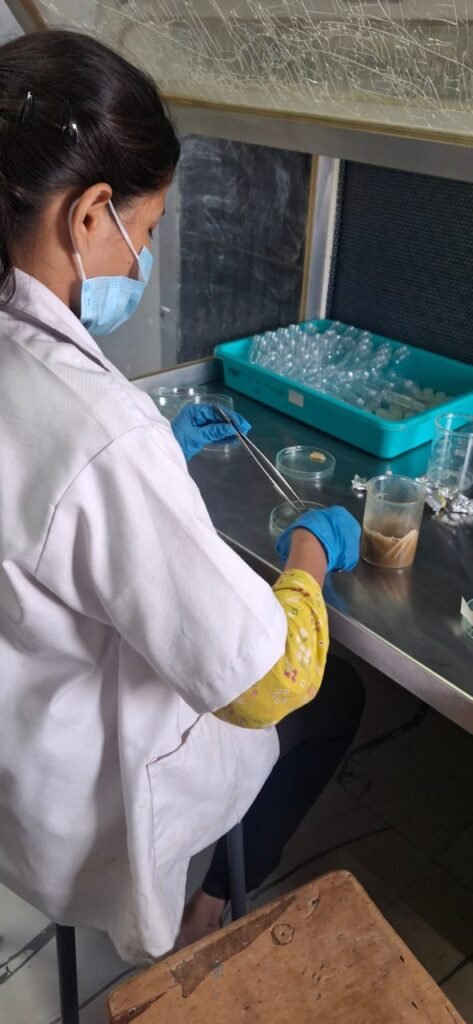
Step 2: Sterilization of Plastic Bottles
- Take 50 new 30 ml plastic bottles.
- Clean the outer surface with 70% ethanol before placing them in the LAF.
- Place the bottles under UV light in the laminar air flow cabinet for 1 hour.
- This step sterilizes the bottles and prevents bacterial contamination.
- After sterilization, keep bottles inside the LAF until ready for use.
Step 3: Loading Strips into Bottles
- Wear sterile gloves before handling strips or bottles.
- Use sterile forceps to pick up each dried H₂S strip.
- Place one strip per bottle.
- Avoid touching the strip with your hands or the bottle walls.
- Secure the bottle with a tightly fitting cap immediately after placing the strip.
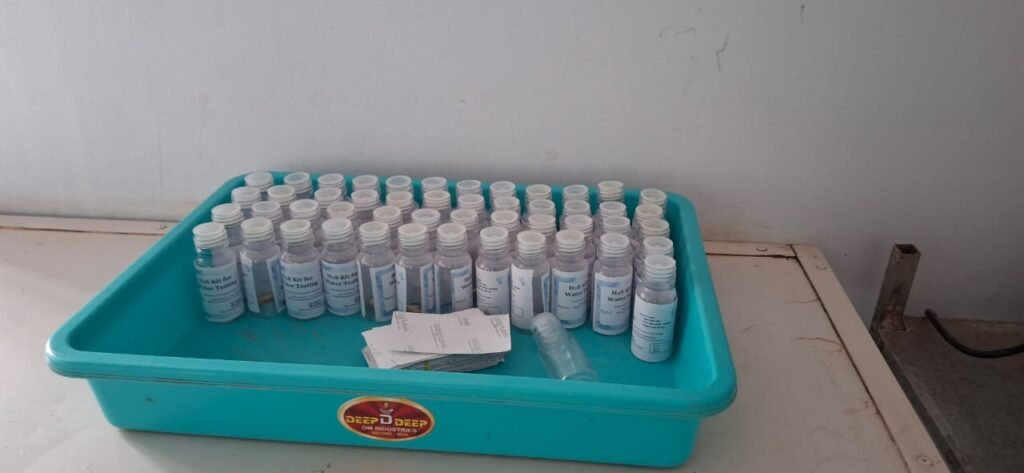
- Label each bottle with a unique ID or date for tracking.
Step 4: Post-Preparation Handling
- Store the prepared H₂S kits in a clean, dry place away from direct sunlight.
- Handle bottles carefully to prevent moisture or contamination from entering.
- Inspect bottles for any signs of contamination before use.
Precautions
- Always work inside a laminar air flow cabinet when handling strips or bottles.
- Use 70% ethanol to sanitize surfaces, equipment, and hands.
- Wear sterile gloves at all times during the procedure.
- Use sterile forceps for transferring strips.
- Ensure bottle caps are tightly closed to prevent contamination.
- Avoid prolonged exposure of strips to open air.
- Regularly check UV lights for functionality to ensure sterilization is effective.
Workflow Summary (Step-by-Step Visual Guide)
- Cut Filter Paper → 8×2.5 cm strips
- Dip Strips → H₂S media
- Dry Strips → Oven 50°C, 40 min
- Sterilize Strips → Laminar Air Flow
- Sterilize Bottles → UV light, 1 hour in LAF
- Load Strips → Forceps, one strip per bottle
- Seal & Label → Tight caps, record ID/date
2
Isolation of Bacteria and Fungi from a Decomposed Sample
This activity of isolation of bacteria and fungi from decomposed samples was performed under the guidance of Sayali Mam.
Decomposed organic materials like compost, agricultural waste, and spoiled plant matter contain many microorganisms such as bacteria and fungi. These microbes help in decomposition, nutrient recycling, and improving soil fertility. In this experiment, bacteria and fungi were isolated from a decomposed sample using serial dilution and spread plate techniques.
For bacterial isolation, Nutrient Agar (NA) medium was prepared, while Potato Dextrose Agar (PDA) with Streptomycin was used for fungal isolation. All media, glassware, and instruments were sterilized by autoclaving at 121°C and 15 psi for 15 minutes to avoid contamination.
Media preparation
A) Nutrient Agar (NA)
1. dissolve 7 gm of NA powder in 250 ml distilled water
2.close with cotton plug and foil paper.
3.Autoclave at 121°C- 15 psi for 15 min.
4.Cool to 45 to 50°C and pour into sterile petriplate.
B) Potato Dextrose Agar (PDA)
1. Dissolve 9.75 gm of PDA in 250 ml distilled water.
2.Close with cotton plug and foil paper.
3.Autoclave at 121°C-15 psi for 15 min.
4.Cool to 45 to 50 and pour into sterile petriplate.
5.Add streptomycin after cooling to prevent bacterial growth.
[ First make the streptomycin stock solution.
Stock-Dissolve 100 mg streptomycin sulphate in 10 ml sterile water=10mg/ml.
For 250 ml PDA: Add 1.25 ml of that stock after aautoclaving ]
About 1 gm of decomposed sample was mixed with sterile distilled water and serial dilutions were prepared from 10⁻¹ to 10⁻⁷. From selected dilutions, 0.1 ml sample was spread on NA and PDA plates using a sterile glass spreader.
The plates were incubated in an inverted position to prevent water droplets from disturbing colony growth. Bacterial plates were incubated at 37°C for 24–48 hours, while fungal plates were incubated for 3–5 days.
After incubation, bacterial colonies appeared as small, smooth, shiny colonies, while fungal colonies showed cottony and fluffy growth. Isolated colonies can further be purified and studied for their morphology and characteristics.

6/6/2026
Separation of Fungi
(Sterilize the laminar and keep the sterilized petri plates in the lamina then turn on the UV tube for about 30 min.)
1) Make a PDA media and (5.85gm PDA in 150 ml distilled water.)
2) Close with cotton plug and foil paper.
3) Autoclave it.
4) Transfer the media into laminar (turn off the UV and turn on the blower. Let the media cool.
5) Add streptomycin after cooling to prevent bacterial growth and pour the media (Add streptomycin at 50 – 55 and do not wait to cool down the media completely otherwise the media will not spread evenly in the petri plates).
Here we made a streptomycin stock solution of 10 ml (500mg in 10ml) and added 150mL from micro pipette into the PDA media.
6) After the media get solidify transfer the distinct colonies plates in the laminar.
7) Take the sterilized inoculating loop and take the loop to spore mass or colony surface and streak it on new plate making zigzag motion.
8) Cover and name the plates and keep it in the incubator for observation.
3
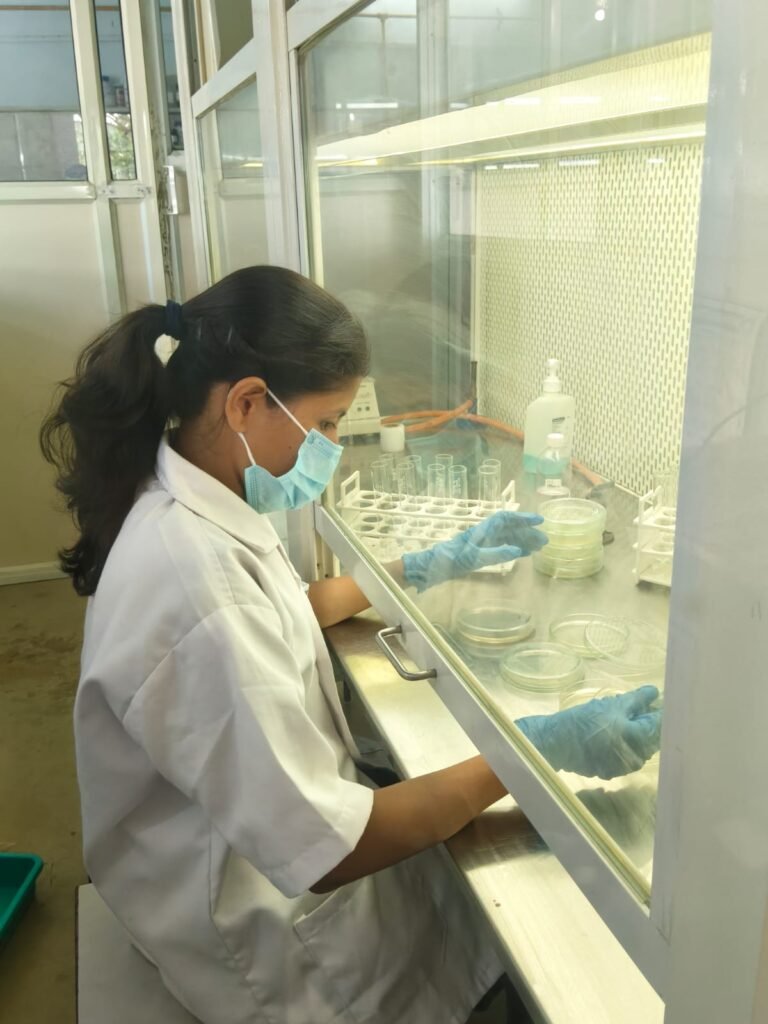
Isolation of bacteria from kalki fertilizer and agreewaste fertiliser solutions
30/5/26
Media preparation
Nutrient Agar
A) Nutrient Aga (NA)
1. Dissolve 7 gm of NA powder in 250 ml distilled water
2.Close with cotton plug and foil paper.
3.Autoclave at 121°C- 15 psi for 15 min.
4.Cool to 45 to 50°C and pour into sterile petriplate.
About 1 gm of decomposed sample was mixed with sterile distilled water and serial dilutions were prepared from 10⁻¹ to 10⁻9. From selected dilutions, 0.1 ml sample was spread on NA plates using a sterile glass spreader.
The plates were incubated in an inverted position to prevent water droplets from disturbing colony growth.
4
Soil Testing
27/6/26
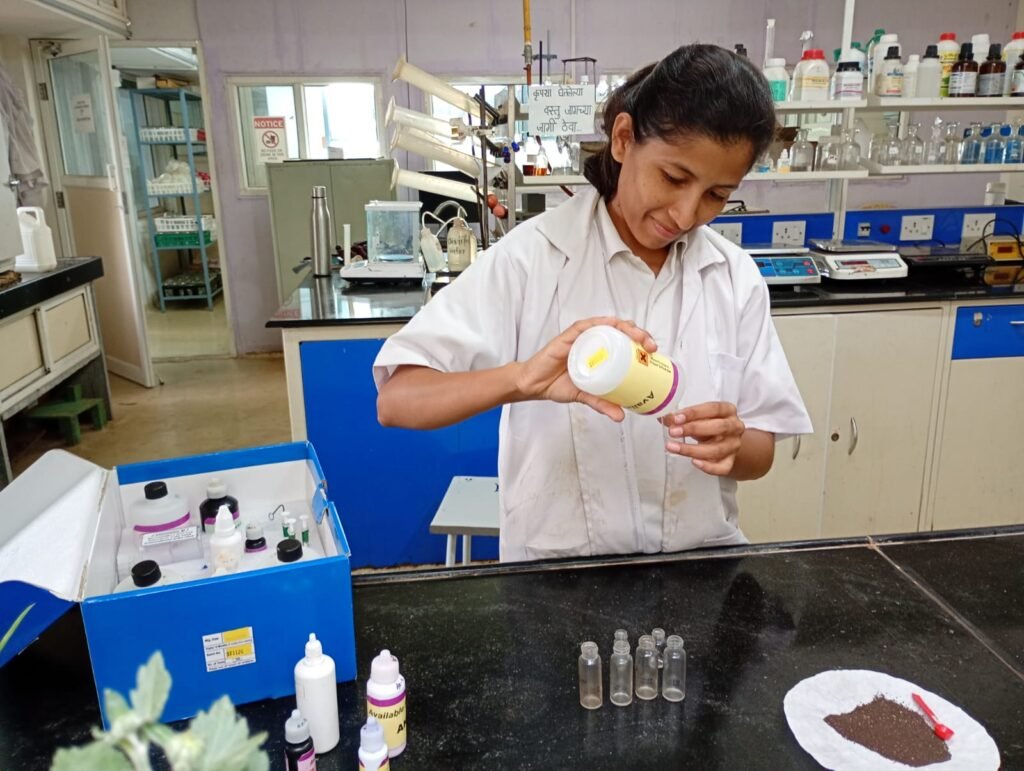
In soil lab 6 parameters are tested.The farmers from nearby villages often come to test the soil.
We use Prerna Kit to test the soil.
A) pH TEST
1.Take Reagent pH-1 in Test Bottle No.1 upto 5ml. mark.
2. Add 2 flat spoonfull of soil (2gm) in Test Bottle No.1 with the help of funnel.
3. Put the cap and mix by gentel inversion for one minute.Allow the bottle to stand for 10 min. Soil will settle and seperate to leave clear liquid layer on the top.
4. Insert the pH colour chart in the Comparator Unit. Now the pH Colour Comparator can be used for matching of pH test colour.
5. Place the Bottle No.1 in pH COLOUR COMPARATOR and match the colour of top liquid layer with colours on the comparator. Read Soil pH directly on comparator.
6. Note the pH
B) Available Nitrogen (N) in Soil
- Take in Take Bottle No. 1, Nitrogen Reagent AN-1 upto 6 ml.mark.
- Using funnel, add one flat spoonfull of Soil(one gm) In Test Bottle No. 1.
- Put the cap and mix by gentel inversion for one minute.Allow the bottle to stand for 10 min. Soil will settle and seperate to leave clear liquid layer on the top.
- In clean bottle No.2, carefully transfer 2 ml of upper clear liquid from the Bottle No.1,using dropper.
- To test Bottle No.2 , add 4 drops of Reagent AN-2. and mix gently.
- To test Bottle No. 2, add 4 drops of Reagent AN-3,Put cap and mix gently.Wait for 5 min.
- Insert the Available Nitrogen Colour Chart in the Comparator Unit.Now the Nitrogen Colour Comparator can be used for matching Available Nitrogen test colour.
- After 5 min, mix gently and place the Bottle in Nitrogen Colour Comparator and match the colour of the bottle with colour on comparator.
- Read the available nitrogen directly on Comparator.
- Note the reading
C) Available Phosphorous (P) in Soil
- Take in Test Bottle No. 1, Phosphorous reagent AP-1.
- using funnel, add one flat spoonfull (1 gm) of soil in Test Bottle No.1
- Put cap and mix by gentle inversion for one min. Allow the bottle to stand for 5 min . Soil will settle and seperate to leave clear liquid layer on the top.
- carefully draw upper clear liquid in dropper and transfer the same to Test Bottle No.2 to make level up to 3 ml.Mark.
- Take 3 ml liquid in Bottle No.2, add 6 dropes of phosphorous Reagent AP-2 and mix gently by swirling . Add 3 drops of reagent AP-3.Put cap and mix well.Blue colour will develop in Bottle No. 2.
- Insert the Available Phosphorous Colour chart in the Comparator Unit. Now the Phosphorous Colour Comparator can be used for matching of Available Phosphorous test colour.
- Place the Bottle in Phosphorous colour comparator and match the colour of the bottle with the colours on Phosphorous Colour Comparator.
- Read the available phosphorous directly on the colour comparator.
D) Organic Carbon in Soil
1.Using 100mg. spoon, take one spoonfull 9100mg.) of finely ground Soil in Test Bottle No.1.
2.To the Bottle No.1 , add 0.5ml. of Reagent OC-1 with the help of 1ml . Green coloured Syringe.
3.To the Bottle No. 1 add 80 drops of Reagent OC-2 and mix by gently swirling . put cap. Wait for 30 min.
4. Add Reagent OC-3 to make the level in Bottle No. 1 upto 5 ml.mark. Mix by gentle swirling. Allow the bottle to stand for 5 min .Soil will settle and seperate to leave clear liquid layer on the top.
5.Insert the Organic Carbon Colour chart in the Comparator Unit.
Now the Organic Carbon Colour Comparator can be used for matching Organic Carbon test colour.
6. Place the Bottle in ORGANIC COLOUR COMPARATOR and match the colour of top liquid layer with the colour slots on COMPARATOR by holding the comparator against day light.
E) Available Potassium (K) in Soil
1.Take in Test Bottle No. 1, Potassium Reagent AK-1 upto 6 ml.mark.
2. Using spoon and funnel, add two flat spoonful of Soil in test Bottle No.1
3. put cap and mix by gentle inversion for one min. Allow the bottle to stand for 5 min. Soil will settle and seperate to leave clear liquid layer on the top.
4. Carefully draw upper liquid in dropper and transfer the same to another clean Bottle No.2, to make level up to 2 ml.Mark
5.To 2 ml liquild in bottle No.2, add one tablet of potassium Reagent AK-2 .Do not put cap. Mix by Swirling. Allow tablet to dissolve completely. Mix by swirling intermittantly to assist dissolution. Proceed further only after complete dissolution of Tablet.
6. Now, add to Bottle No.2, 4 drops of Reagent AK-3 and mix. Water will turn Purple in colour.
7. Now, add to Bottle No.2, reagent AK-4 two drops at a time and mix gently after each addition .Keep Count of drops and continue addition of two drops at a time, until Colour Changes from Purple to Blue.
8. Count the totle no. of drops of reagent AK-4 required for colour colour change .
9. Note the reading.
F) Electric Conductivitly in the Soil
1.Take a Beaker and fill the soil till the bottom surface gets covered.
2. Pour distilled water upto 8 ml.And wait for 5 min.
3. On the EC meter ,shift to ec . Dip The EC meter in the beaker .
4. Note the reading
5
PTC OF AGLONEMA
19/7/26
Preparation of ms (Murashige and Skoog ) media :-
| Material | Final Volume (250ml) |
| Distilled water | 100ml |
| 20X, Macronutrients | 12,5ml |
| 100X, Micronutrients | 0.625ml |
| 1000X, Vitamins | 0.625ml |
| 400X, Iron source | 0.25ml |
| Mesoinositol | 25ml |
| Sucrose | 7.5ml |
| Agar powder | 2gm |
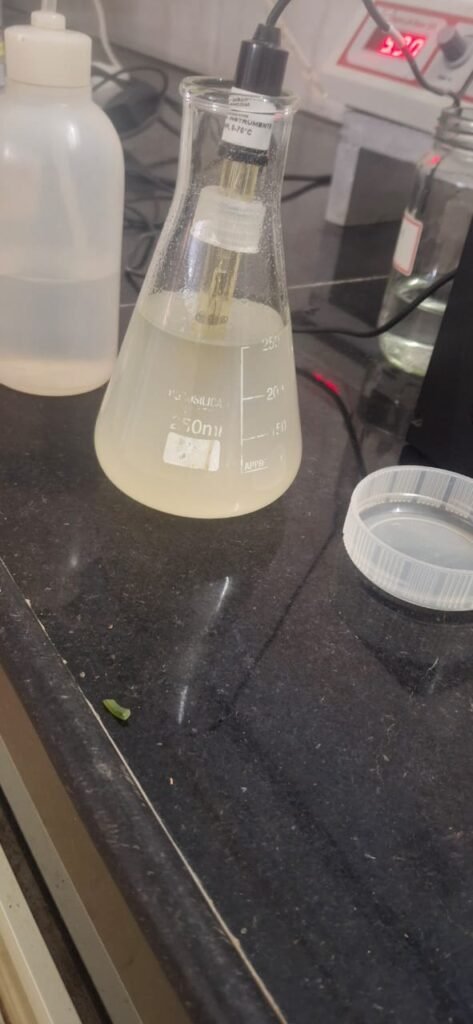
pH Check:-
Prepare MS media pH range is 5.8 – 5.9
Adjust the pH : 1N NaoH is used to increase pH
HCl is used to decrease pH
We have to wash the electrode with distilled water and clean with tissue paper. Handle the glass membrane carefully as it contains AgCl and it is very delicate. Then dip in pH 9 for 3 to 4 min and then use for the solution to test the pH.
Autoclave Media
MS media provides essential nutrients, vitamins, hormones, and energy required for plant growth under in vitro condition. The prepared media is sterilized using an autoclave to destroy microorganisms and maintain aseptic condition necessary for successful tissue culture.
Then we poured the media in test tubes and kept in culture room to solidify.
METHODOLOGY
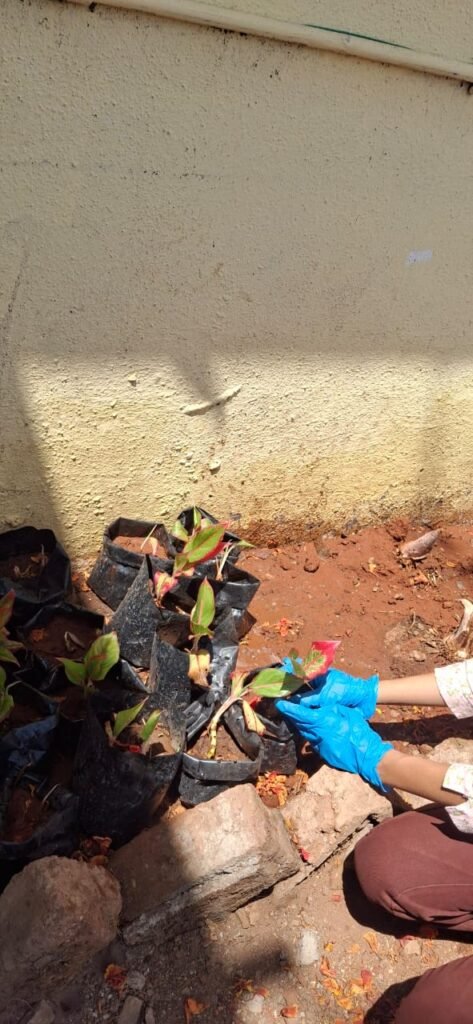
Step 1: SELECTION OF EXPLANT
We selected Aglaonema as an explant for handeling.
Take sterilized trey (clean with ethenol) , knife and hand gloves. Select mother plant which is disease free, without yellowing and fresh.
Step 2: CLEANING AND SURFACE STERILIZATION PROCESS:
Autoclave
1. 6 pairs of petri plates
2. 5ml measuring cylinder
3. 2 liter distilled water
4. forcep
5. surgical blade
Clean the laminar air flow with 70% ethanol and keep the sterilized material in UV light for 15 min.
Cut the mother plant in desirable shape and place it in dry trey.
3.Keep the explant in running water for 15 min.
Step 3: BAVISTIN TREATMENT
Prepare Bavistin treatment (5 ml of Bavistin in 500 ml distilled water) .Keep the explant in the solution for 2hrs.
Sterilize a trey with 70% ethenol and transfer the explant in the trey .Wash the explant for 3 to 5 times. Handle the plant material with sterile gloves.
Step 4: SOAP TREATMENT
Prepare soap solution(5 ml Labolene in 270 ml distilled water).wash the explant for 3 to 5 times.
Transfer the explant in a glass beaker.
Step 5: DETTOL/SAVLON TREATMENT
Prepare dettol solution(3 ml detol in 270 ml distilled water). Soak the explant for 30 min.Wash the explant for 3 to 5 times.
With the help of sterile knife cut the upper cover of plant material in laminar air flow.
Keep the culture bottle in UV light for 15 min.
Step 6: SODIUM HYPOCLORIDE TREATMENT
From this process onwords I used double distilled water because from now on the explant need most sterilization.
Prepare Soidum Hypochloride solution (10 ml in 270 ml distilled water).Wash the explant for 3 to 4 times.
Take the explant in petri plate with help of forcep . Cut the material by taking section with the help of surgical knife.
Step 7: ANTIBIOTIC TREATMENT
Prepare antibiotic solution using taxime antibiotic ( in 200 ml sterile distilled water).soak the plant material in the solution for 20 min. Here I used cefotaxime antibiotic which was 500mg.
Step 8: INOCULATION
Inoculate the plant material in culture medium (here test tubes) in culture room for further observation.
In this process I carefully inserted the explant in the media without disturbing it as well as took care that the explant do not touch the surface of culture bottle.
25/7/26
Contamination is seen in the test tubes.
6
Preparation of Silver Sulfate for COD Analysis
25/7/26
Silver sulfate is an important inorganic compound used mainly in COD analysis as a catalyst to improve oxidation of organic matter. It is prepared by reacting silver with strong oxidizing acids such as nitric acid and sulfuric acid.
Reactions
Formation of Silver Nitrate
Ag + 2HNO3(conc) =AgNO3 + NO2 + H2O
Formation of Silver Sulfate
2AgNO3 + H2SO4= Ag2SO4 + 2HNO3
Materials Required
- Silver metal (5.350 gram)
- Concentrated nitric acid(6.3ml)
- Concentrated sulfuric acid(1.4ml)
- Distilled water
Apparatus Required
- Beaker
- Round bottom flask
- Measuring cylinder
- Glass rod
- Funnel and filter paper
- Heating mantle
- Gas scrubber setup
- Wash bottle
- Clamp stand and tubing
15–20 g NaOH in 250 mL water is used as a scrubber solution to absorb toxic acidic gases (NO₂ and SO₂) formed during the reaction.
Procedure
- Setup of Round Bottom Flask and Gas Scrubber
- Weighing of Silver Using Weighing Balance (cut the silver into possibly small pieces)
- Take the silver into round bottom flask.
- Add Concentrated Nitric Acid in Round Bottom Flask
- Add water about 100 ml in the beaker containing round bottom flask
- Heat the beaker Mantle for Dissolution of Silver(do not heat over 50 degree)
- The brown gas will pass through the condenser and the silver will dissolve and Silver Nitrate Solution will form inside Flask
- Passage of NO₂ Gas Through Gas Scrubber
- Wait Till it Cool Completely
- Add Concentrated Sulfuric Acid in Reaction Flask
- Heating of Reaction Mixture for Silver Sulfate Formation
- Heat it until all brown gas get reduced
- Cooling of Solution in Ice Bath for Crystallization
- Filtration of Silver Sulfate Using Funnel and Filter Paper
- Washing of Crystals with cold Distilled Water
- Drying of Silver Sulfate on in Hot Air Oven
- Collection and Storage of Final Product in Sample Bottle
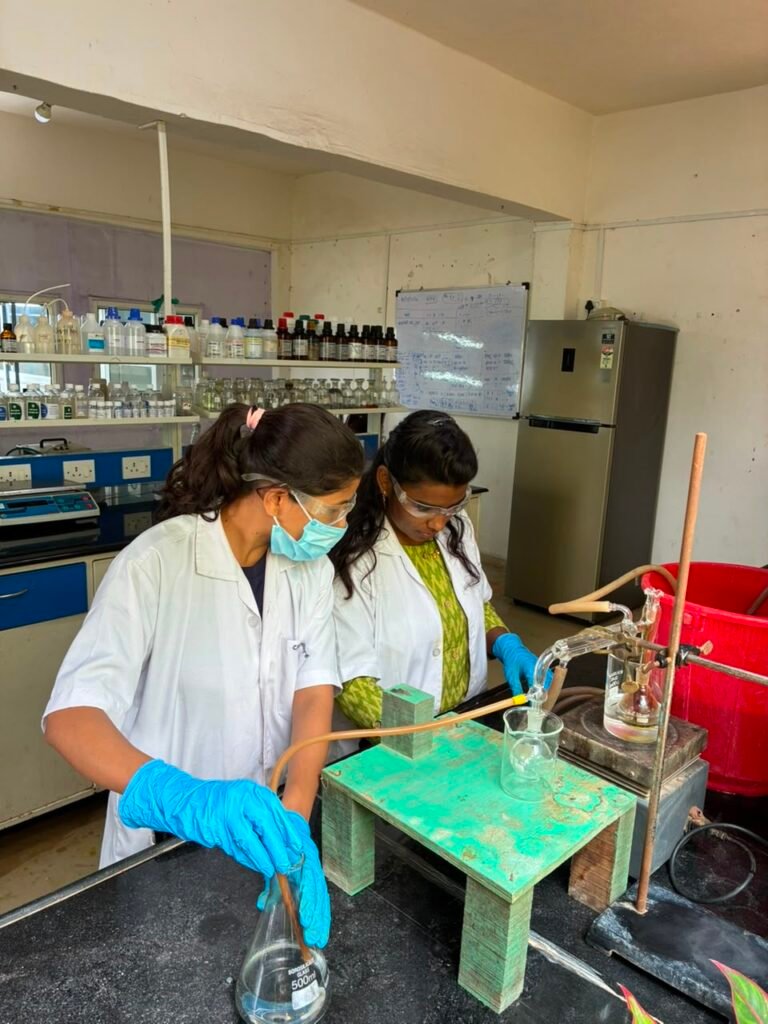
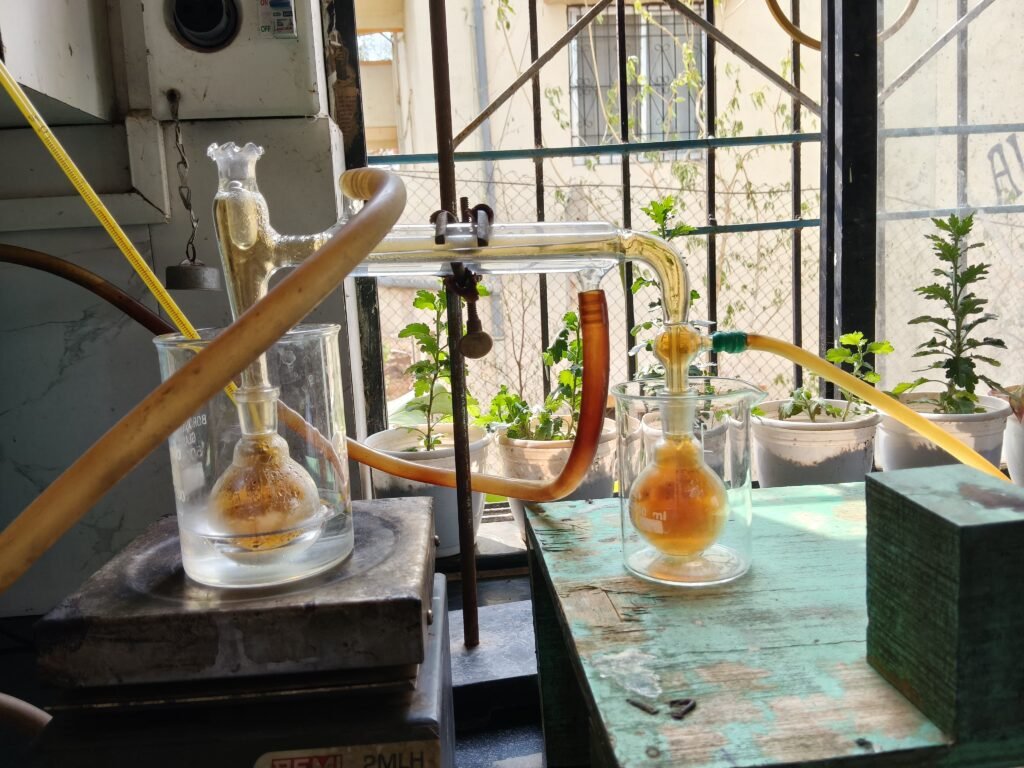
First attempt: We took 5.00 g Ag metal to react with HNO₃
Problem: Water entered the RB flask while silver was dissolving → reaction got diluted/contaminated → you had to discard
Second attempt: Only 1.50 g Ag was left usable from that 5g
We dissolved that 1.50 g Ag in HNO₃ and completed the process
Yield: Recovered only 0.58 g Ag₂SO₄
02/08/26
The experiment is repeated with 5 gram of silver.
5.83 gram of silver sulphate is recoverd.
Cost to make Fresh Silver Sulphate
The silver cost:1100 Rs / 5 gram
So 220 Rs / gram of pure silver.
.1 g Ag2SO4 contains 0.692 g Silver.
So to make 1g Ag2SO4 you
need 0.692 g Silver = 152 Rs.Market price to buy ready Ag2SO4 is:
220 Rs / gram.
So making fresh in lab is already
cheaper than buying –
We save 68 Rs per gram.
7
gram staining
Clean slide
- Add 1 loop water + 1 loop culture, make thin smear.
- Air dry + Heat fix (pass 2-3 times over flame)
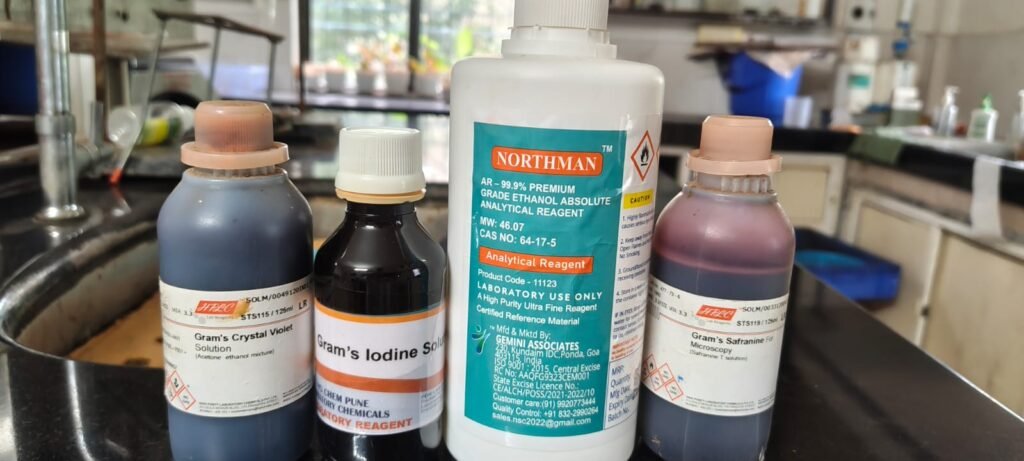
- Flood with crystal violet -> 2 min
- wash with water gently
- Flood with Gram’s Iodine -> 1 minwash with water
- Decolorize / ethanol – 10-15 sec.wash & immediately
- Safranin – 30 sec only.wash & air dry.observe under 100x oil
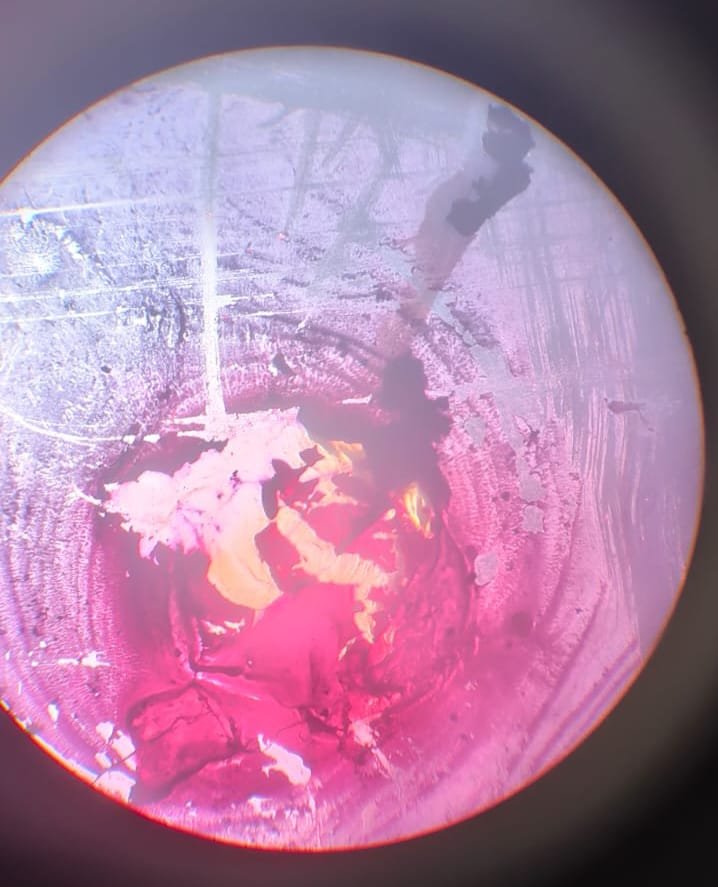
Due to over staining and thick smear the cell can not be identified.Therefore have to repeat the process.
1/9/26
Gram staining is repeated and slide was properly stained.
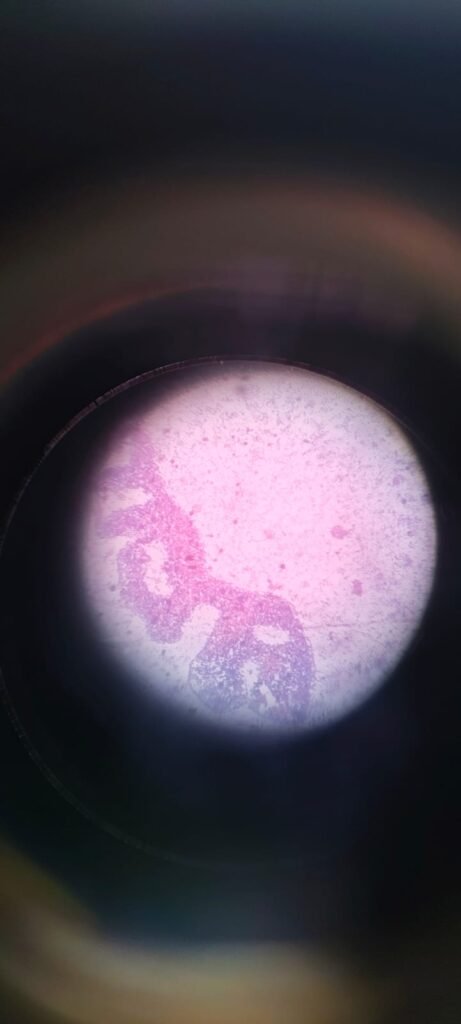
2/9/26
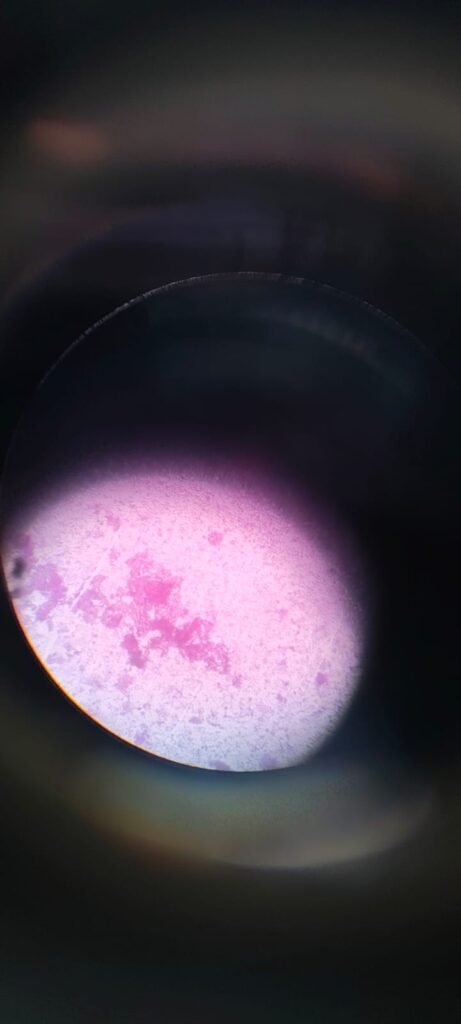
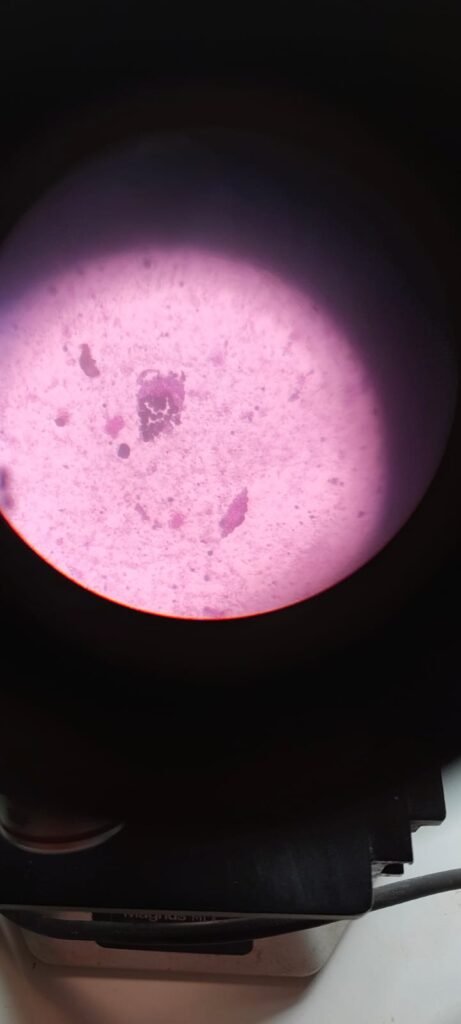
8
Recovery of silver sulphte from COD titration
Required Material
A) Chemicals:
COD waste – 800 ml to 1000 ml
Conc. H2SO4 – 50 ml total (40 ml + 10 ml)
Conc. HCl – 80 mlConc. HNO3 – 6 ml
Sodium Hydroxide (NaOH) – 4 grams
D-Glucose powder – 3 grams
Distilled water – Cold water – ∼20 ml
Hot water – 250 ml + 50 mlTap water – for washing
B) Glassware & Apparatus:
Conical Flask 1000 ml – 1
Beaker 1000 ml / 600 ml – 2
Gooch crucible – 1
Hot plate with magnetic stirrer
Glass rod
Hot air oven (100°C)
Spatula
Filter paper
Aluminium foil / cap
Newspaper – to cover in dark
Measuring cylinder – 100 ml, 50 ml
Procedure
This is a two days process
Day one
Collect the waste in one conical flask (1000 ml)
Let the solids settle.Take the surface water in Beaker A
Take solid settled part in Beaker B.
Keep the Beaker B for boiling at 80°C and add H2SO4 after boiling.
The Beaker B has is 200 ml of liquid So I have added 40 ml of conc. H2SO4 Slowly and stir.When the solid part get dissolved then stop heating.Let it cool completely.
After cooling add the solution to Beaker A.
Now keep the Beaker on stirer and add HCl.Here I had 800 ml of Solution So I have added 80 ml of con. HCl.
Add the HCl untill the milky shade disappears and greenish blue coloure Starts to show.
Put the aluminium cap and cover the Flask with news paper completely and keep the flask in dark for 12 – 24 hrs.
Day two
Now the precipitate will settle at the bottom and so take the surface solution in another beaker.
Filter the white precipitate through Gooch crusible. cover the crusible with Aluminium.
After filteration, the precipitate will turn into slightly violet in colour.
Take a beaker and add 10% NaOH.I have added 4g NaOH + 40 ml of water.
Then take D-glucose powder – 3 gram
Volume up to 50 ml (Extra for boiling)The solution will turn yellow.
Now take slightly violet precipitate and add into the yellow solution.The particles will turn black immediately. The solution
Now boil the solution at 100°C for 15 min atleast until the particles get fully black.
Let the Solution cool and particles settle at the bottom.
Take 250 ml hot water.Take out the surface solution and add 50 ml of hot water in the beaker and shake and let the particles settle again.
Take out the surface solution and add 50 ml hot water.
Repeat it again 3 times until 250 ml gets over so that the particles get clean.
Now add 6 ml of conc. HNO3 It will dissolve to clear solution.
Add 10 ml of conc. H2SO4. White precipitate of AgSO4 will come instantly
Then filter through gooch crusible.
After filteration add cold distilled water into the gooch crusible. 10 ml twice to clean the silver sulphate.
Keep the gooch crusible in hot air oven at 100°C for 50 min atleast.
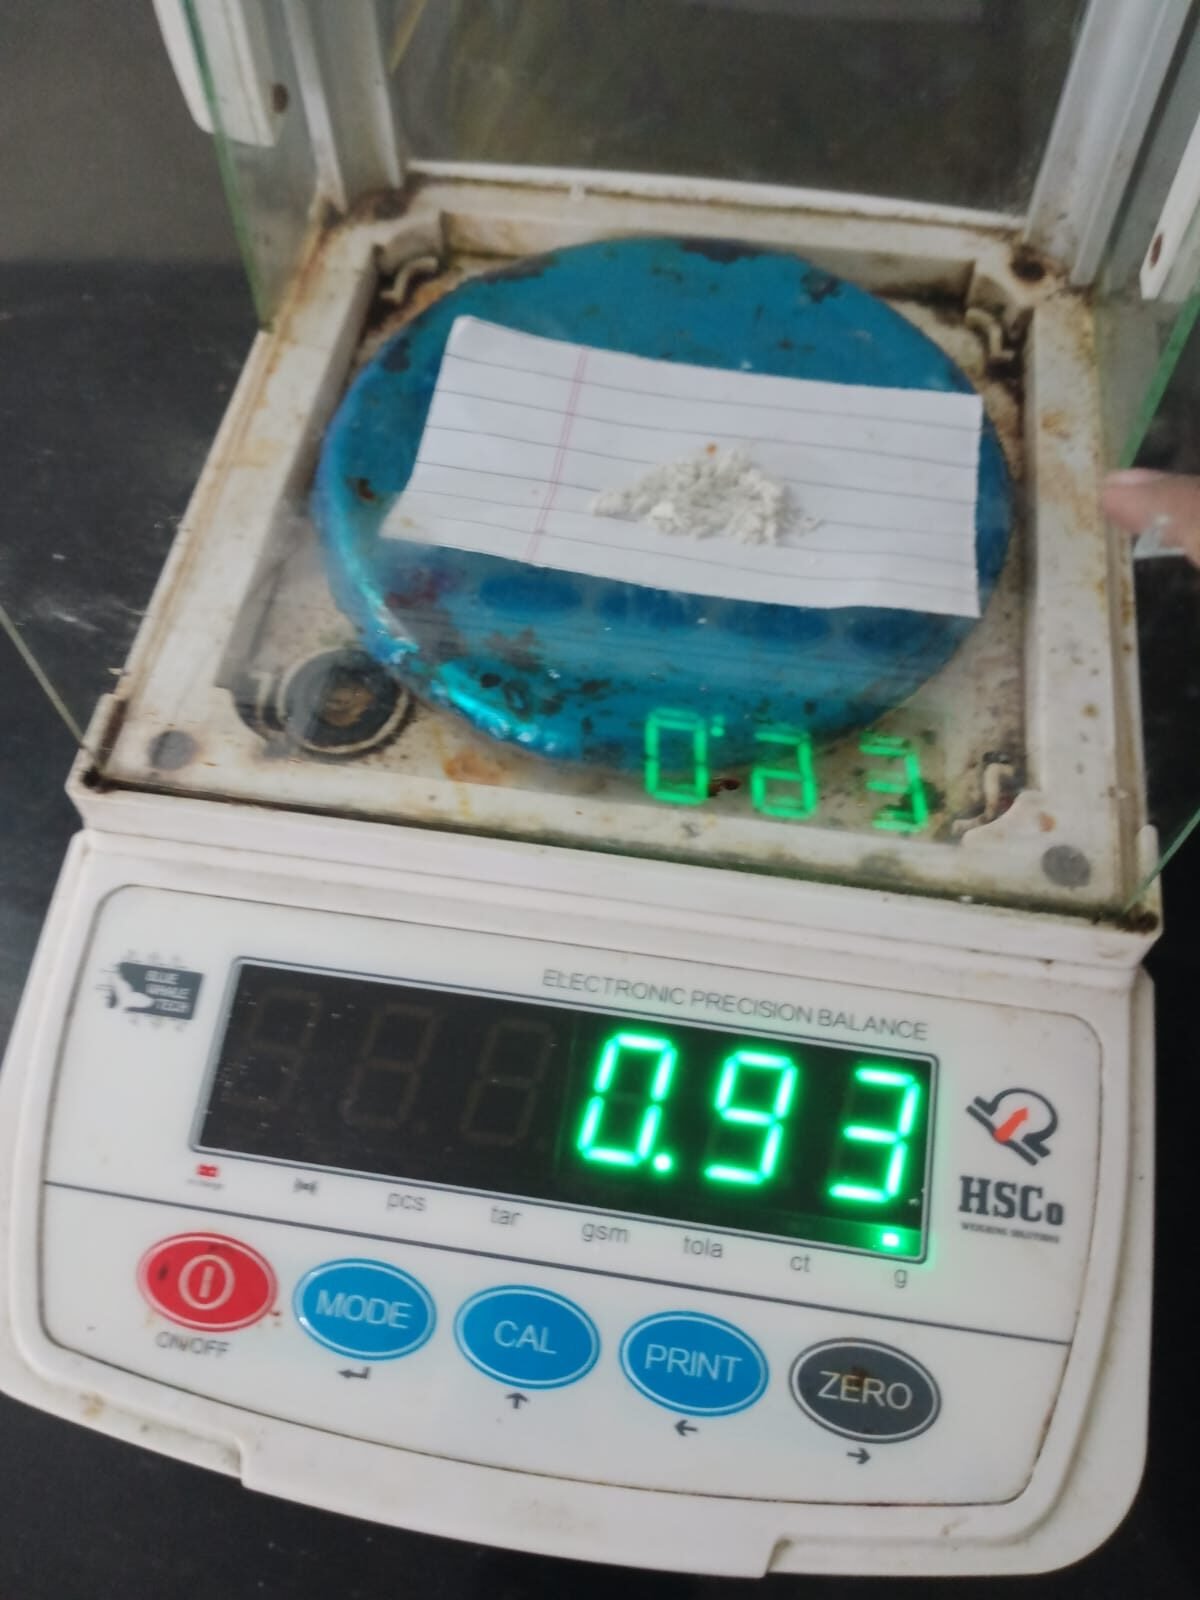
Take out the Silver sulphate with spatula and weigh.
From 1.60 gram used silver sulphate 0.93 gram silver sulphate wasrecovered.
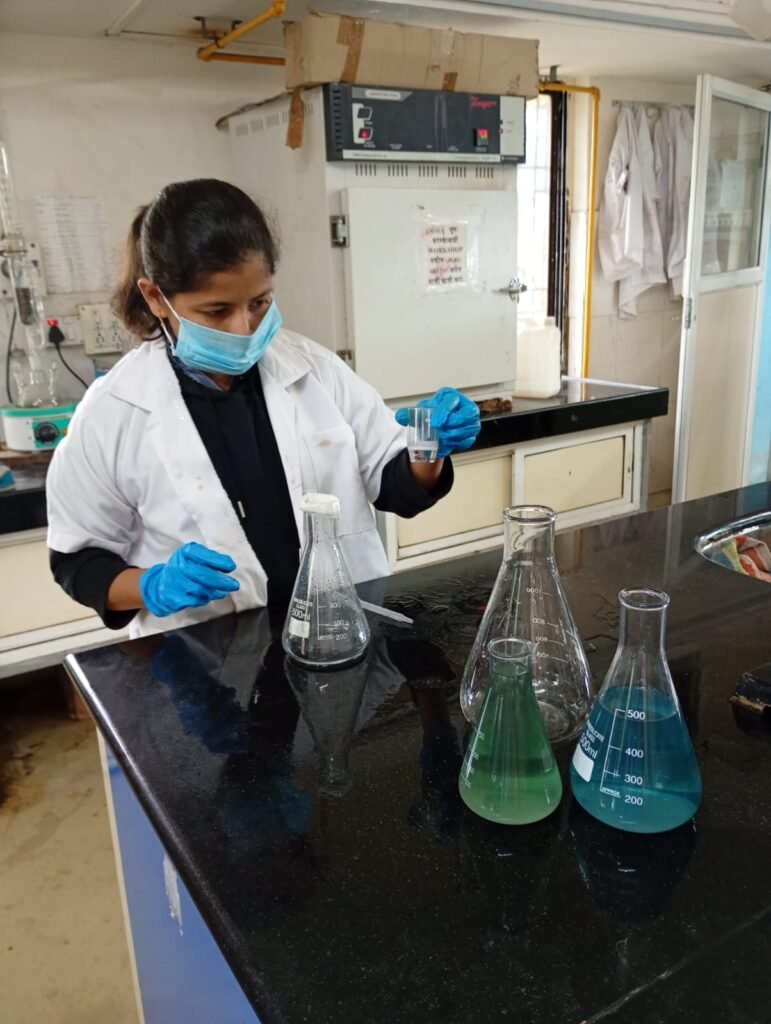
Cost of Recovery process:
Chemicals used for 1 batch, 800ml
800ml waste
H2SO4 conc. 50ml = 15 Rs
HCl conc. 80ml = 15 Rs.
HNO3 6ml = 10 Rs
NaOH 4g + Glucose 3g = 5 Rs
Total = 70-80 Rs per batch.
We got 0.93g value = 0.93 x 220 = 204 Rs
Our profit = 204 – 80 = 124 Rs per batch
don’t through toxic waste.
For COD, 1 test needs 0.40g Ag2SO4. So 0.93g = 2 COD test free.
Electricity – 2 boiling + oven 100°C for 50 min = 25 Rs.
Total = 70-80 Rs per batch.
Expected Silver = 1.6 g.Actual Silver = 0.93g
That is 58% efficiency.It is affordable but only if we collect waste in bulk.Use less hot water in Day 2 Step 14, because Ag2SO4 is slightly soluble in hot water,that’s whe we lose some.
We can also use the filtered filtrate H2SO4.
But the filtrate have mixture of H2SO4 + HNO3 + water, so 0.2 to 0.4g silver sulphate always stays dissolved.So, we cannot directly use it for COD because HNO3 will interfere. HNO3 is itself an
oxidizer and will give false high COD reading.Before using for COD, we have to remove HNO3.
Procedure.
1) Take that filtrate in a beaker,heat it at 150-180°C.
2) Brown fumes of NO2 will come out. Heat till brown fumes completely stop & white dense fumes of H2SO4 / SO3 start coming.let it cool.
3) Now HNO3 is gone.Only H2SO4 + AgSO4 is left.Now we can add this directly to the main COD reagent bottle.
So in next batch, we will need less fresh H2SO4 and less fresh Ag2SO4