Activity No.1
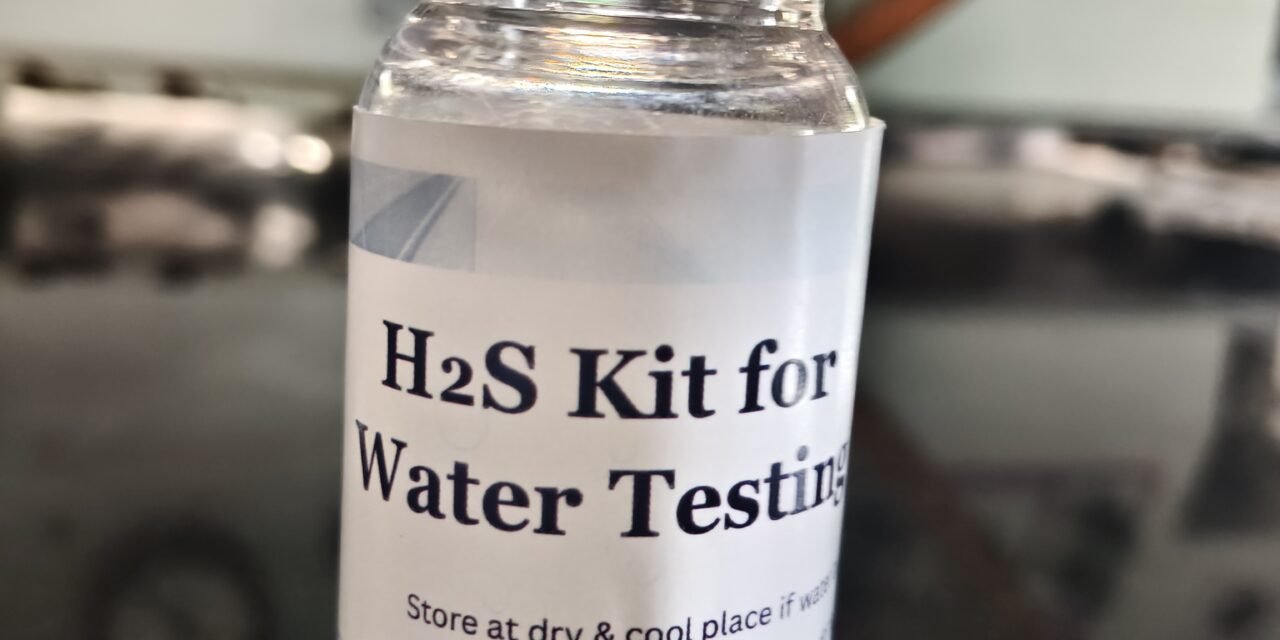
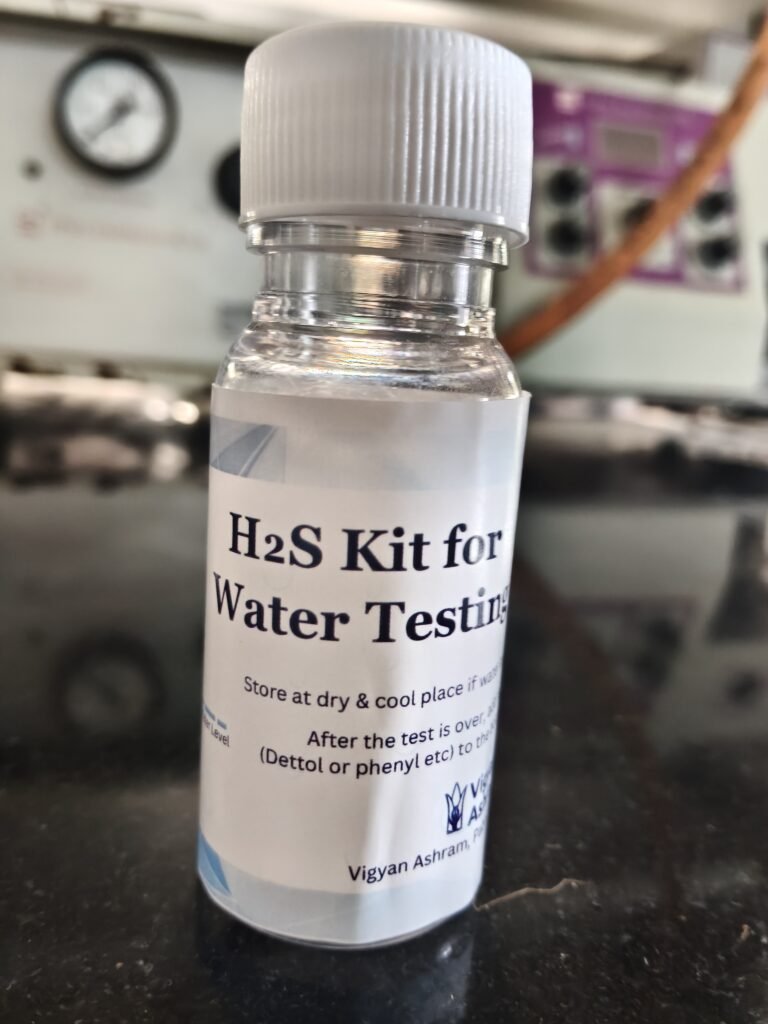
Preparation of H2S Water kit
14/11/2025
Introduction
H₂S (Hydrogen Sulfide) test kits are widely used for the rapid detection of bacterial contamination in water. These kits work by indicating the presence of H₂S-producing bacteria, which are often associated with fecal contamination. The test is simple, reliable, and suitable for both laboratory and field applications.
- Common bacteria associated with fecal contamination include E. coli, Salmonella, and H₂S-producing bacteria.
- Drinking or using water with fecal contamination can cause waterborne diseases like diarrhea, cholera, typhoid.
Materials
- Whatman Filter Paper No. 41
- Prepared H₂S media
- 50 plastic bottles (30 ml each, new)
- Bottle caps
- 70% Ethanol
Equipment
- Laminar Air Flow (LAF) Cabinet
- UV light (for sterilization in LAF)
- Oven or incubator (50°C)
- Forceps (sterile)
- Sterile gloves
- Scissors or paper cutter (for cutting strips)
- Marker (for labeling bottles and strips)
H2S Media Preparation for 50 Bottle :
| Name of Chemical | Quantity (gm/ml) |
|---|---|
| Bacteriological grade peptone | 20 gm |
| Di – potassium hydrogen phosphate | 1.5 gm |
| Ferric ammonium citrate | 0.75 gm |
| Sodium Thiosulphate | 1.0 gm |
| L-cysteine HCL | 0.125 gm |
| Liquid soap | 1.0 ml |
| Distilled water | 50 ml |
Procedure
Step 1: Preparation of Test Strips
- Take Whatman Filter Paper No. 41.
- Cut the paper into strips of 8 cm × 2.5 cm using scissors or a paper cutter.
- Ensure cuts are even to fit into the 30 ml bottles easily.
- Prepare the H₂S media in a clean, sterile container.
- Dip each paper strip completely into the media so it is fully saturated.
- Handle strips only with sterile forceps to avoid contamination.
- Place all dipped strips on a clean tray to dry.
- Dry the strips in an oven at 50°C for 40 minutes.
- This ensures that the media adheres to the paper and excess moisture is removed.
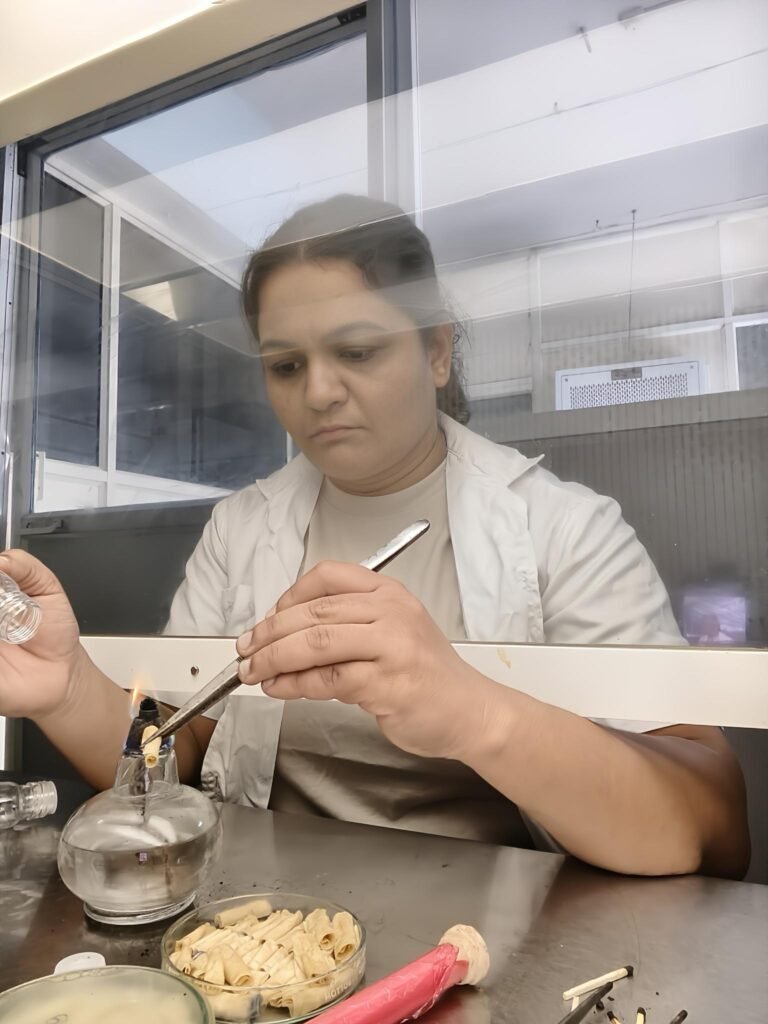
- After drying, transfer the strips into the laminar air flow (LAF) cabinet for sterilization.
Step 2: Sterilization of Plastic Bottles
- Take 50 new 30 ml plastic bottles.
- Clean the outer surface with 70% ethanol before placing them in the LAF.
- Place the bottles under UV light in the laminar air flow cabinet for 1 hour.
- This step sterilizes the bottles and prevents bacterial contamination.
- After sterilization, keep bottles inside the LAF until ready for use.
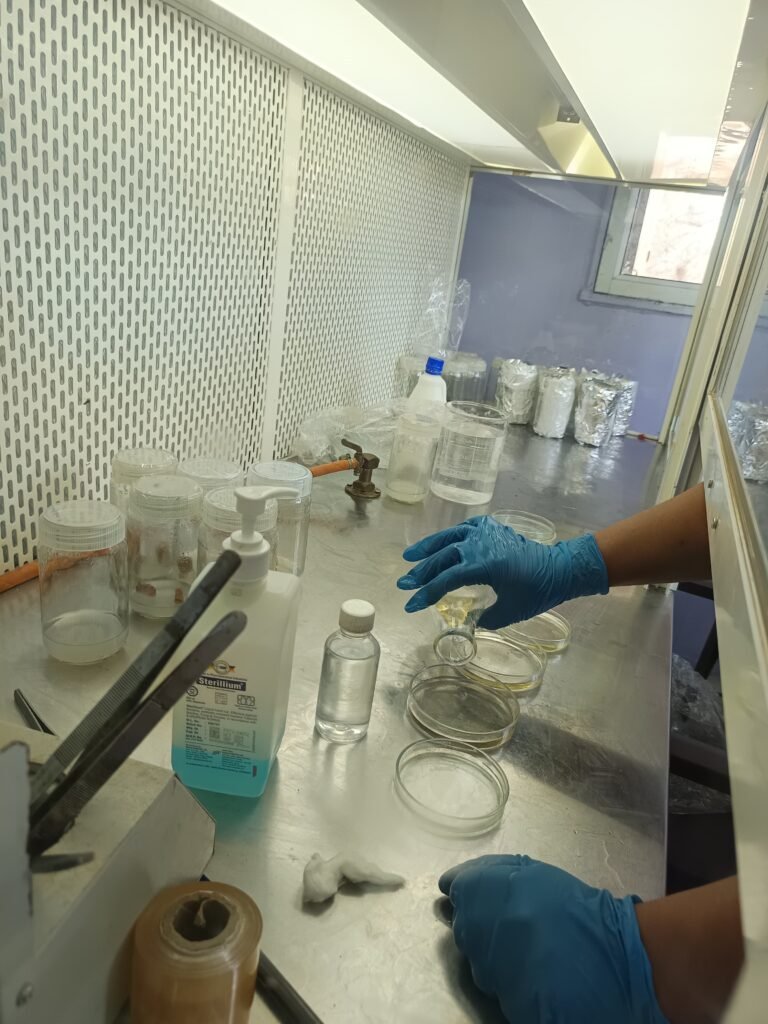
Step 3: Loading Strips into Bottles
- Wear sterile gloves before handling strips or bottles.
- Use sterile forceps to pick up each dried H₂S strip.
- Place one strip per bottle.
- Avoid touching the strip with your hands or the bottle walls.
- Secure the bottle with a tightly fitting cap immediately after placing the strip.
- Label each bottle with a unique ID or date for tracking.
Step 4: Post-Preparation Handling
- Store the prepared H₂S kits in a clean, dry place away from direct sunlight.
- Handle bottles carefully to prevent moisture or contamination from entering.
- Inspect bottles for any signs of contamination before use.
Precautions
- Always work inside a laminar air flow cabinet when handling strips or bottles.
- Use 70% ethanol to sanitize surfaces, equipment, and hands.
- Wear sterile gloves at all times during the procedure.
- Use sterile forceps for transferring strips.
- Ensure bottle caps are tightly closed to prevent contamination.
- Avoid prolonged exposure of strips to open air.
- Regularly check UV lights for functionality to ensure sterilization is effective.
Workflow Summary (Step-by-Step Visual Guide)
- Cut Filter Paper → 8×2.5 cm strips
- Dip Strips → H₂S media
- Dry Strips → Oven 50°C, 40 min
- Sterilize Strips → Laminar Air Flow
- Sterilize Bottles → UV light, 1 hour in LAF
- Load Strips → Forceps, one strip per bottle
- Seal & Label → Tight caps, record ID/date
Activity No.2
Tital : p & G purifier of Water Packet Test
P&G Purifier of Water
Date: 28/11/2025
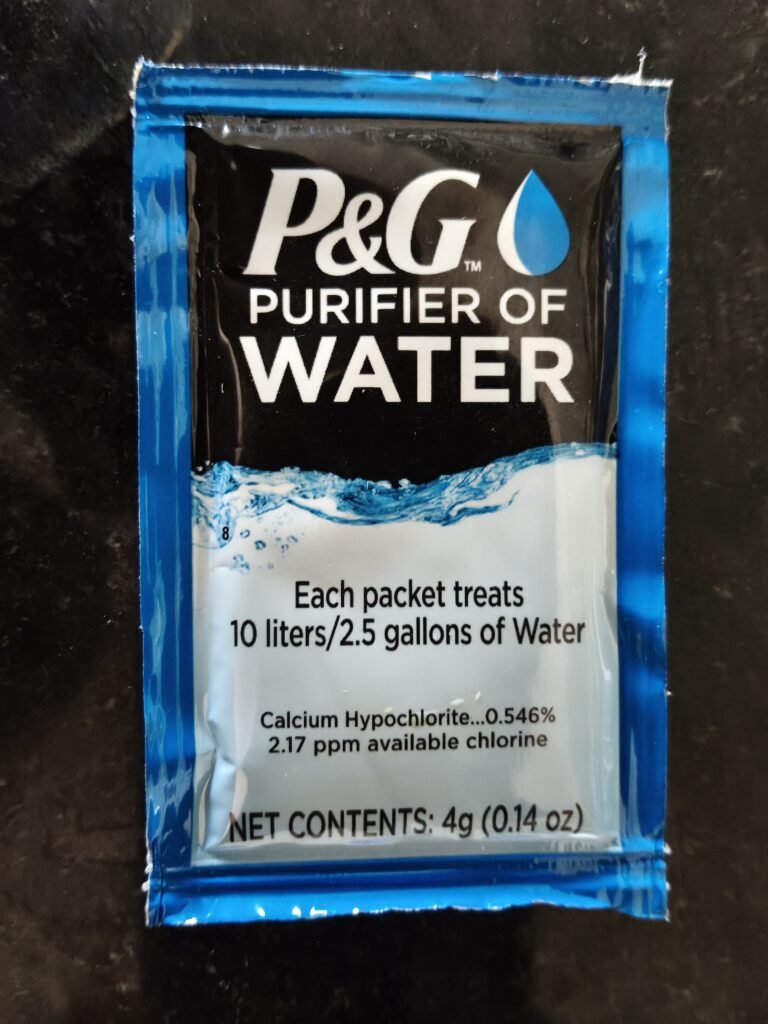
Name: P&G Purifier of Water
Net Content: 4 gm
One packet treats: 10 liters (2.5 gallons) of water
Active Ingredients
- Calcium Hypochlorite – 0.546%
- 2.17 ppm available chlorine
Purpose
Removes dirt, parasites, viruses, bacteria, and makes contaminated water safe to drink.
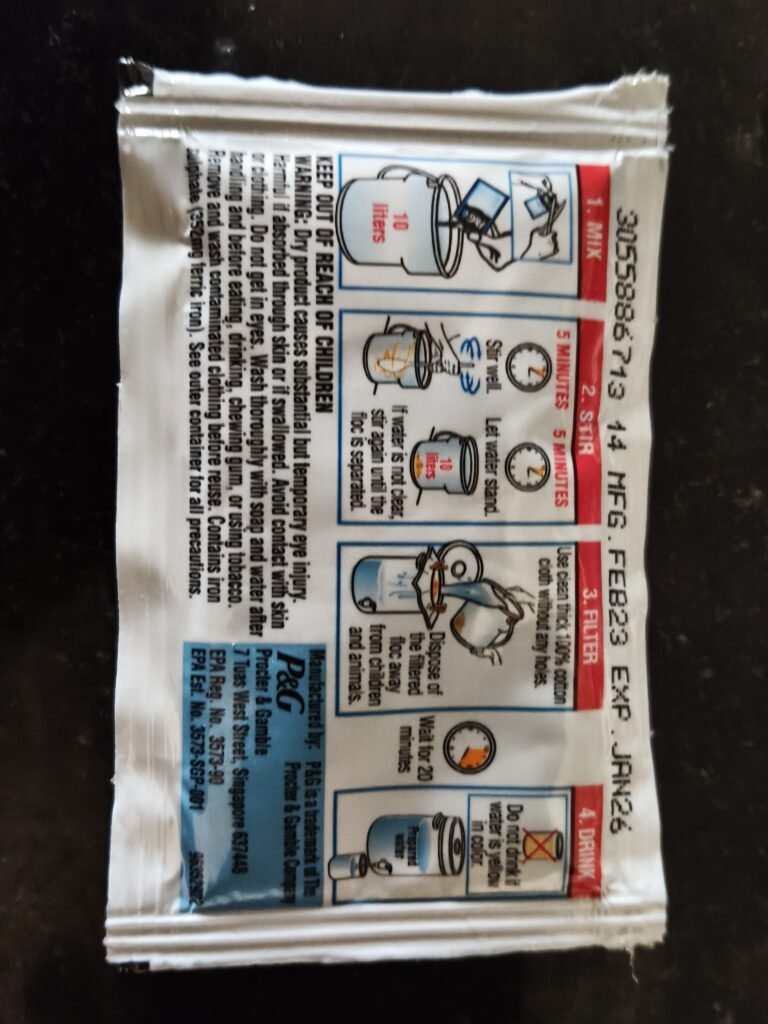
How to Use This Packet (Step-by-Step)
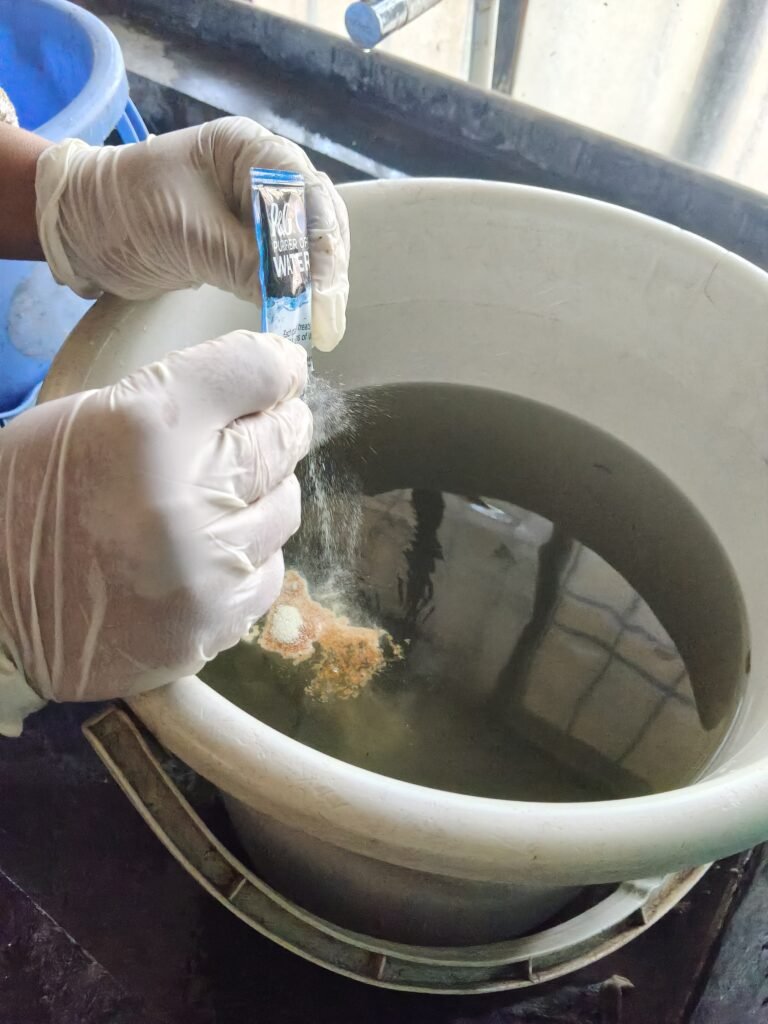
Step 1
- Take 10 liters of contaminated water in a clean bucket.
- Add one full 4 gm packet into the water.
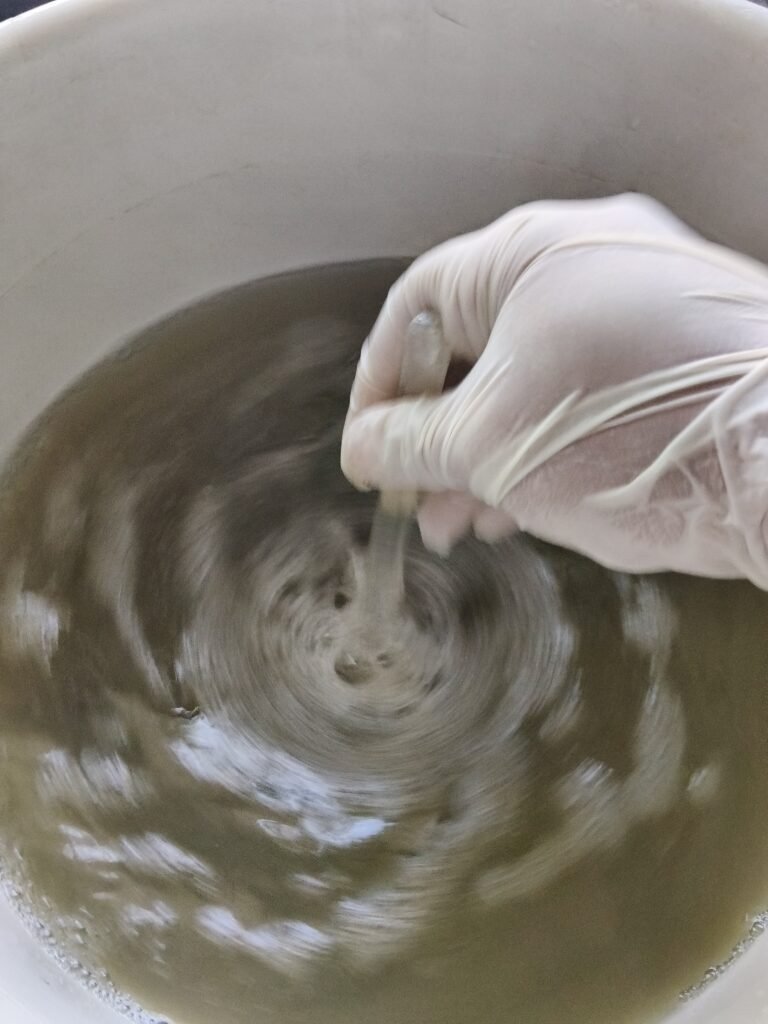
Step 2
Stir the water vigorously for 5 minutes so the powder mixes properly.
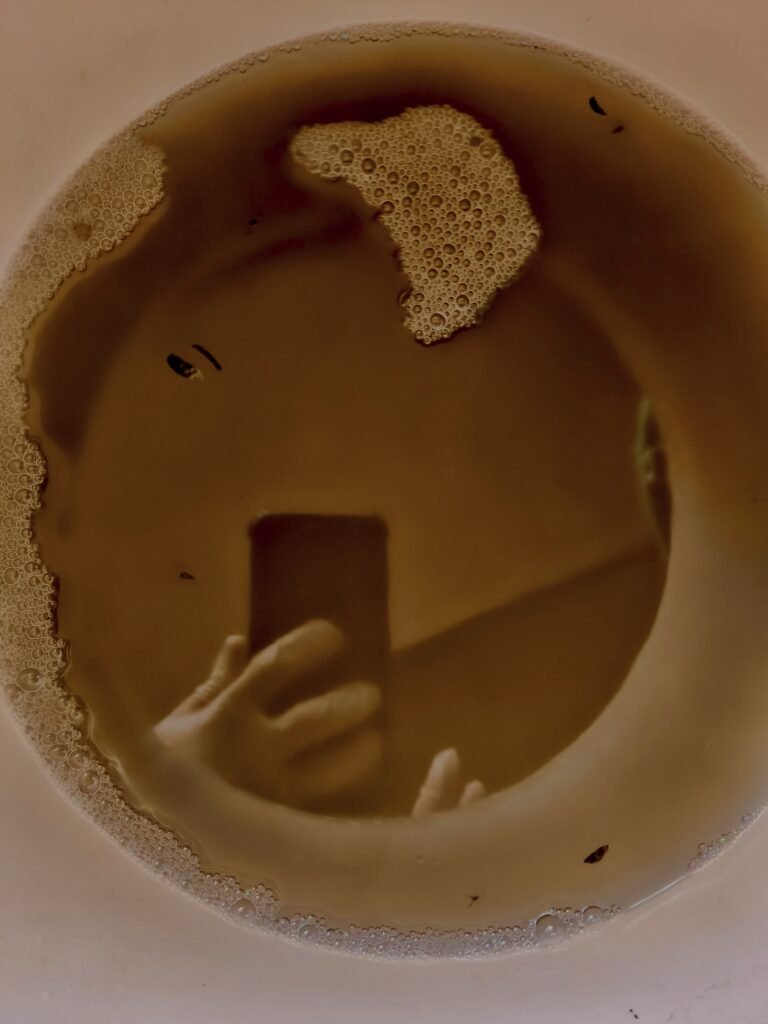
Dirt and suspended particles start settling.
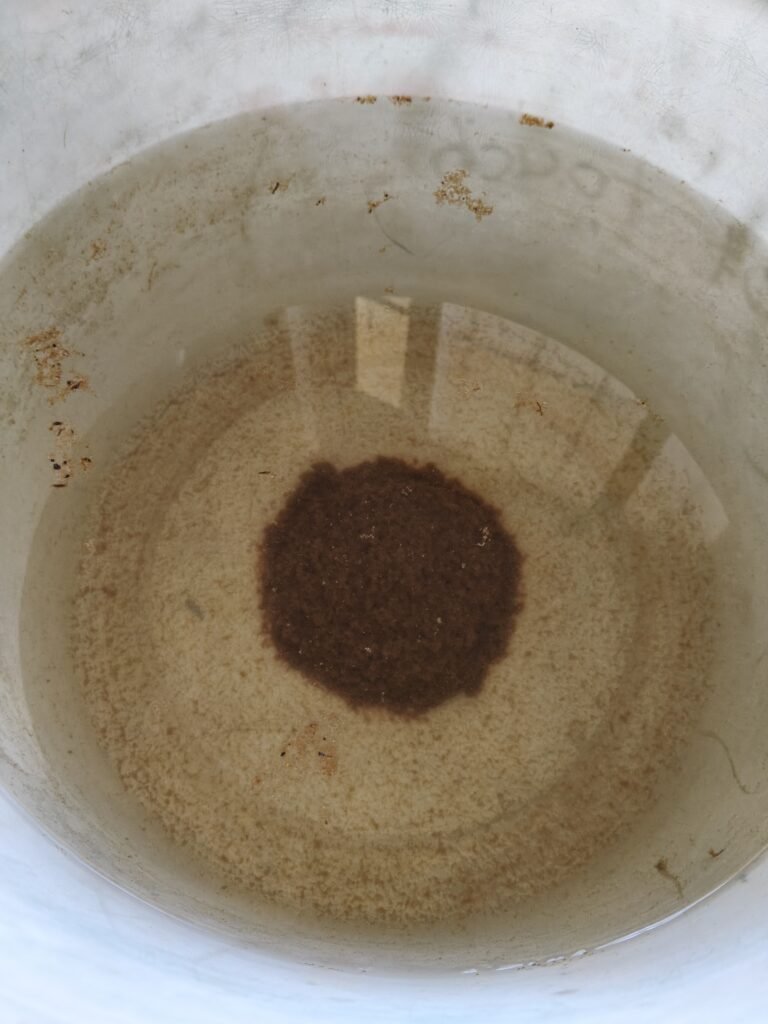
Leave water undisturbed for 5 minutes so heavy particles settle at the bottom.
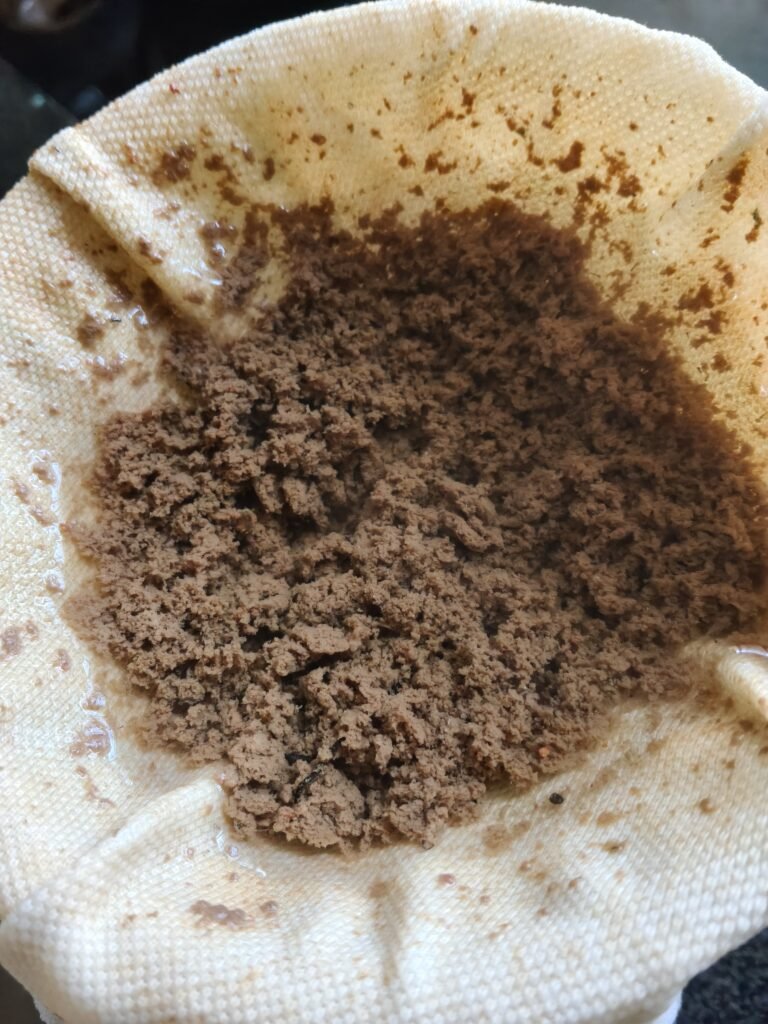
Step 3 – Filter
- Without disturbing the settled dirt, pour the clear water through a clean cloth/cotton filter into another container.
- Wait 20 minutes after filtering.
Chlorine will disinfect the remaining microorganisms.
Step 4 – Drink
The water is now safe for drinking.
Do not drink if water is yellow in colour.
Advantages of P&G Purifier of Water
- Removes dirt and turbidity (makes muddy water clear).
- Heavy particles settle at the bottom.
- Kills germs and makes water safe.
- Contains chlorine that kills: Bacteria, Parasites, Harmful microorganisms
- Works on very polluted water: River water, Pond water, Flood water, Contaminated household water, Stored water
- Improves taste and smell after treatment.
- Water smells better and tastes fresher.
- Easy to use (simple 4-step process: Mix → Stir → Filter → Wait & drink).
- Quick process (Total purification time: ~25–30 minutes).
- Portable & lightweight.
- One small 4 gm packet can treat 10 liters of water.
- Cost-effective—replaces expensive purification systems for small quantities.
- Useful for traveling, camping, emergencies.
- Safe for emergency or disaster use (floods, electricity failure).
- Reduces waterborne diseases—helps prevent diarrhea, cholera, typhoid, dysentery.
Comparison
| Parameter | P & G Purifier of Water | RO Water Purifier |
|---|---|---|
| 1) Use | Designed for emergency use, daily in low-income or disaster-hit areas, suitable for tap/river/borewell water | Designed for daily use, commonly household use, suitable for tap/borewell water |
| 2) Type of Purification | Uses chemical treatment, chlorine dissolution, removes dirt, settles dirt at bottom, removes microorganisms | Uses reverse osmosis membrane, removes dissolved salts, chemicals, heavy metals, microorganisms |
| 3) Speed | 2–3 min for 10 liters | 2–3 liters per minute |
| 4) Cost | Very cheap | High cost (machine + maintenance filters) |
| 5) Power Requirement | No electricity | Electricity required |
| 6) Regular Use Case | Emergencies, outdoor fields, relief work, water contaminated with floodwater | Regular household drinking water use, areas with high TDS or chemical contamination |
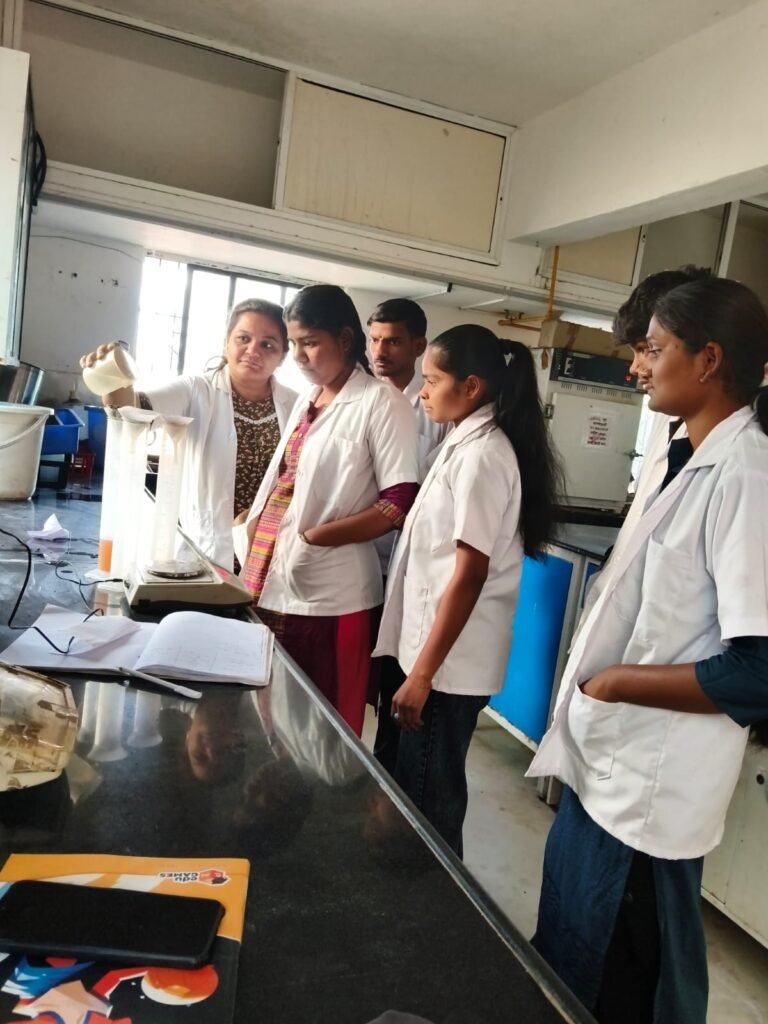
Observation Table :
| Sample | Parameter (Before) | P&G Purifier of Water (After) |
|---|---|---|
| Sample 1 (Grey water) | TDS (ppm): 412 EC (m S/cm): 0824 pH: 8.06 Visual obs: Blackish water | TDS (ppm): 0461 EC (mS/cm): 0922 pH: 7.78 Visual obs: Clear water, no particles |
| Sample 2 (Tap water) | TDS (ppm): 0255 EC (m S/cm): 0510 pH: 7.95 Visual obs: | TDS (ppm): 0337 EC (mS/cm): 0675 pH: 7.15 Visual obs: Clear water |
| Sample 3 (Water mixed with soil) | TDS (ppm): 0247 EC (m S/cm): 0494 pH: 8.19 Visual obs: Muddy or turbid water | TDS (ppm): 0340 EC (mS/cm): 0680 pH: 7.35 Visual obs: Clear water, no particles |
निष्कर्ष (Result):
या प्रयोगात P&G Purifier of Water वापरून वेगवेगळ्या प्रकारचे पाणी (Grey water, नळाचे पाणी व माती मिसळलेले पाणी) स्वच्छ करण्यात आले.
१. शुद्धीकरणानंतर सर्व नमुन्यांचे पाणी स्वच्छ, पारदर्शक व कणरहित झाले. यावरून हा purifier माती, घाण व गढूळपणा चांगल्या प्रकारे काढतो हे दिसून आले.
२.पाण्याचा pH 8 च्या आसपासून 7 ते 7.7 दरम्यान आला, म्हणजे पाणी पिण्यास अधिक सुरक्षित झाले.
३. शुद्धीकरणानंतर TDS व EC किंचित वाढले, कारण purifier मधील रसायनांमुळे काही घटक पाण्यात विरघळतात. ही वाढ हानिकारक नाही.
४. हा purifier पाण्यातील जंतू, घाण व सूक्ष्म कण नष्ट करून पाणी तात्काळ वापरण्यास योग्य करतो.
५. वीज न लागणारा, स्वस्त व जलद असल्यामुळे हा purifier आपत्कालीन परिस्थिती, पूरग्रस्त भाग, ग्रामीण भाग वापरासाठी खूप उपयुक्त आहे.
थोडक्यात निष्कर्ष:
P&G Purifier of Water पाणी स्वच्छ व सुरक्षित बनवतो आणि आपत्कालीन परिस्थितीत पिण्यायोग्य पाणी मिळवण्यासाठी अतिशय उपयुक्त आहे.
Activity No.3
Banana Plant Tissue Culture Training for DBRT Students
Date : 15 Dec 2025
Objective:
To provide hands-on training to DBRT students on the process of plant tissue culture using banana as a model plant.
The aim was to help students understand the principles, stages, and practical skills required to grow disease-free plants through tissue culture.
Date : 15 Dec 2025
I taught Plant Tissue Culture (Banana) to (Suhani , vansh , sahil ,gaytri ,Ruturaj,) students, explaining both theoretical and practical aspects.
Date : 16 Dec 2025
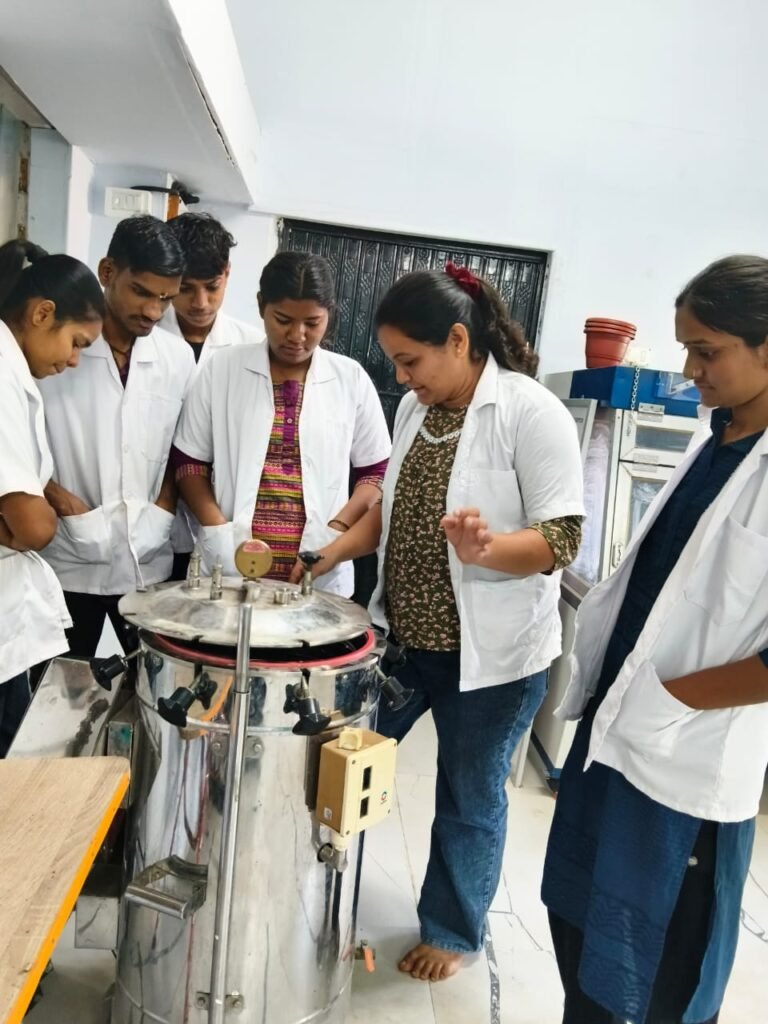
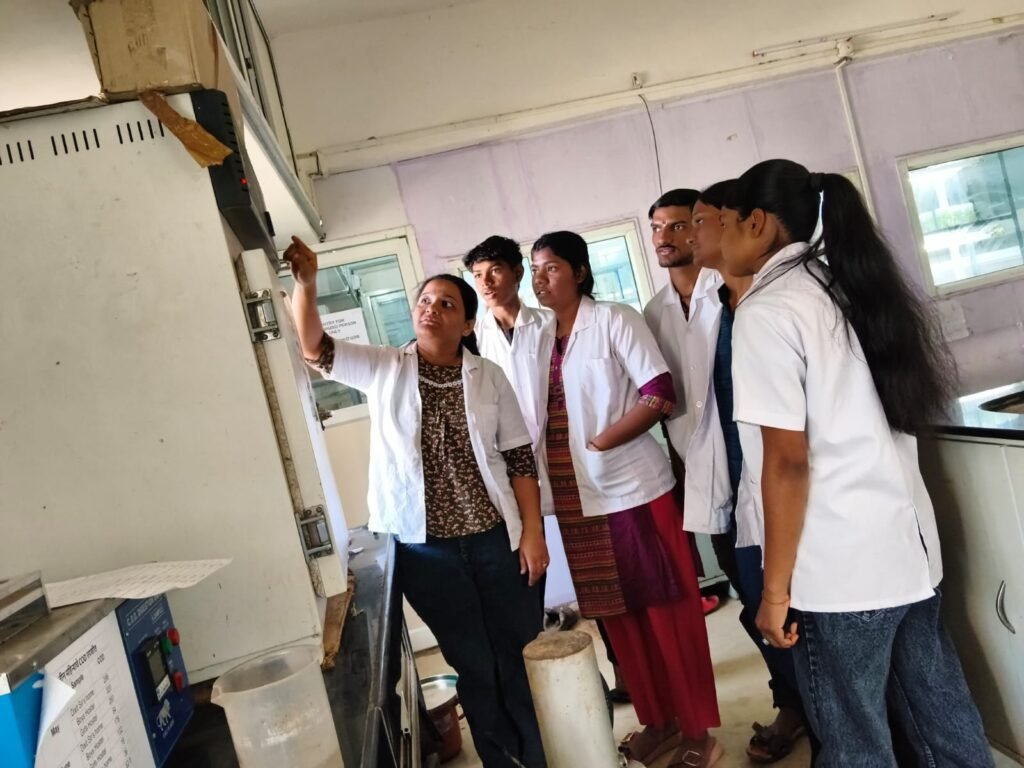
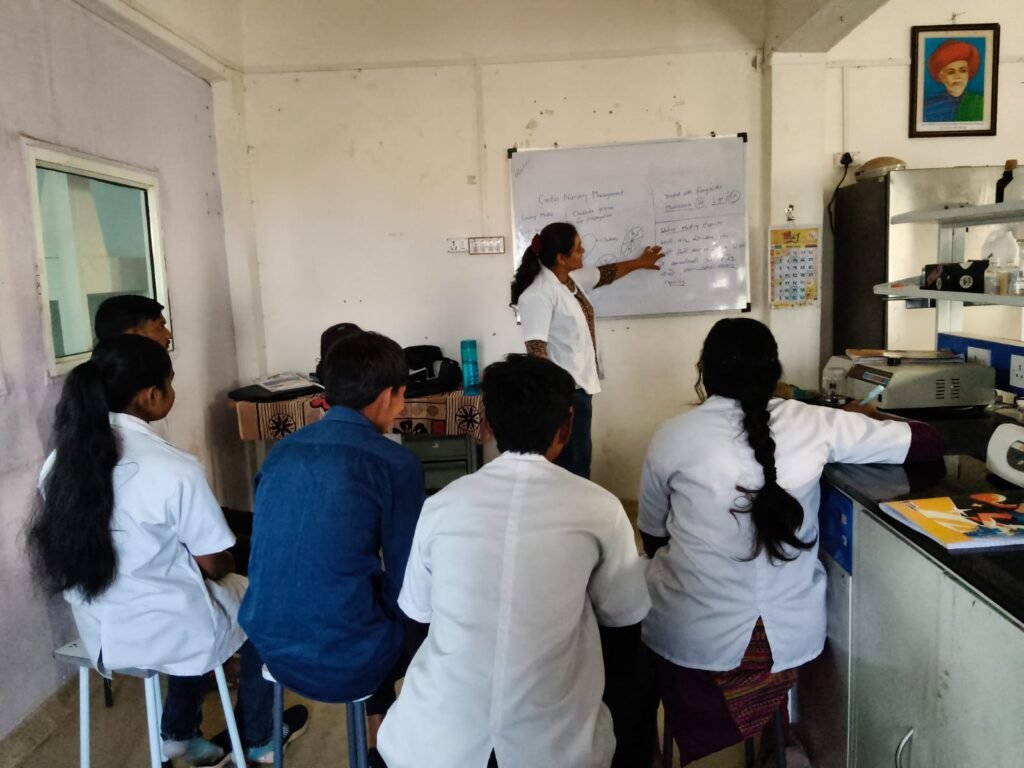
I demonstrated the use of Autoclave, Hot Air Oven, and pH Meter, and also explained how to discard contaminated culture bottles to Omkar, Suhani, Sahil, Gayatri, Payal and Ruturaj.
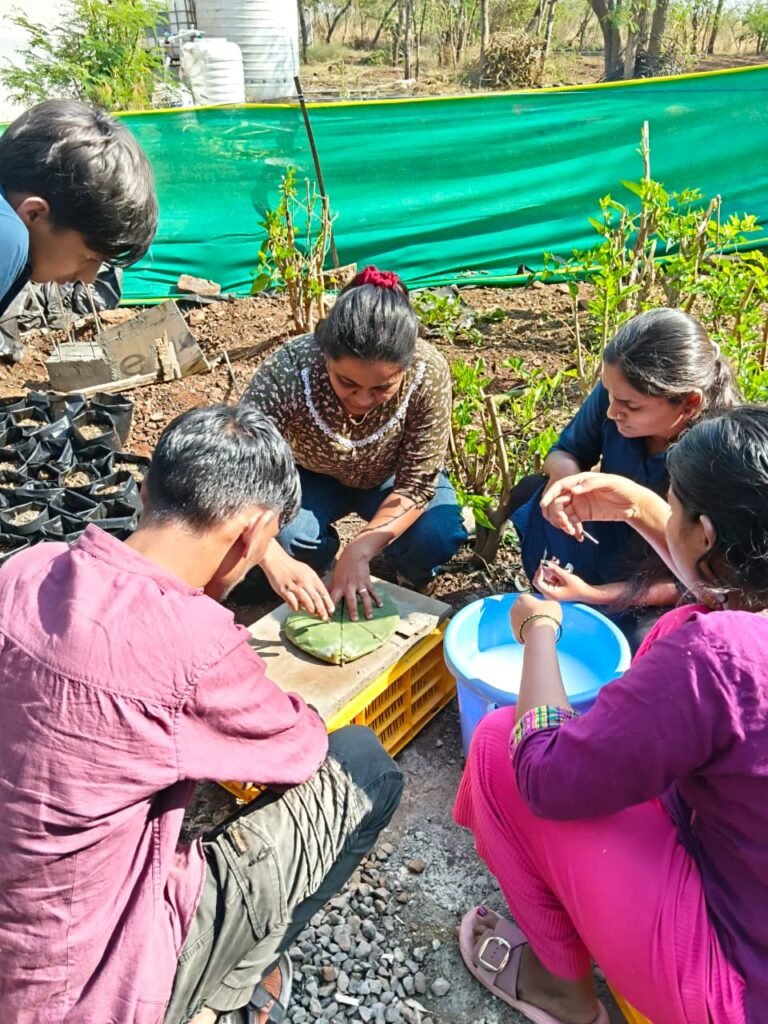
In addition, I taught them about Cactus Nursery Management — including which growing media should be used, how to measure the water-holding capacity of the soil, and how to cut and plant cactus cladodes properly.
All these topics were taught in detail, and the students also performed the practical sessions under my guidance.

Date: 28/12/2025
Today, I taught DBRT students (Suhani, Ruturaj, and Gayatri) the procedure for preparing MS medium required for Plant Tissue Culture (PTC).I also explained that the pH of the prepared MS medium should be maintained between 5.8 and 5.9.Additionally, I demonstrated how to adjust the pH using NaOH or HCl if it becomes higher or lower than the required range.
7 Jan 2026
Today, I taught Gayatri, Jyotsna, and Niraj the plant tissue culture technique for sweet potato.
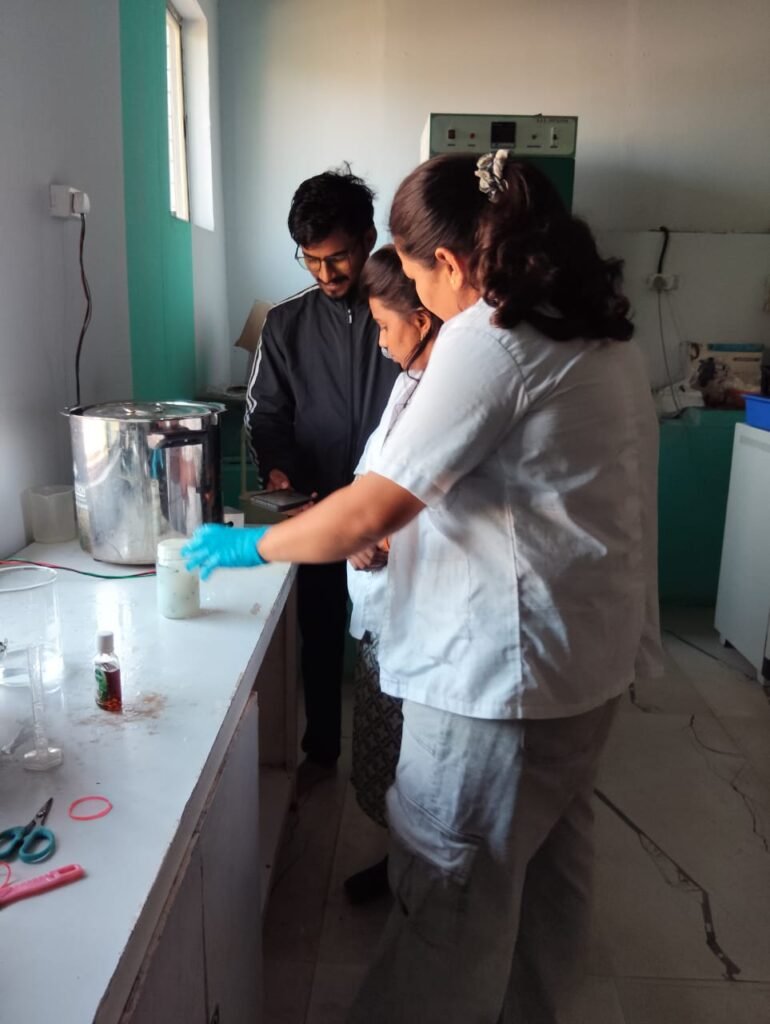
9 Jan 2026
I taught Niraj Masirkar and Gayatri how to prepare the H₂S kit for water testing. During the training, I explained the complete procedure, including preparation of the medium, use of Whatman filter paper No. 41 (strip size 8 × 2.5 cm), autoclaving of all materials used for kit preparation, rolling of the strips, and placing the strips into bottles under sterile conditions.
18 Jan 2026
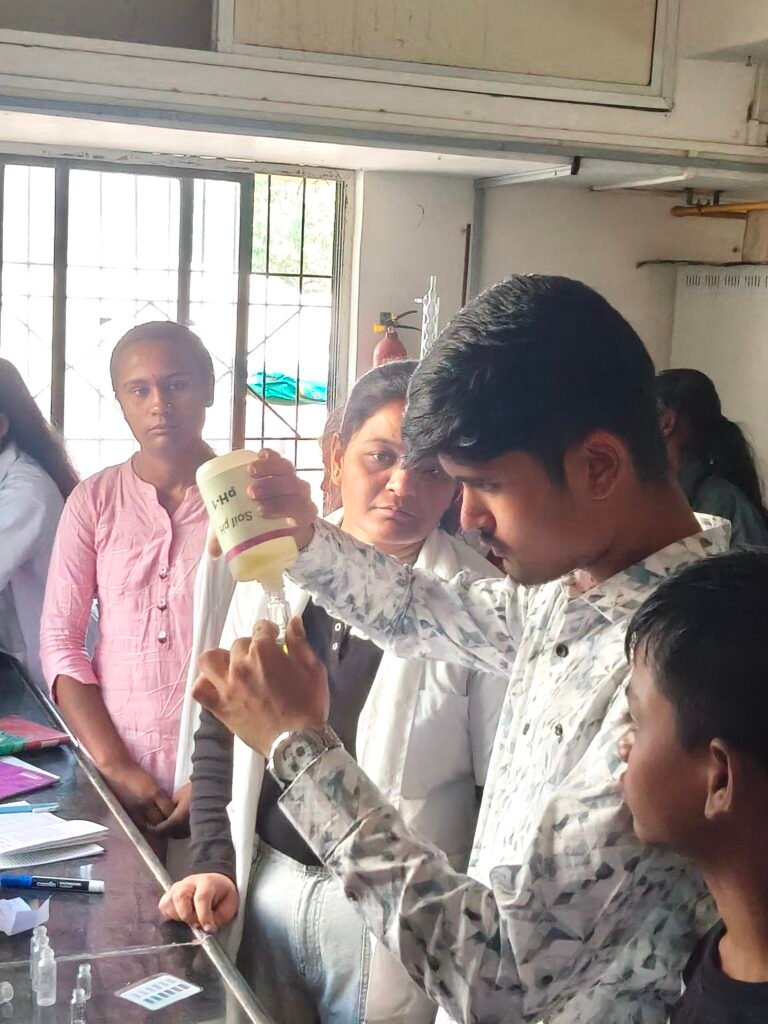
Teaching soil testing to 8 students who had come from a Educational trust in Bhor village.
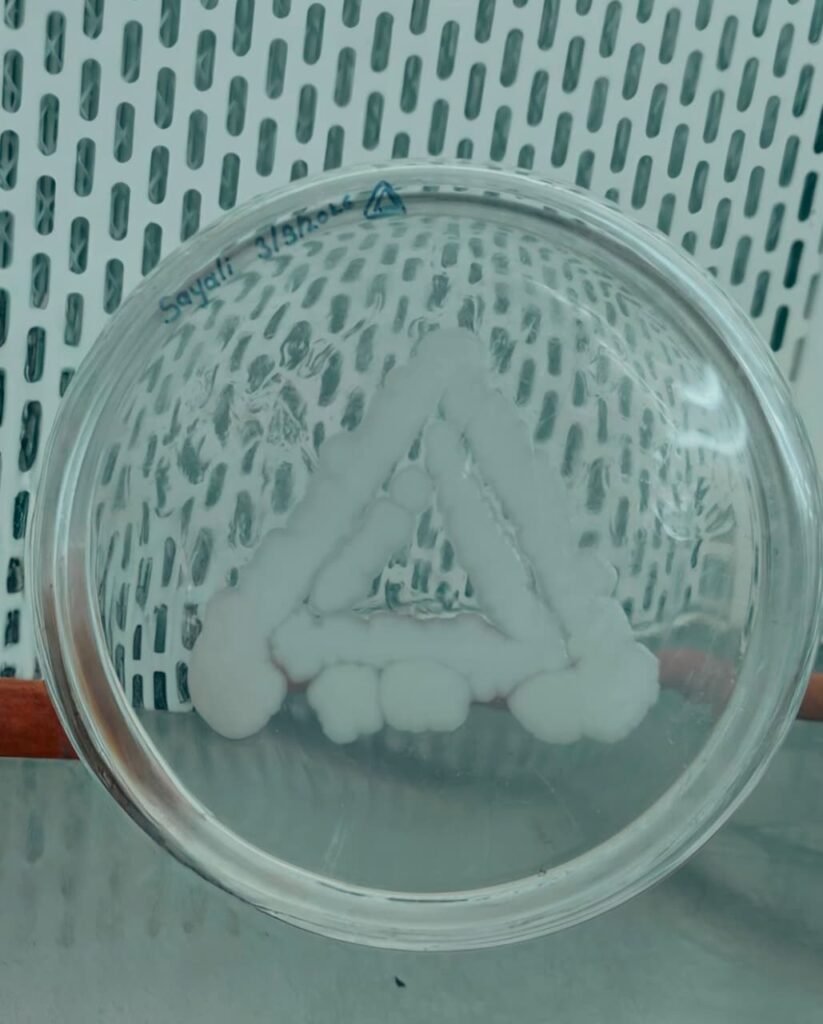
Activity No.4
making bacterial Art Using Ager Plate
Date : 3 March 2026
Objective : To create designs or words using bacteria on nutrient agar plates. This activity helps students understand bacterial growth, aseptic technique, and how microbes can be used in creative scientific expression.
What will you make?
- A Bacterial Art Plate — a Petri dish showing a creative design, pattern, or letters made using pigmented bacterial cultures.
- Materials Needed
- Nutrient Agar medium (ready-made or prepared in lab)
- Sterile Petri plates
- Pigmented bacterial culture (e.g., Micrococcus luteus, Serratia marcescens, or safe classroom strains)
- Cotton swabs or inoculating loop
- Marker and labels
- Sterile gloves
- Spirit lamp or alcohol burner
- 70% alcohol or sanitizer
- Incubator (30–37°C) or warm corner for growth
- Equipment
- Autoclave or pressure cooker (for sterilization)
- Hot plate or microwave (for melting agar)
- Laminar air flow or clean working area
- Wire loop holder
- Waste disposal beaker with disinfectant
Collect Bacteria Sample
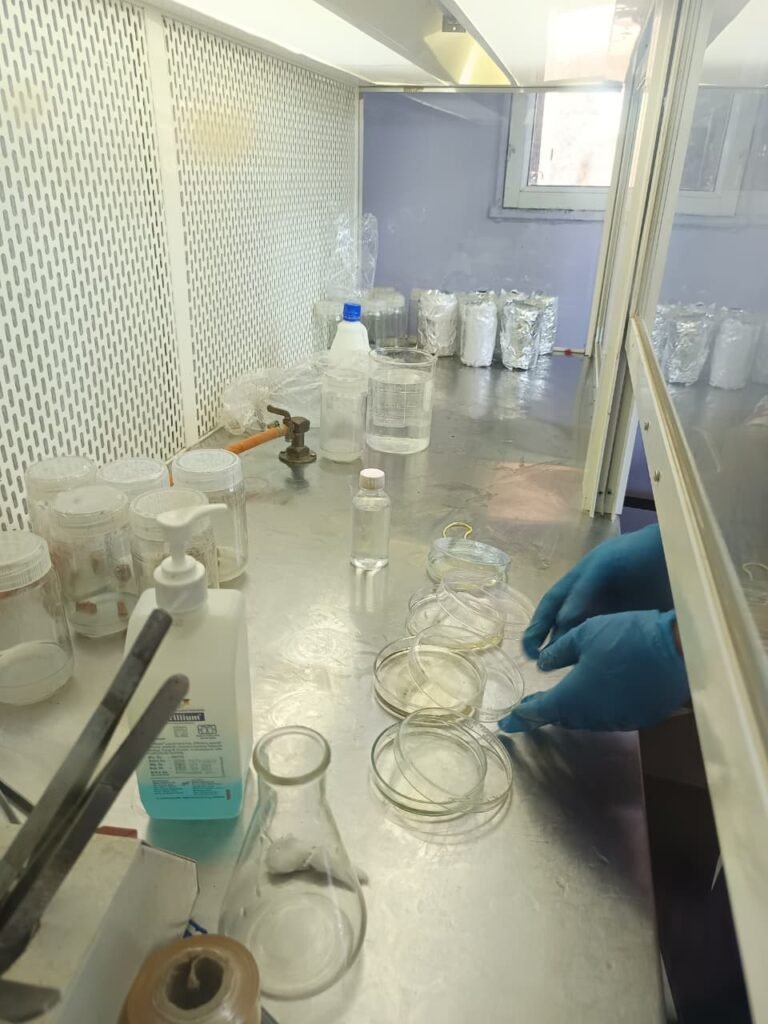
Procedure
- Prepare Nutrients Agar plate
- Take a 250 ml conical flask, clean it properly, and then wash it once with distilled water.
- Add 50 ml of distilled water to the conical flask, then weigh 2.8 g of nutrient agar and add it. After mixing, make up the solution to 100 ml with distilled water.
- Clean 5 Petri plates, then keep them in a hot air oven at 120°C. After 10 minutes, remove them from the oven, wrap them in an autoclave bag along with the conical.
- After wrapping the Petri plates and nutrient agar in an autoclave bag, place them in the autoclave at 121°C and 15 psi pressure for 15–20 minutes.
- After cleaning the laminar air flow, switch on the UV light for 15 minutes.
- After autoclaving, remove the nutrient agar and Petri plates, and place them in the laminar air flow with the blower and light on.
- Pour warm, sterile nutrient agar into Petri dishes (about 15–20 mL each).
- Let them cool and solidify completely ( 10-15 minutes )
- Plan Your Design:
- Draw your design or text on paper first to guide your art.
- Choose 1–2 types of bacteria with different colors for contrast.
- Inoculation (Drawing with Bacteria):
- Work near a flame or in a clean area.
- Dip a sterile cotton swab or loop into the bacterial culture.
- Gently “draw” or “write” on the agar surface according to your design.
- Do not press too hard—just touch the surface lightly.
- Label and Incubate:
- Close the lid and tape the plate edges.
- Label with your name, date, and type of bacteria used.
- Place the plate upside down in an incubator at 30–37°C for 24–48 hours.
- Observe the Result:
- After incubation, observe the design formed by bacterial colonies.
- Different bacteria will produce different colors and textures.
- Record your observations and take a photo of your bacterial art.
- Safety Precautions
- Always wear gloves and avoid touching bacterial cultures directly.
- Keep food and drinks away from the lab.
- Dispose of used plates by soaking them in disinfectant (bleach) before throwing away.
- Wash hands thoroughly after the activity.
- Use only safe, non-pathogenic bacterial strains approved by your teacher.
Activity No.5
Project Title: Tea Preparation Experiment
Conducted by: Tushar Kukreja
Duration: 3rd April to 7th April
- Objective
To study and improve the tea preparation process by controlling parameters like temperature, stirring, time, and pressure, and to reduce issues like inconsistency and aroma loss. - Experimental Setup
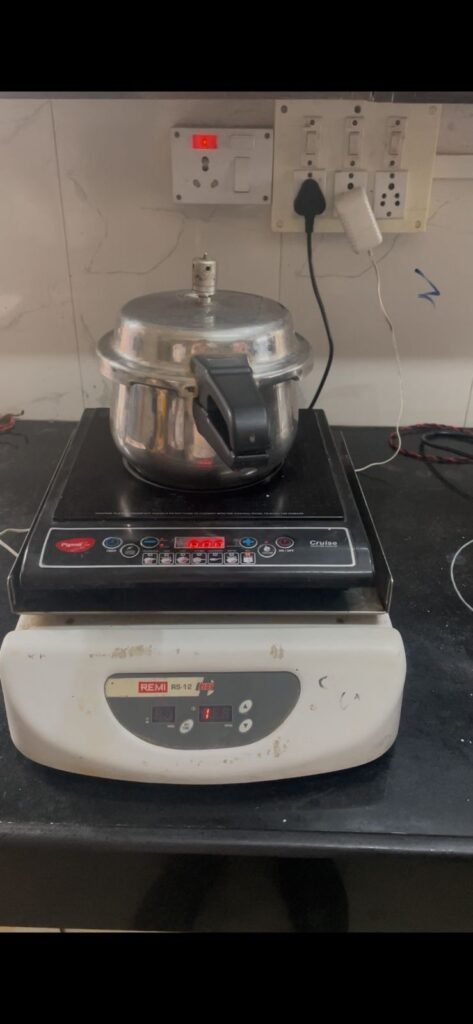
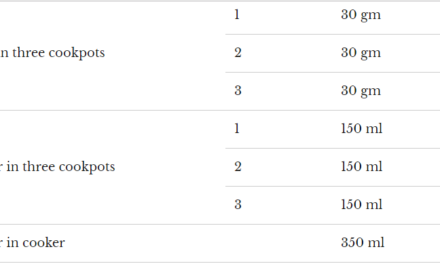
Setup 1: Induction Cooker Method
Induction cooker used
Heater settings: 600W, 800W, 1000W
Tea prepared under controlled heating conditions
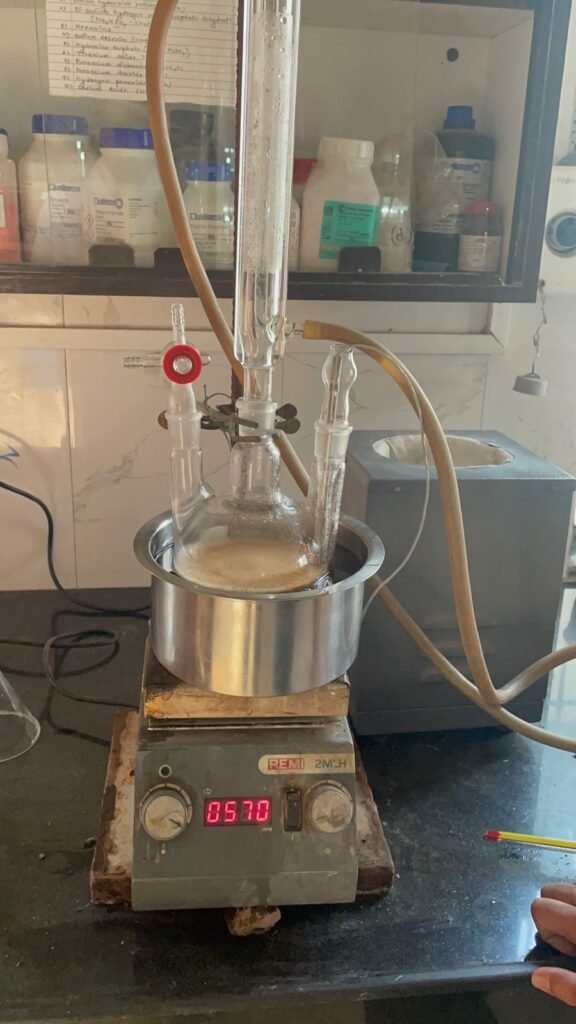
Setup 2: Condensation Unit Method
Condensation unit used with round bottom flask
Temperature maintained above 95°C
Designed to retain aroma and improve extraction - System Control Conditions
Both setups were tested under controlled conditions:
Temperature
Stirring
Time
Pressure - Results
Two different setups were successfully prepared for tea making
Observations recorded for consistency, aroma, and efficiency - Problems Identified
1. Market tea inconsistency
2. Different brands give varying taste and quality
3. Reuse of tea powder Leads to decrease in important compounds Reduces strength and flavor
4. Overheating issues
5. Milk overflow, Burning of tea powder, Aroma loss, Occurs during normal tea making at home or shops - Conclusion
To solve the above problems, two controlled tea-making setups were prepared and tested.
These setups help in:
1. Improving consistency
2. Reducing aroma loss
3. Controlling temperature and process efficiently

