
INTRODUCTION–
Advocate B.P. Misal approached Vigyan Ashram about the problem of dry vegetables and fruits. They needed a multi purpose solar dryer in which they can dry all types of vegetables and fruits. For this, he came to Vigyan Ashram and Prasad sir gave him complete information about the dryer. Advocate B.P. Misal asked to make solar dryer in Vigyan Ashram. After discussion in DIC, it was decided that the customer has specific requirement of solar dryer, so a flat solar dryer with polycarbonate sheet was prepared and sent. And he told what kind of dryer he required. After this I took the responsibility of making a solar dryer. Prasad sir guided me to complete the dryer.
Solar dryer fabrication
I received order to make 2 solar dryers in Vigyan Ashram.
I worked on both dryers and brought all the necessary material.
Mahesh sir came with me to bring the material meant to be used in the solar dryer.
BOM(Bill of Material )
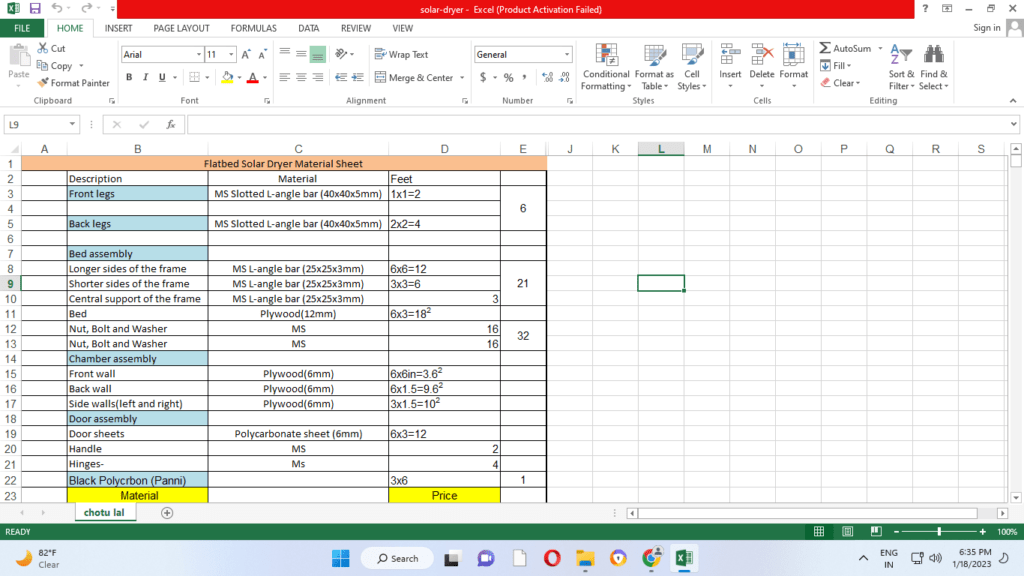

Material sheet
| S. No. | Material | Vendor | Location | Contact No. |
| 1 | L-angle bar | Shree Super Market & Hardware | Pabal, Pune | 9922114809/9960005674 |
| 2 | Nut, bolt, screwdriver, spanners, paint, brush, primer etc | Shree Super Market & Hardware | Pabal, Pune | 9922114809/9960005674 |
| 3 | Plywood | Saikrupa Plywood and Hardware | Pabal, Pune | 9730409088/9730107043 |
| 4 | Polycarbonate sheet | Sanjay Distributors | Bhavani Peth, Pune | 8087814339/9890015894 |
Date – 11/11/2022
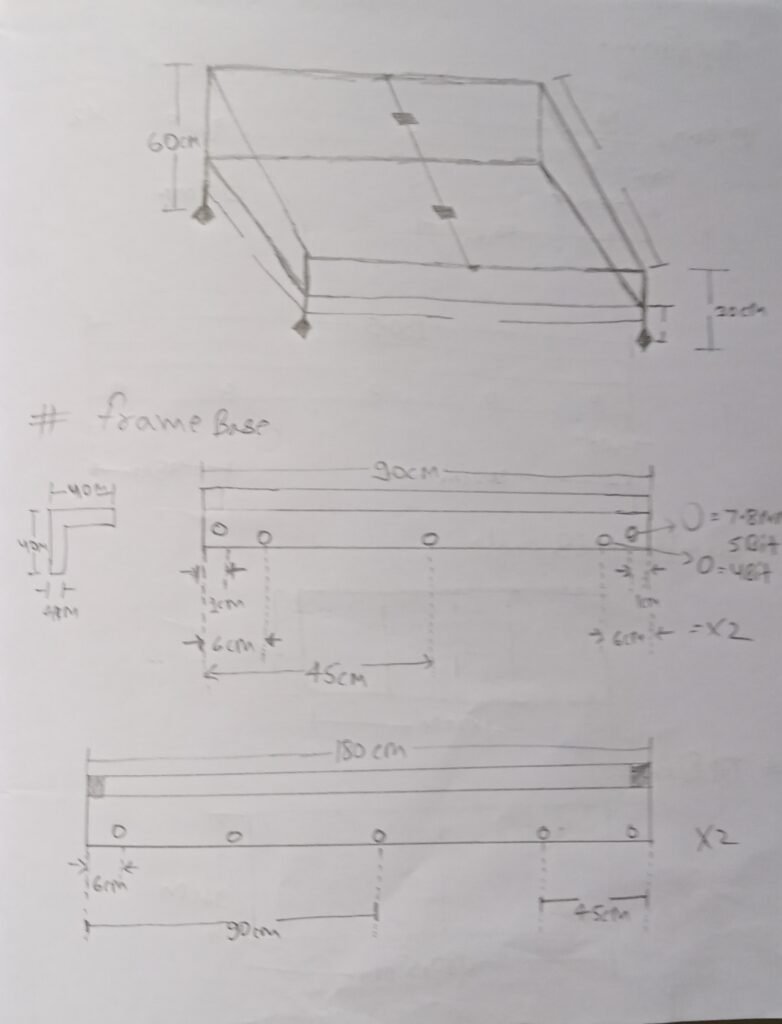
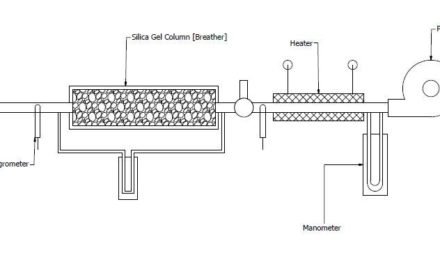
I started the solar dryer fabrication and did it according to the following diagram.
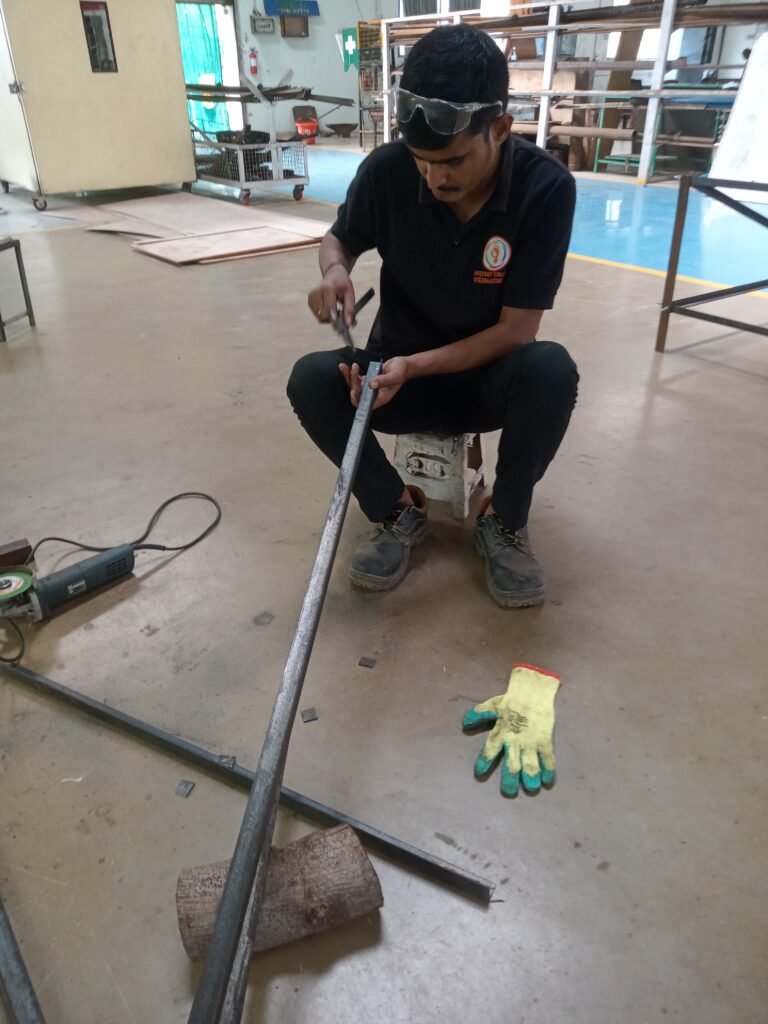
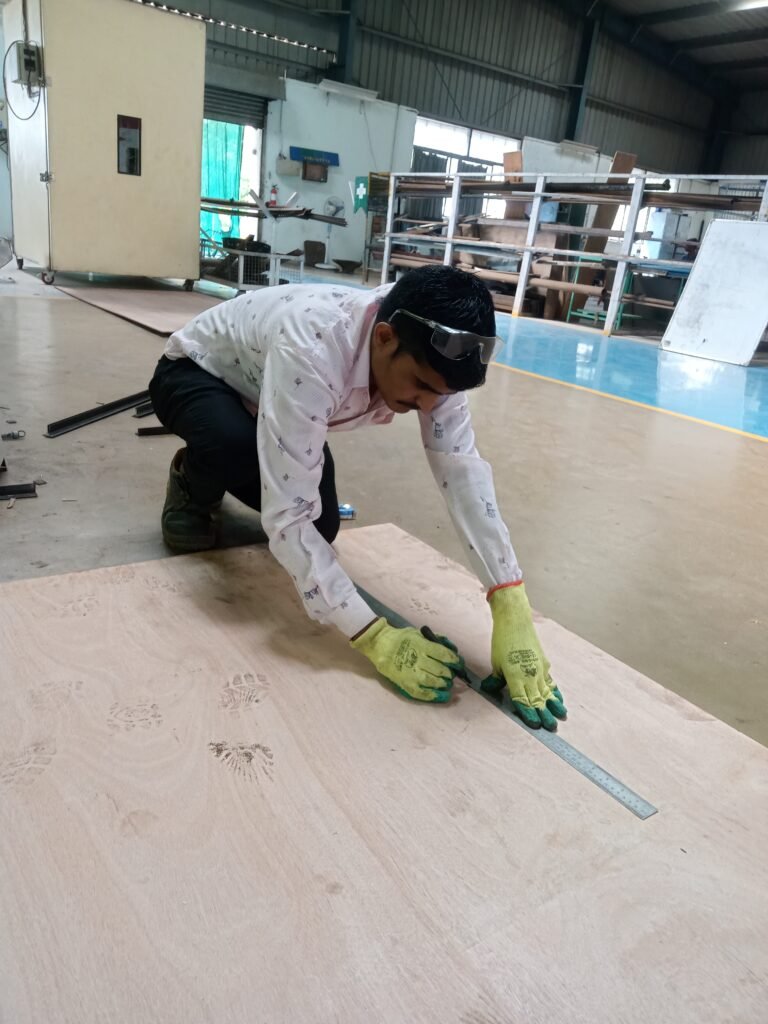
I measured all the dimensions for all the elements which is used for flat bed dryer.
I started hand sketching drawing of solar flat bed dryer.
Hand sketching drawing


3D modeling-
After the rough drawing, I created the exposure of the solar dryer using 2D and 3D software.


Fabrication
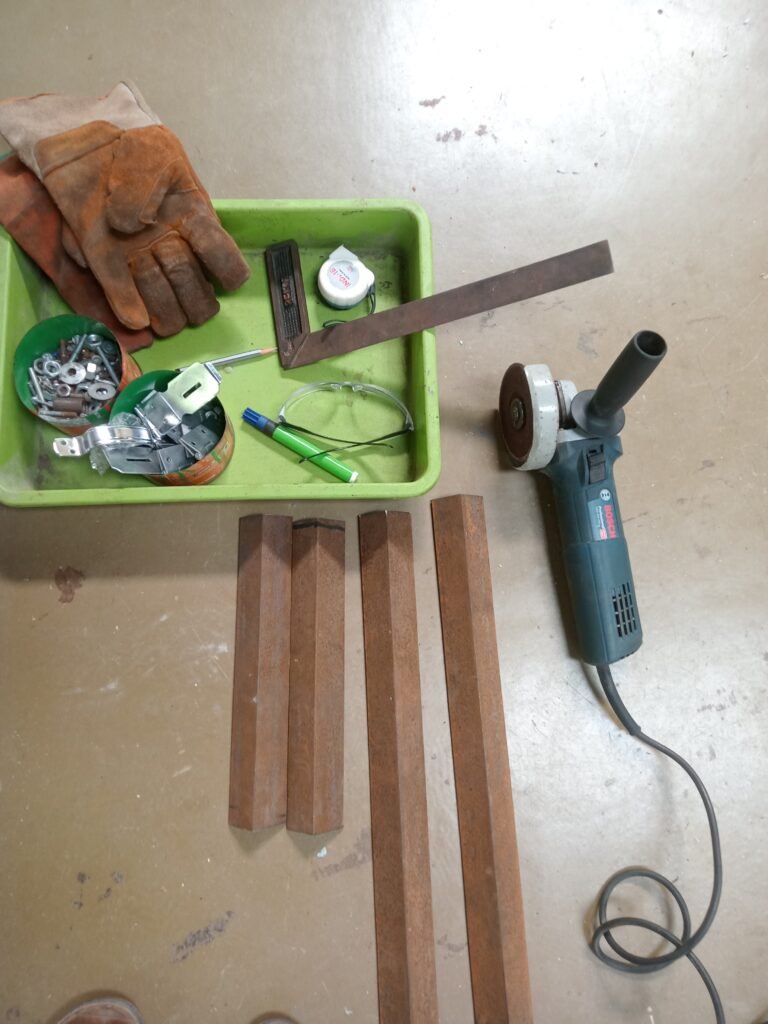
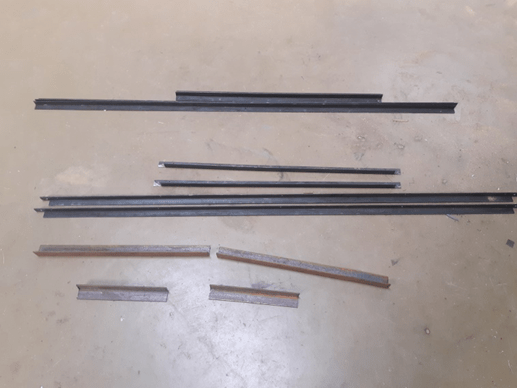
Step1- Cutting front and back legs of dryer as per measurement.
Then, I cut L angles for the top and bottom frames.


Step2- I drilled holes at all angles for screws

Step3- I made frame by welding
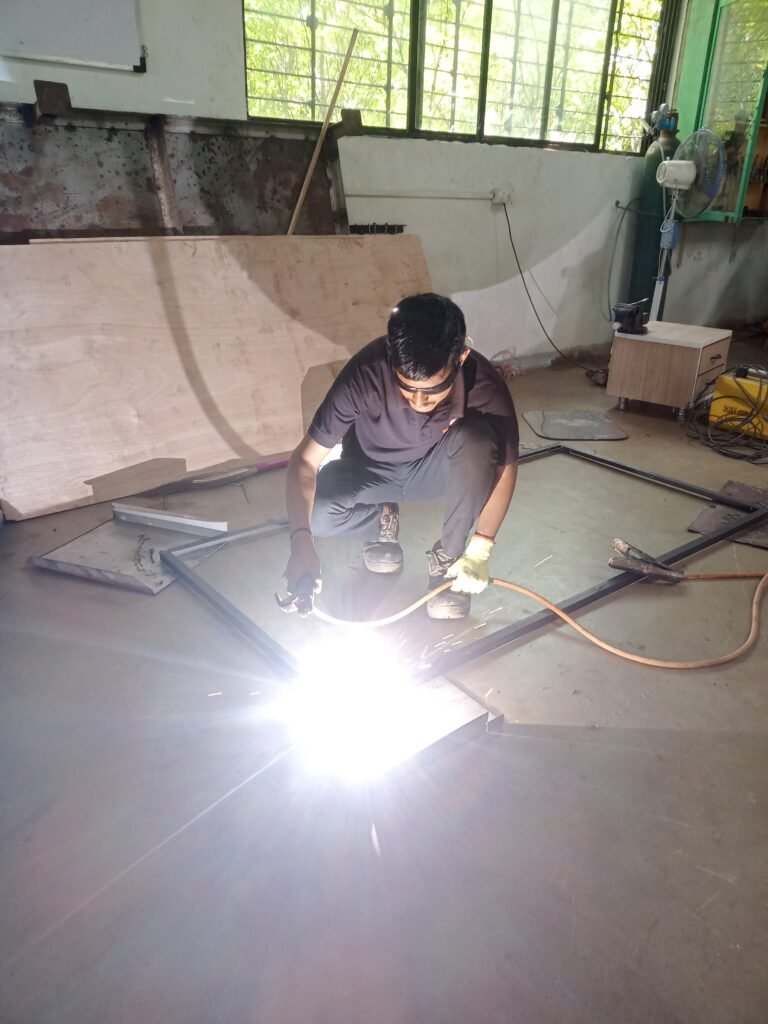
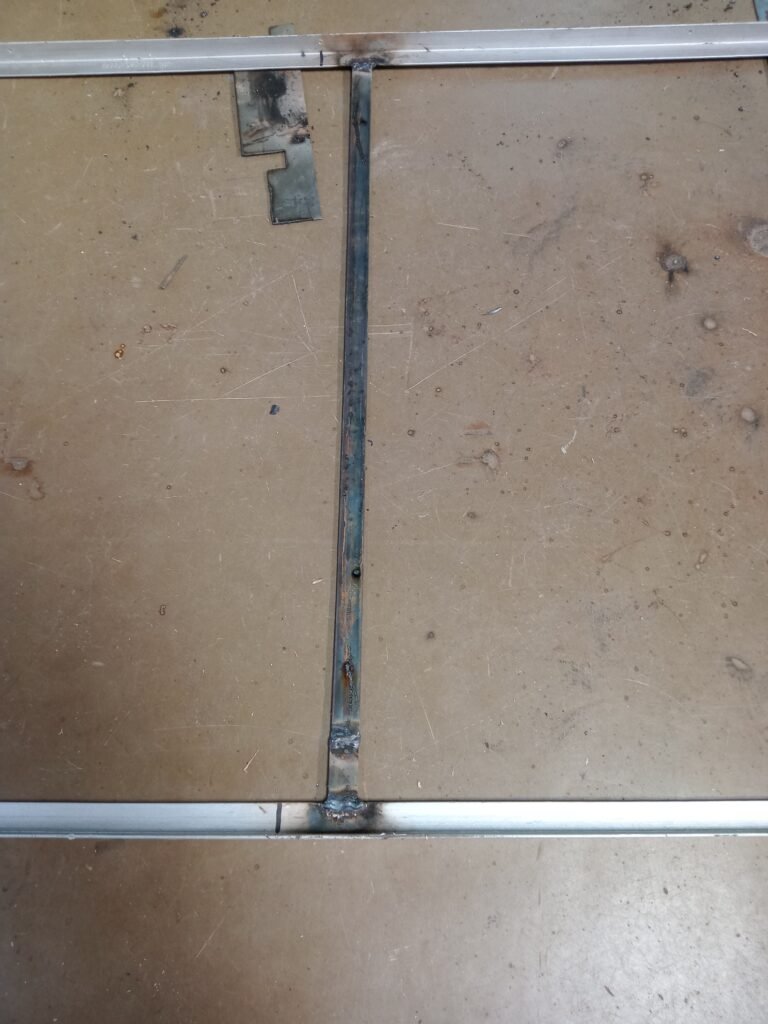

After the welding of the body of the dryer, I made sure it fit perfectlz.
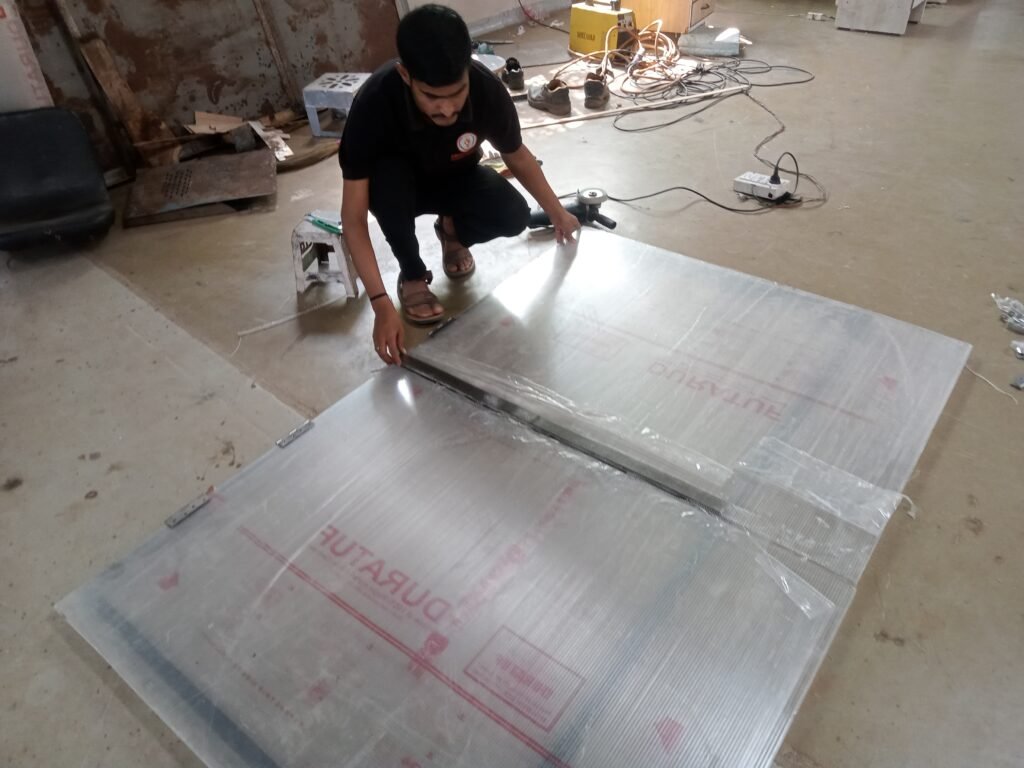
Step4- I cut the dryer bed and side parts from plywood
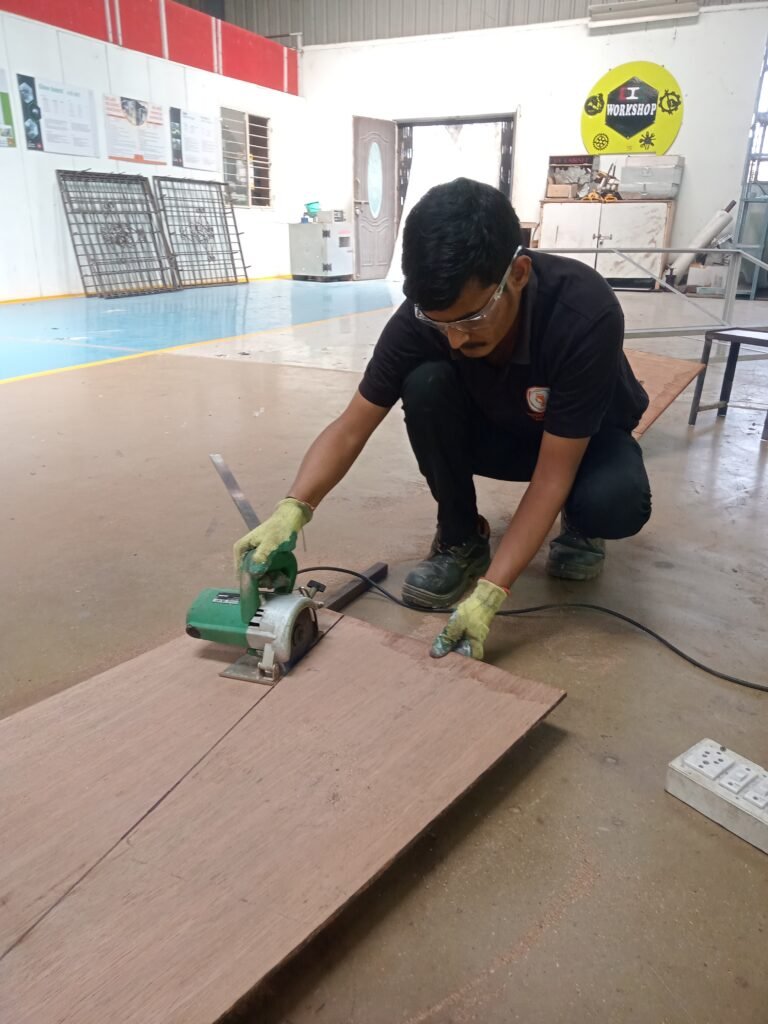

Then, I cut out the plywood and attached it to the body and it was perfect.
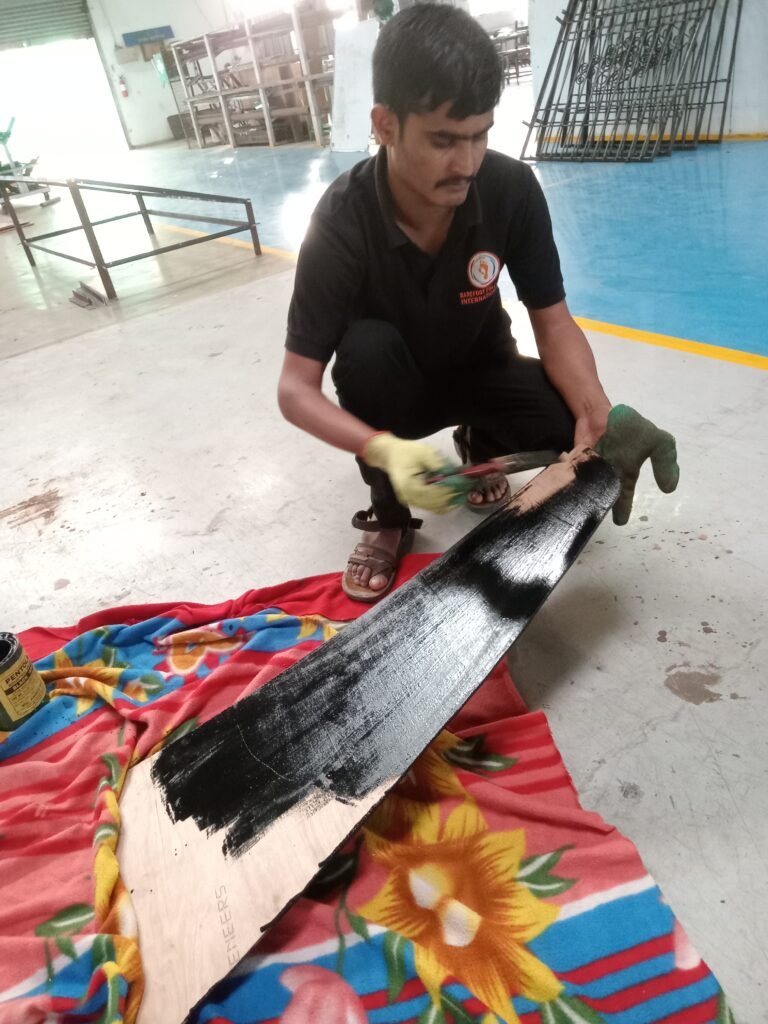
Step 5 – I painted all the parts of the dryer
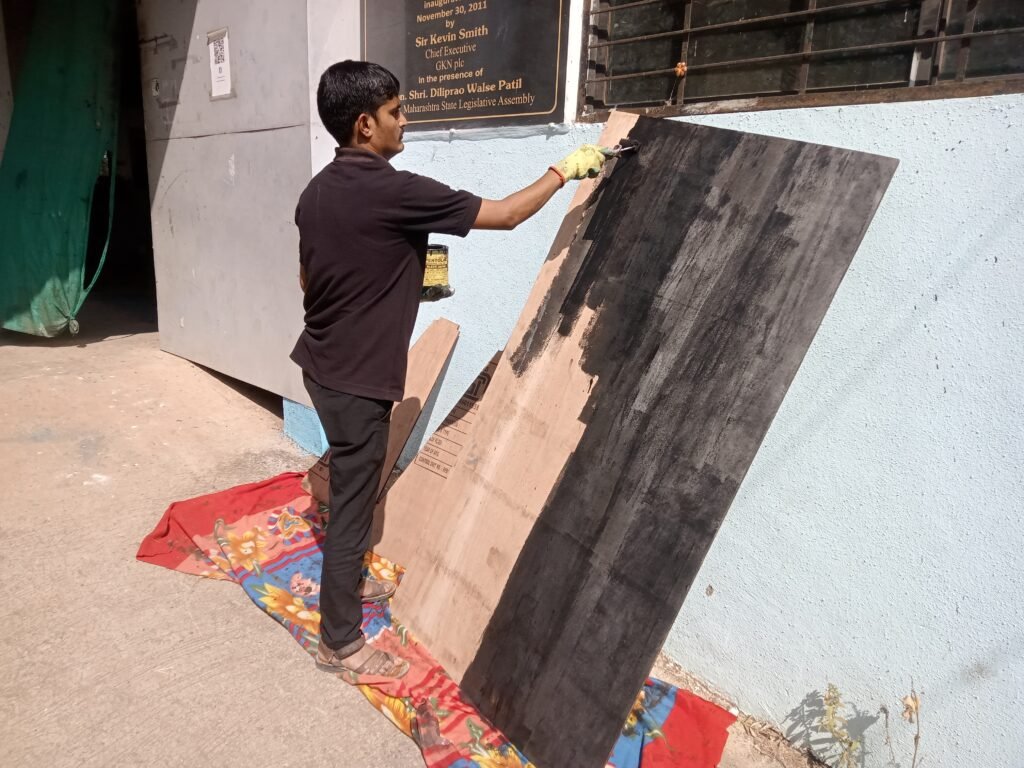

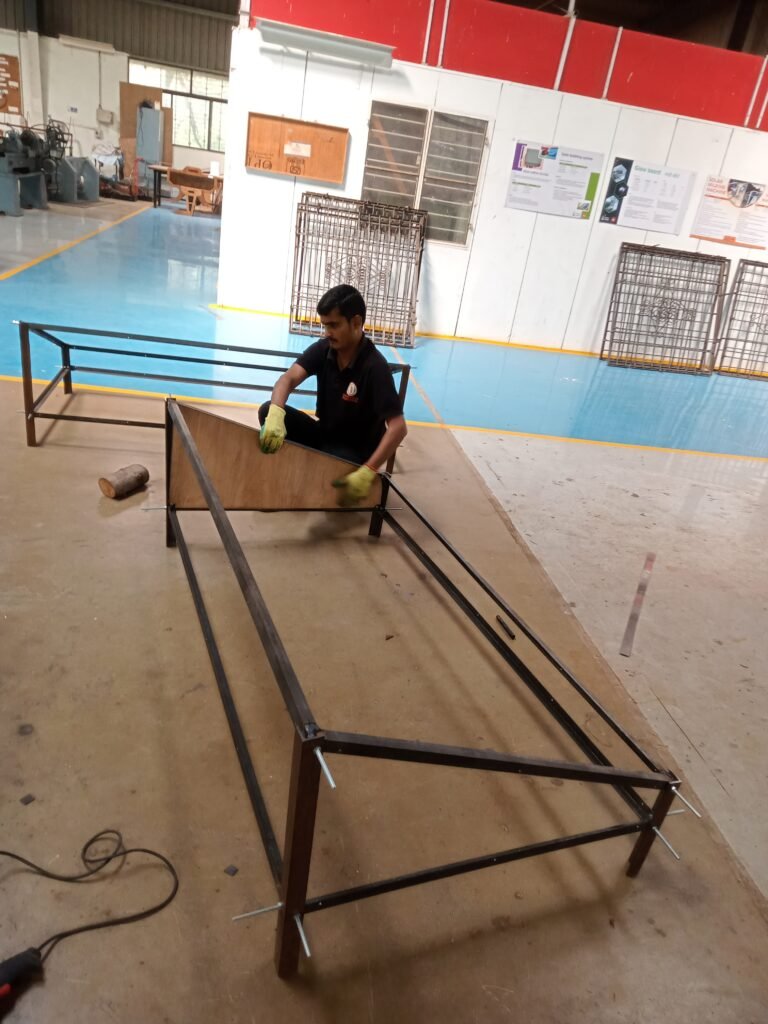
Step6- I assembled all parts together (front and back legs, steel frame, plywood parts).


Then, I laid a black sheet of poly plastic and covered the bed plywood on top for the purpose of absorbing more solar radiation. I reattached it and made sure it’s accurate as I don’t over tighten the nuts and bolts in the holes.
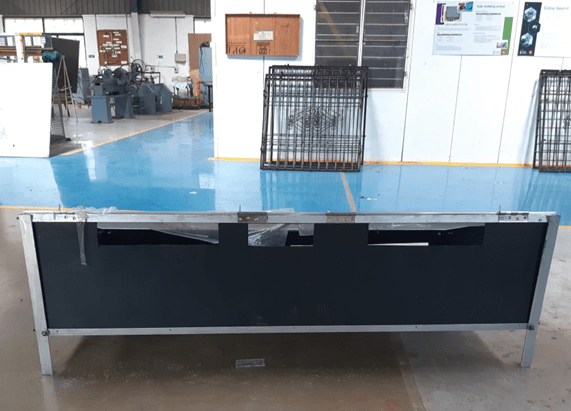
Step7- I cut polycarbonate sheets to make solar dryer doors.

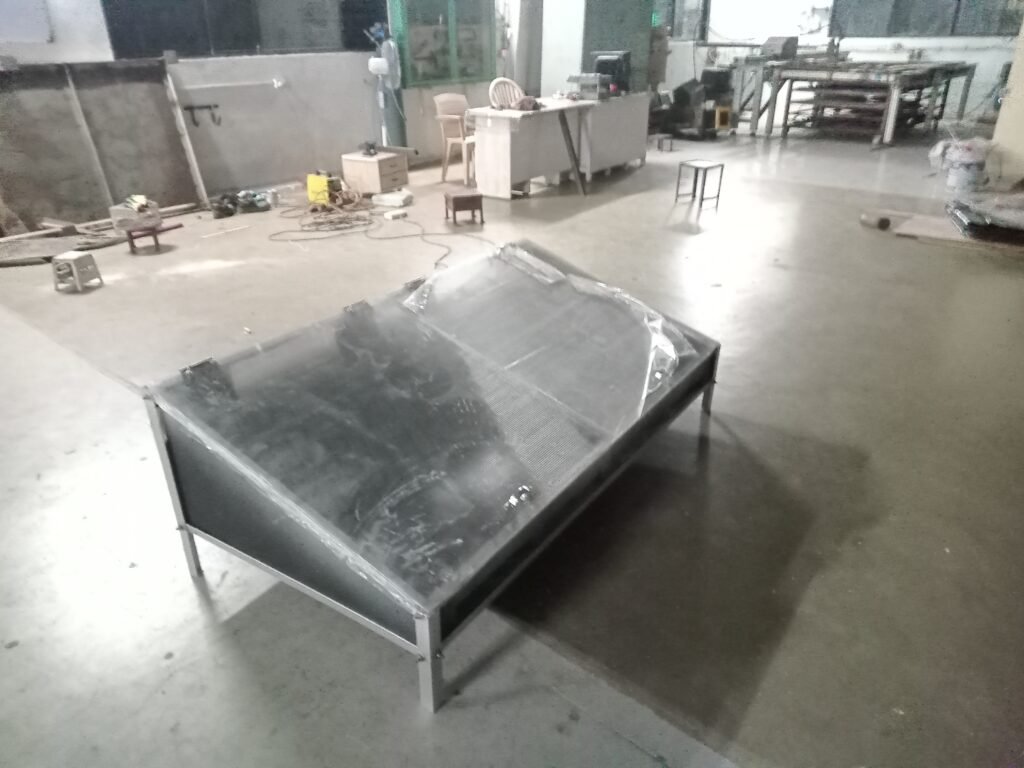
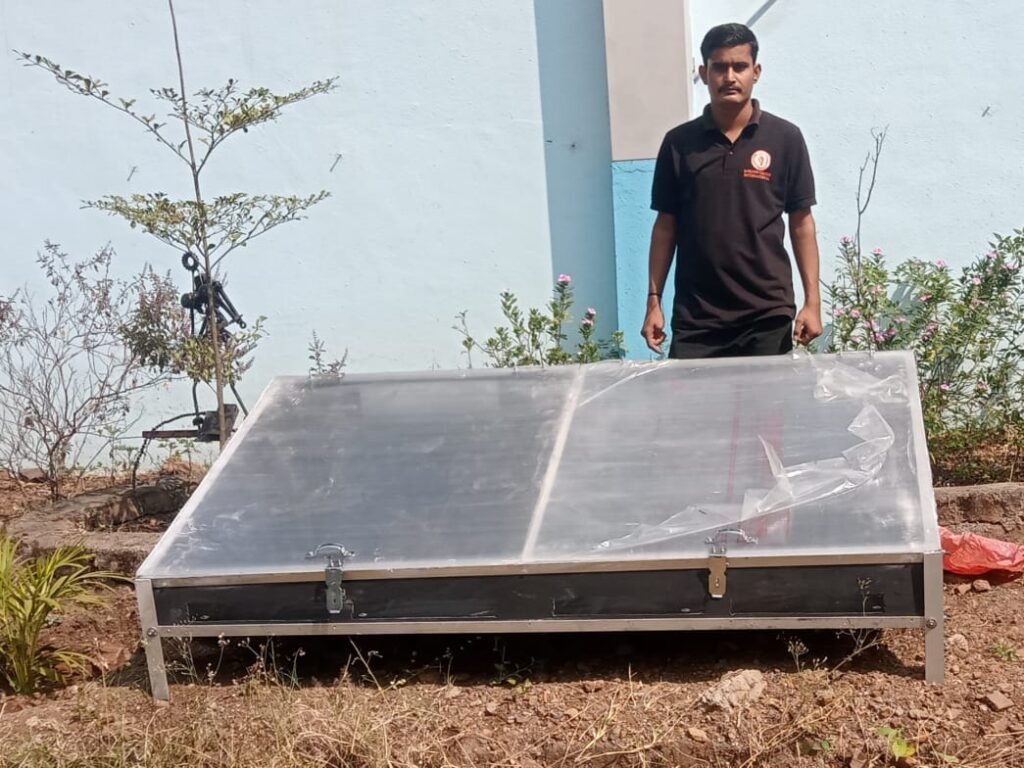
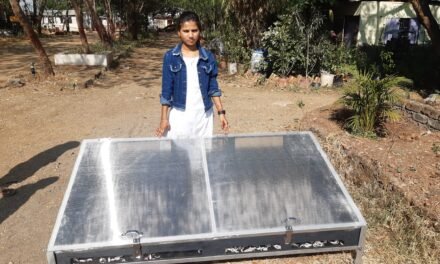
Final
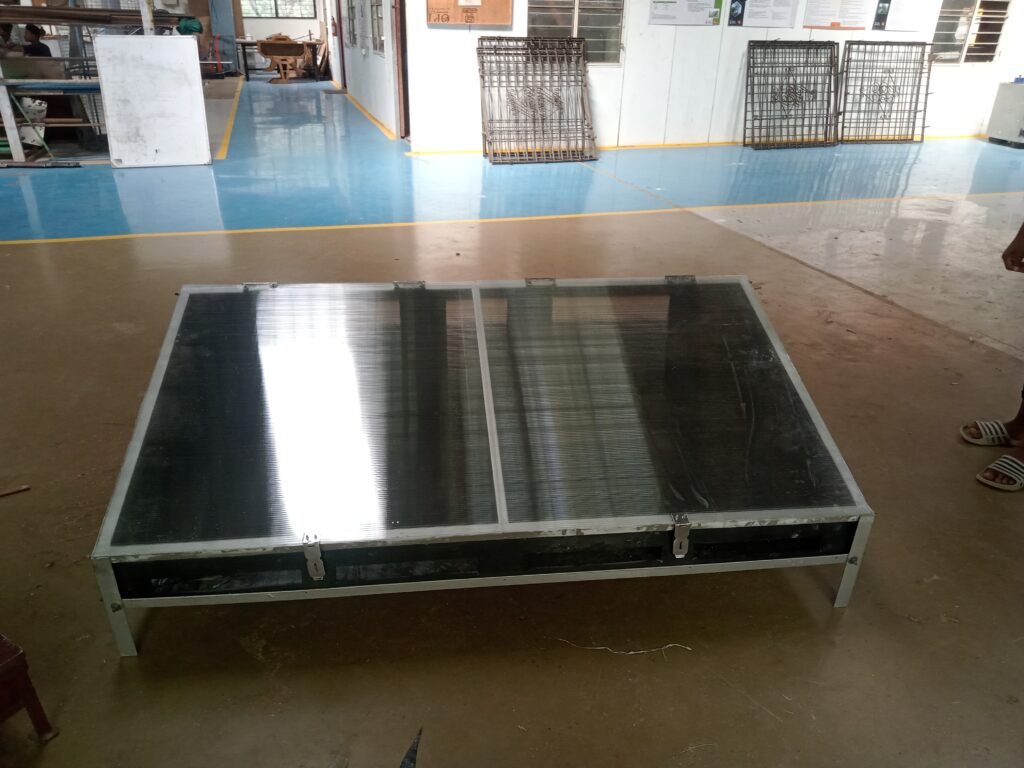

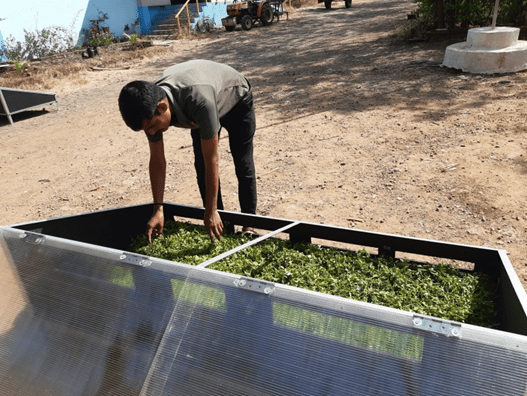
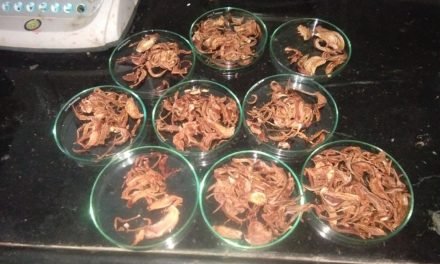
After this, trials were taken on the dryer.
Moringa, Onion, Coriander, Puran, Tomato, etc have been tested.


| Name | Before Quantity (kg)10:00am | After Quantity (kg/gm.)05:00pm | Dry | Water remained |
| Moringa | 1.8kg | 350g | 80.56% | 19.44% |
| Onion | 2kg | 400g | 80% | 20% |
| Coriander | 2kg | 427g | 78.65% | 21.35% |
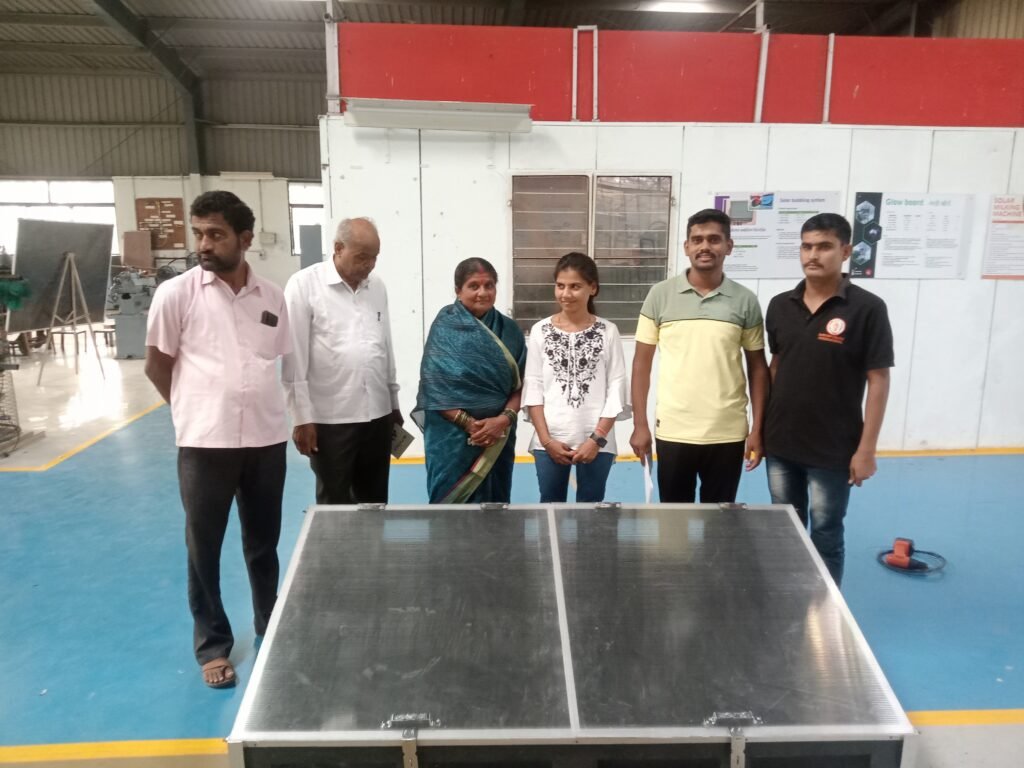
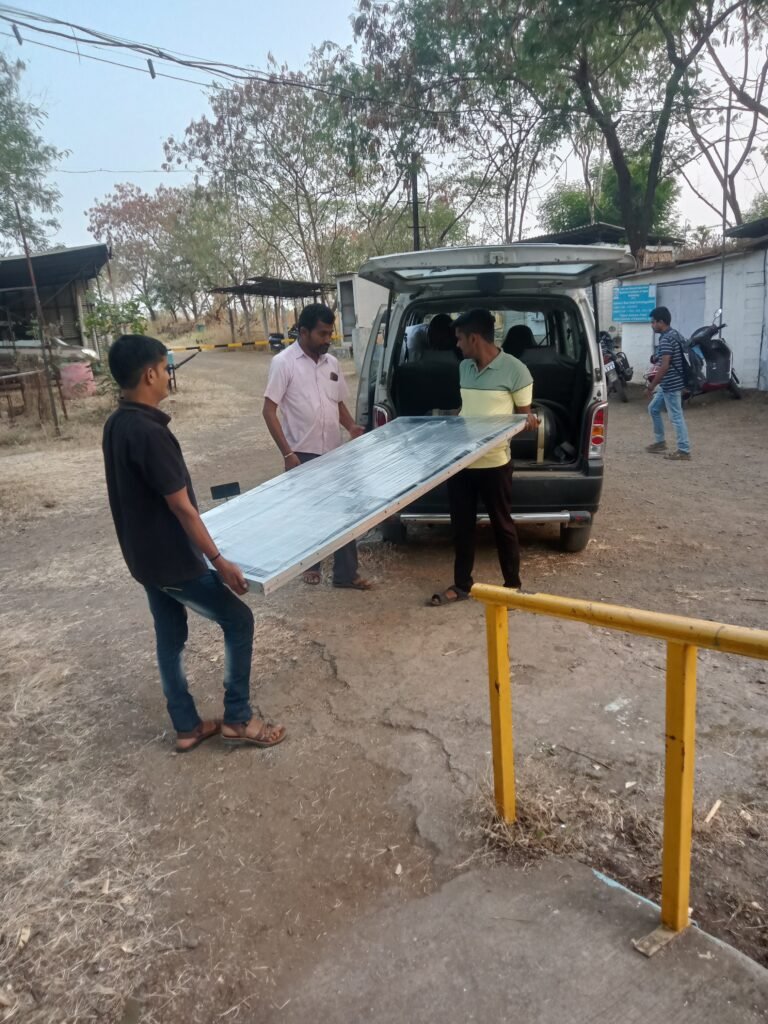
After taking the trial, the dryer was sent to the customer.

Conclusion :–
The Design Thinking process really works on practical projects. Design and selection of materials on customer demand and market survey. To make an accurate and proper construction.