
Introduction
Mango (Mangifera indica L.) is an important fruit because of the income derived from the crop. The fruit provides energy and is a good source of carbohydrates, fibre, minerals, and vitamins. India is the world’s leading producer of mango, where it is cultivated in 2.2 million hectares with a production volume of 19.57 million tonnes. The industry operated largely by 76 percent smallholder and marginal farmers contributing 30 to 40 percent to their income.
During the harvesting phase, at a particular tree, the rate of ripening each mango is different. Due to inaccessibility and inability to find/see the mature fruit, the wrong ones get picked. The harvesting at an immature stage can result in either failure to ripen or uneven ripening resulting in poor flavour and aroma. Both the quantitative and qualitative losses at the beginning will affect the later stages. On-farm losses and those incurred after harvest mean lost opportunities for sale.The handling of a fruit picker can be a daunting task as well.
Objectives
Technology can play a key role in the reduction of losses. Since the mango is highly perishable, losses incur at all stages. For now objective of the project is to reduce losses during the harvesting phase.
- Provide better visual accessibility to see the fruit.
- Improve the ergonomics of the fruit picker.
- Find ways to identify the mature fruits from those aren’t.
Idea or Technology to achieve objectives
The improvement in the ergonomics of the picker can ease the overall harvesting task. And also better visualization of the fruit.
Computer vision and some part of machine learning can be used to identify mature fruits. The image of fruits at a particular tree will be matched with the database of images, sorted and labeled. The farmer will be able to see the real-time stage of the mango and take the decision on site.
These techniques combined with various sensors will help in an accurate prediction of the fruit status. A cutting mechanism is used to cut the fruit stem thus the fruit from the tree.
Possible end users
The end users are the mango farmers from the western region of Maharashtra and Gujarat. The varieties of mangoes will be increased, with the improvement in the database.
THE Prototype!
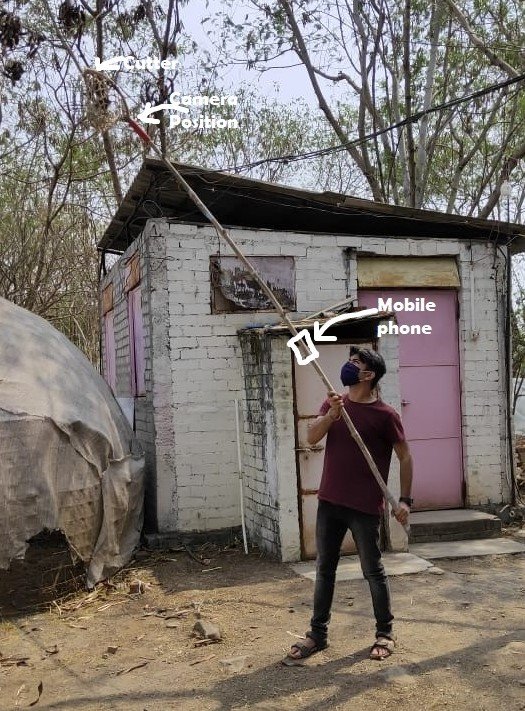
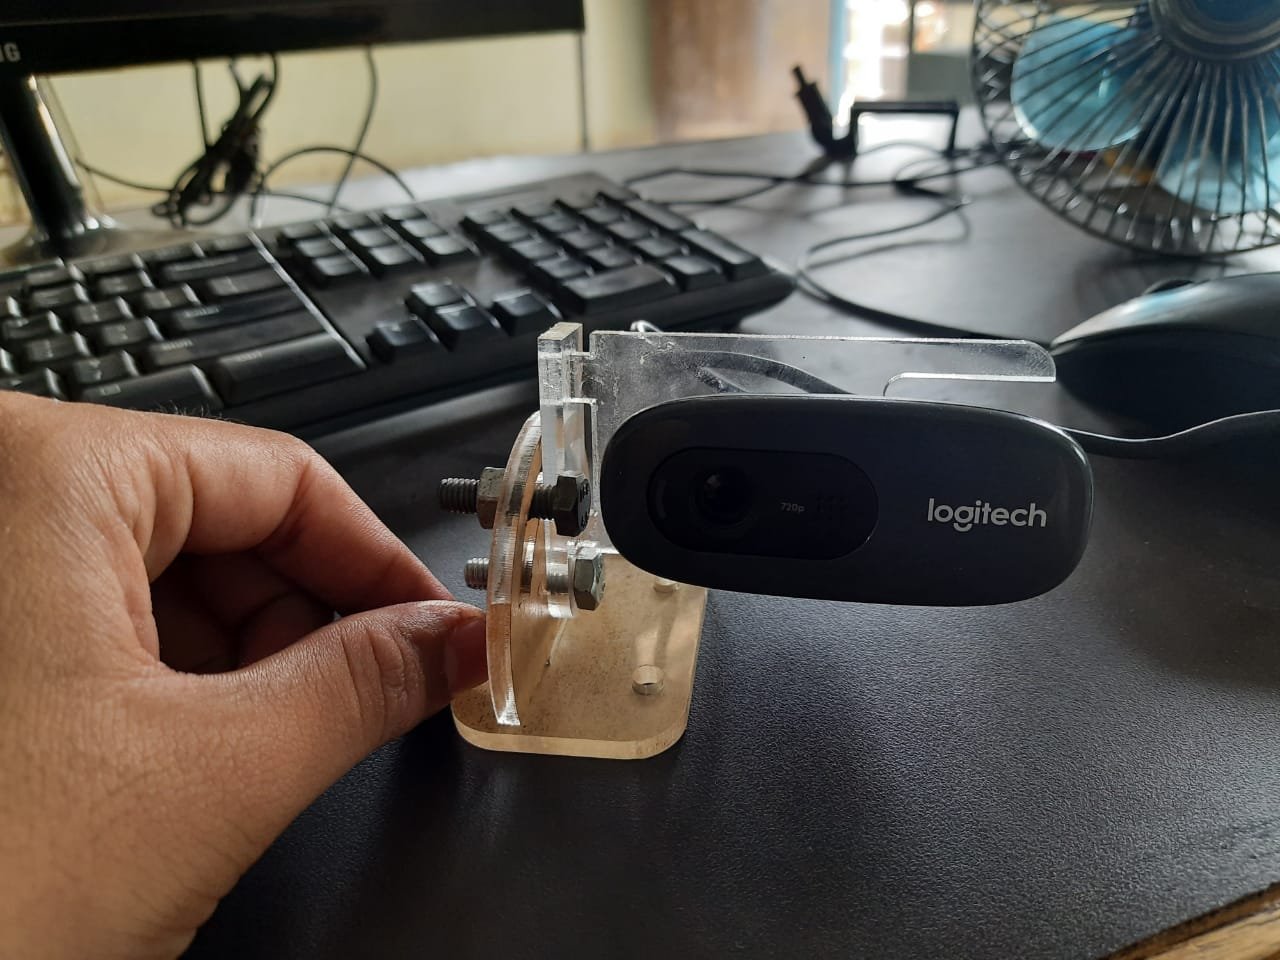
I had first decided to come up with a way to hold the webcam in place. With the webcam mounted at the desired location, the next task was to get the feed from the webcam. With some brainstorming, there were two ways possible for it. First was using a Raspberry Pi, a 7′ display, and a webcam of course to display the video. But we ended with a solution that was more in the reach of the users. So the solution was to connect the webcam to the smartphone. So we were powering the camera with the help of a mobile device, and streaming at the same time with its built-in display.
Before developing an app specifically according to our needs I decided to use an off-the-shelf solution that is readily available for the proof of concept. So I used named a Prism, which is available on the play store.
The cam Bracket
Once it was decided on the webcam and the mobile phone, the next step was to design a bracket to hold everything in place. I decided to 3D print my design. So it has two parts, one part was to form a connection between a pipe( used right now for the prototype) You can see below the preliminary designs to the final design that I came up with. Here the sofware used for the design is Fusion 360 .
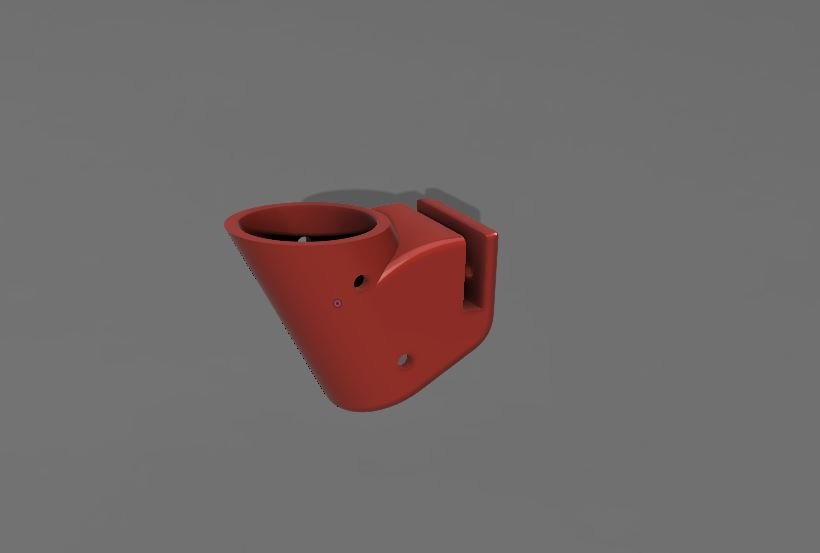


In the above image we were able to give the webcam a steady support and were able to stream the video with ease. While there was no problem with the streaming, I was able to view the image form all angles. For viewing though it was needed to move the stick al


The test -27 Feb, '21
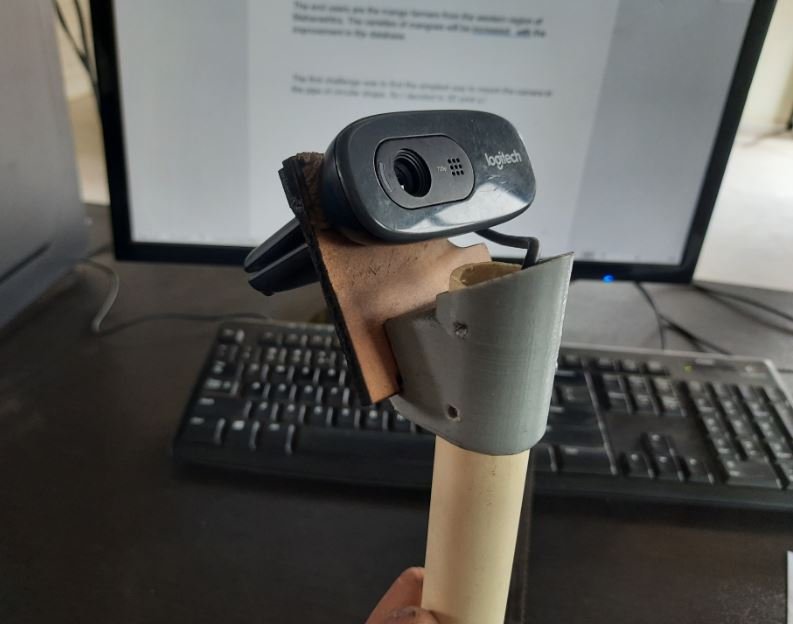
Due to technical reasons and recalibration, I was unable to print the above design on the 3D printer. I had to redesign my parts according to the new tolerance limit of 0.3mm from the previous 0.6mm. To avoid the delay, I decided to use the existing pull-type fruit cutter with the camera mounted to find the problems that I will encounter in a real-life scenario.
Here two types of tests were conducted, first was to check can I hold the whole setup with a satisfactory operation for a long duration and the second about the efficacy of the vision system. The vision system worked as desired, I was able to see the fruit without an adjustable cam bracket. The following are the observations from the tests.
1. A need to find was a way to transfer camera data to the phone at a longer distance. I used a Vinyl Cutter USB cable temporarily which didn’t work. I have to find if it works on the longer normal USB cable.
2. The mobile screen glared a lot in the sun. Thus despite being able to see the camera feed at a smaller distance, it was inadequate. A way to feed the mobile vertical in landscape mode and a shade above the above will reduce the glare to a larger extent.
3. The position of the mobile on the stick should be adjustable.
4. The battery of the mobile phone drained a lot faster. The use of an external battery to power the camera or a standalone system that will transmit data wirelessly can solve the problem. 5. During our test on Tamarind tree we found that the using mere blades might not be effective. It would be just the tamarind slipping due to its low weight, still a jerk is needed for the operation.
As we discussed earlier about conducting a test, you can see the details about the experimental setup and results. Now the goal is to find how can I improve my testing methods.
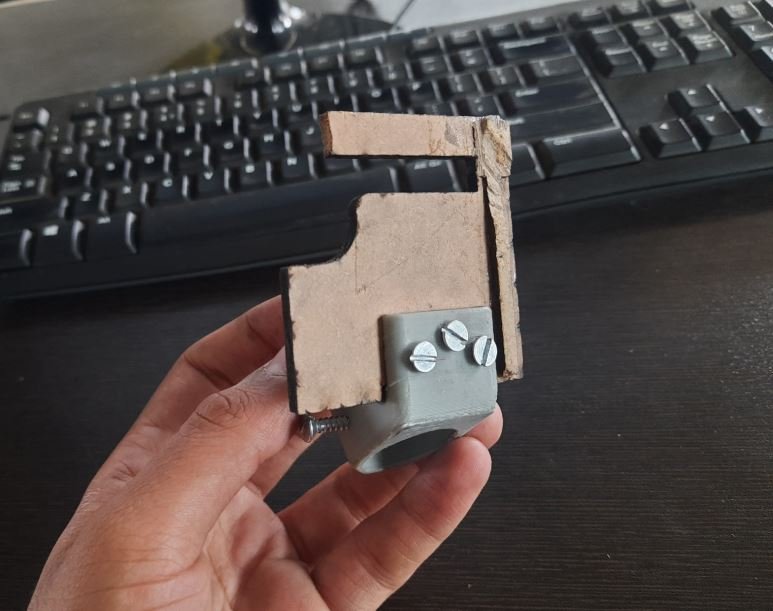
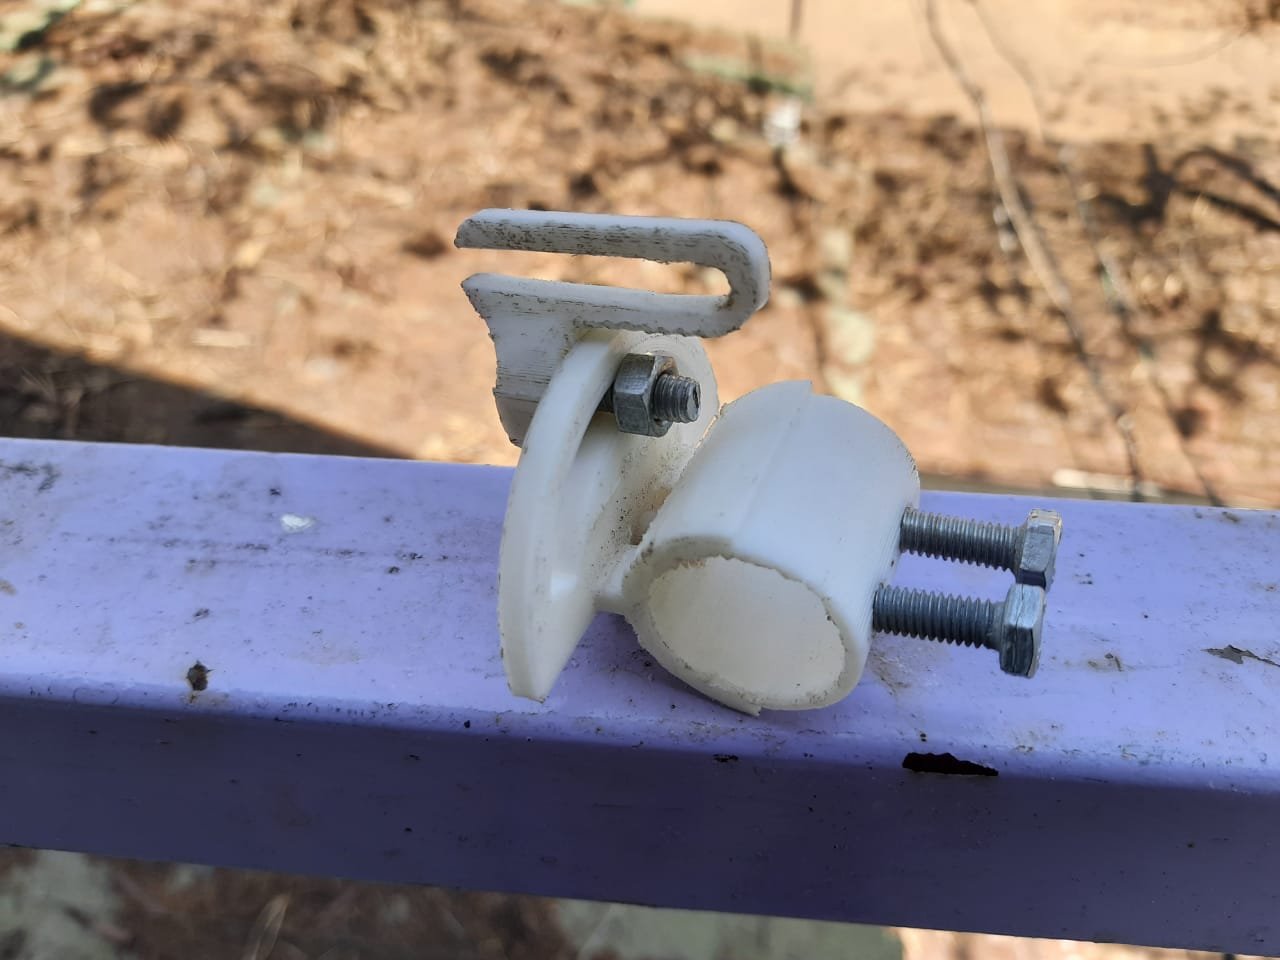
The Adjustable mount
The previous design was modified so that the system gets more angular freedom to move as opposed to the previous condition. Also the newly 3d printed mount was could be mounted on both the vertical or horizontal rods. Below are some of the images of the printed mounts.


The priorities 24/03
With the season coming closer for harvesting, I have to make some hurry. After brainstorming, research and machining on probable solutions it was time to be joined like a puzzle. Looking at the situation, I came up with a few priorities that could help me make my Minimal Viable Product a.k.a MVP. So below I have mentioned the priorities and why are important.
1. The Cutting Mechanism – It looks simple but has become important of the project since it when it came to ‘make or buy decision. It was decided to make it because of the inflated cost of the readily available solution.
2. The Glare issue and screen position – As you know we are using the mobile screen to see the details visually. The glaring of the screen and mounting of the camera on the stick made it difficult to effectively use the system.
3. Wired or Wireless? – As the project proceeded to its fulfillment, the need for a longer USB cable for the video transfer arose. While trying to use a longer cable, the system didn’t work at all. So was left with the choice to keep iterating or switch to the more reliable wireless system.
The Mechanism - 28/03/21
With the season coming closer for harvesting, a need arose to come up faster with the prototype. After brainstorming and researching probable solutions it was time to fit the pieces in the puzzle. It turned out to be an important tasks of the whole idea. Until now were working to get the camera thing right and find the problems with the whole setup.
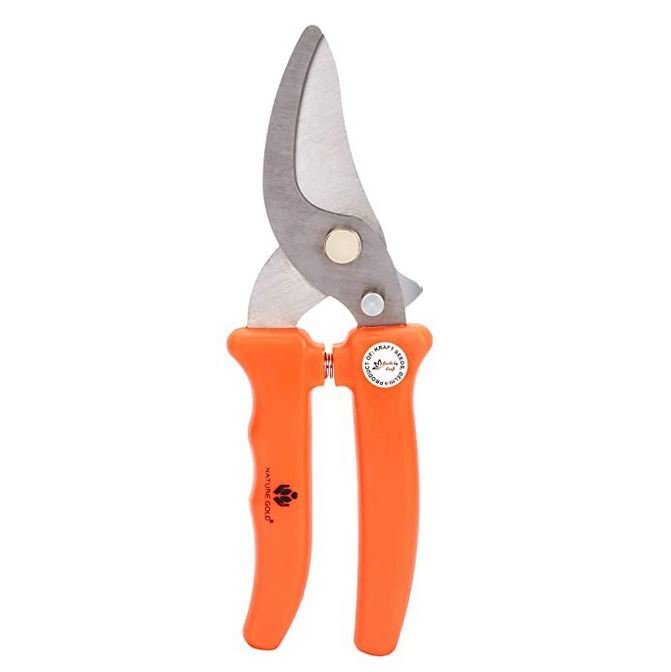
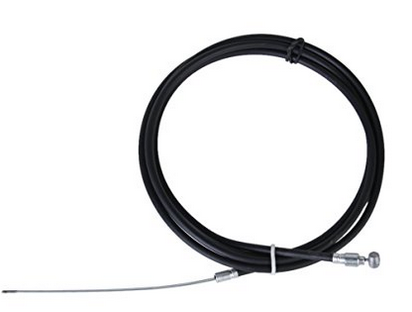
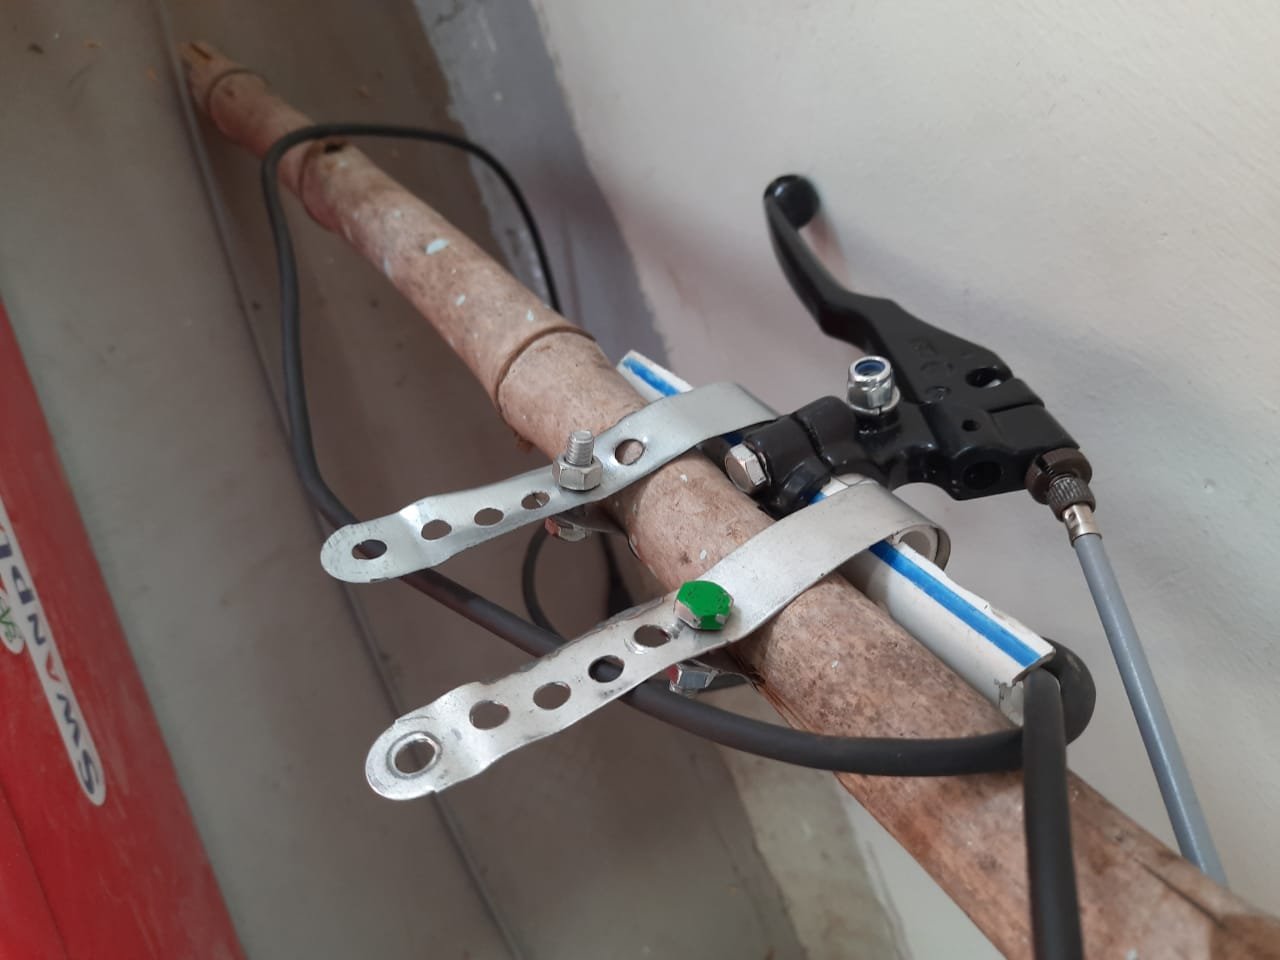
While designing the cutter I tried to keep it as simple as possible by retrofitting my design on an existing system. I bought a plant branch scissors from Amazon, chopped its handles and fixed it on the system and a bike brake wire with a lever to actuate the mechanism.
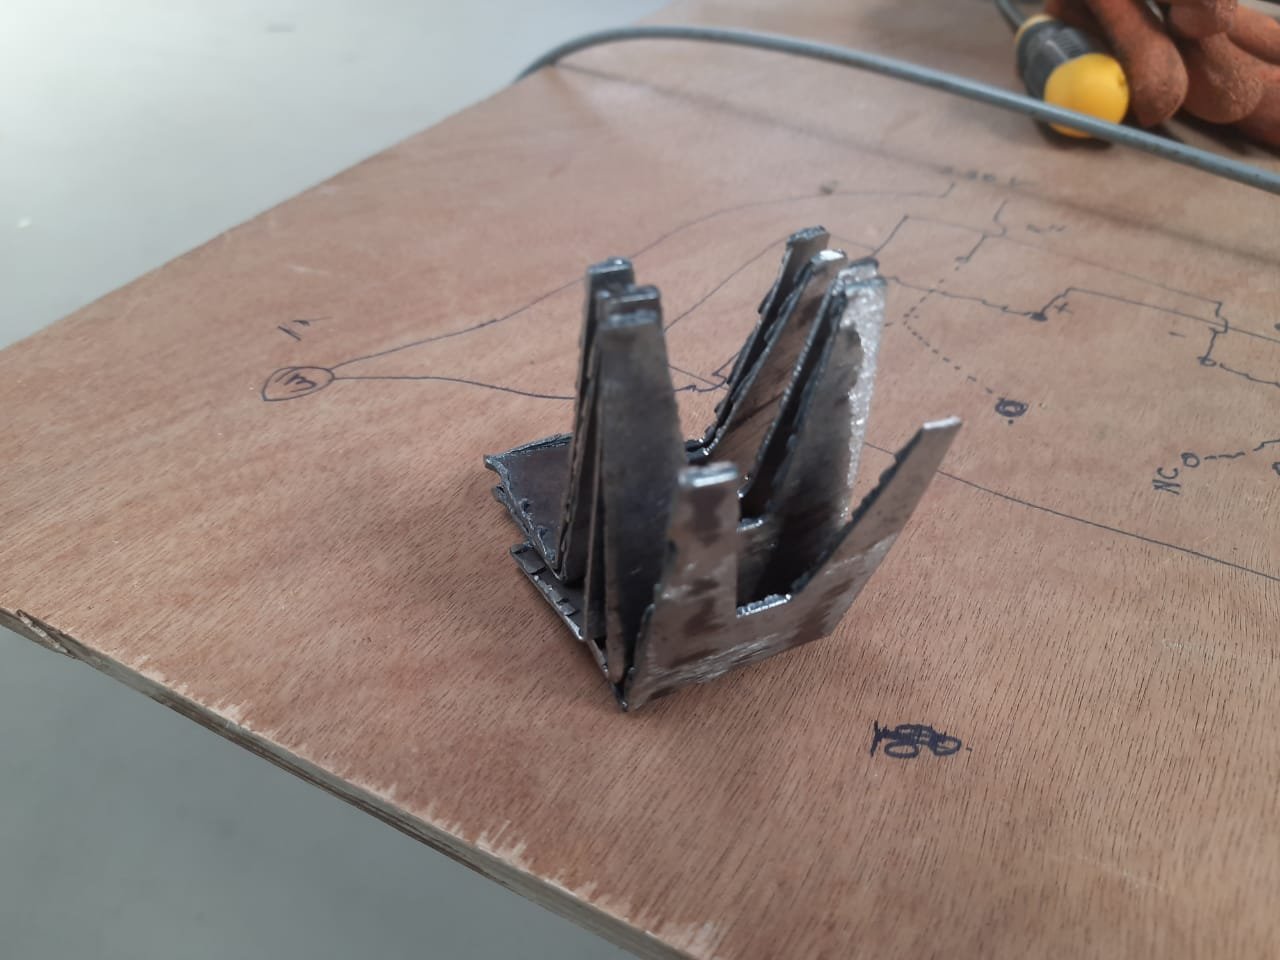
After procuring stuff, cutting them as required and welding parts together I was finally come up with something that works.
I added set of nuts on the one side of the handle which helped me faster iterate when applying proper tension in the brakes. The mechanism was able to deliver proper results after tweaking it a bit. The one last thing that’s remaining is to increase brake wire length and trying alternate compression springs to see if we get the Just Perfect design.


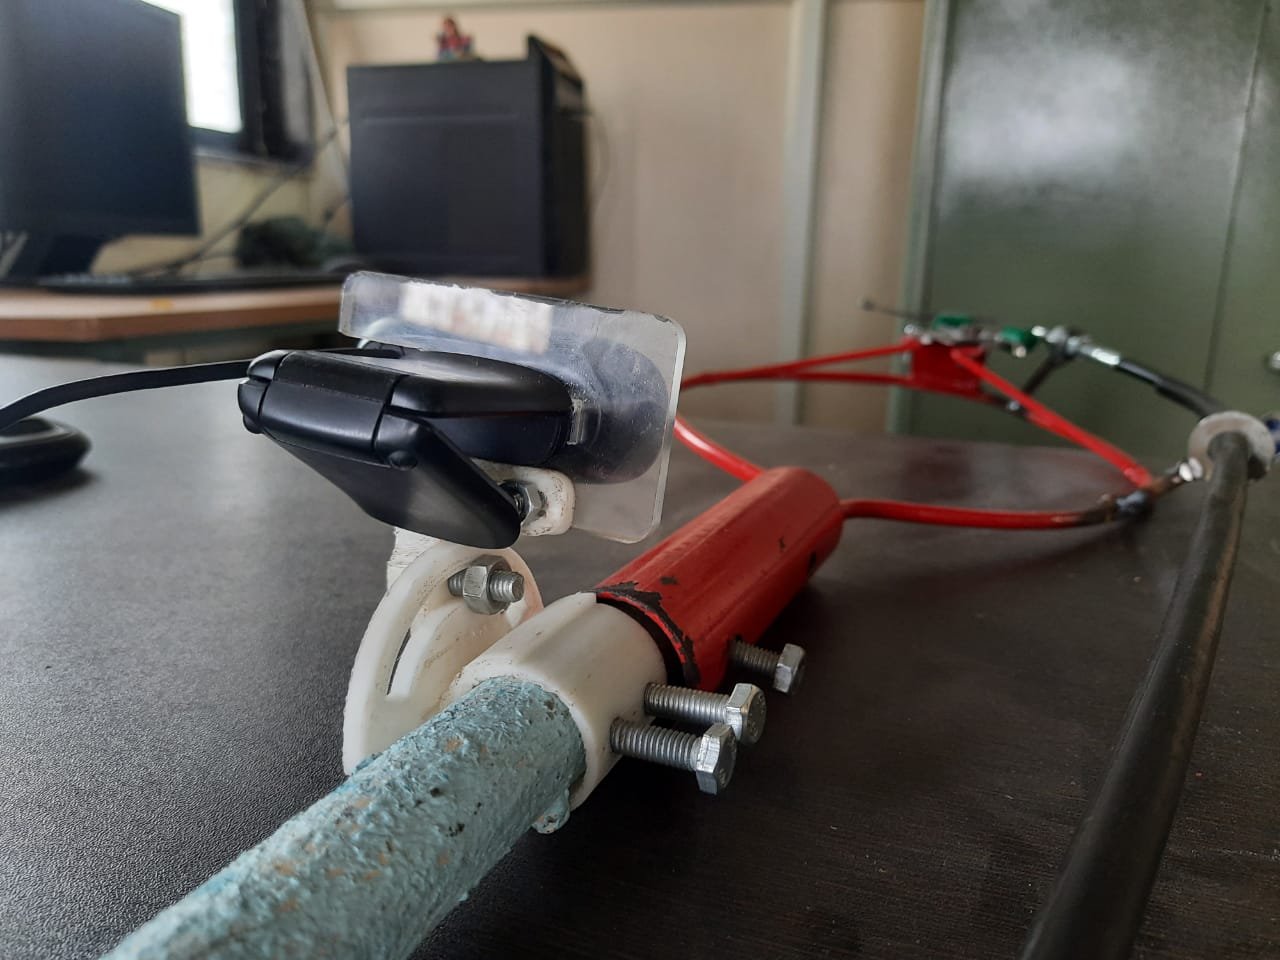
Assembly 30/3
The setup with wired camera and cutter was attached to see if it works as expected which turned out to be working fine, as expected. Below are some pictures.


Wire Extension - 1/4
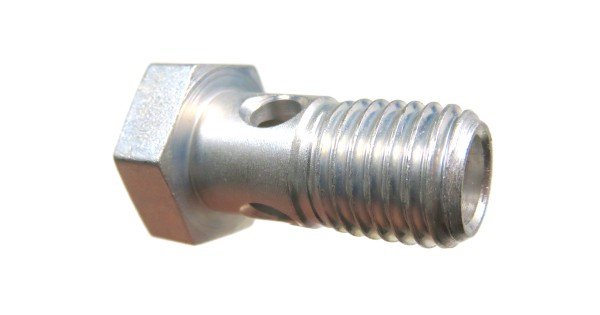
The system was first designed for a length of 8 ft. After discussing with the probable end users it was decided on to extent it up to 20 feet considering the height of the tree. To extend it we have to do two things one being the increasing the length of the stick and the second being the wire. There was no availability of wire comprising a length of 20 meters. While using two wires of 8 feet each could solve the problem.They were then connected with an hollow screw to connect the two wires fixed using stoppers. Thus we able to extend it for longer distance.
MANUFACTURING - 4/4
Once the design of the hook was modified with an adjustable cutter the manufacturing of the other units was started. For manufacturing of the hook, it was needed to bend the steel rods to make it into a hook. Appropriate sizes of the metal were cut making and then they were welded to make the hook.
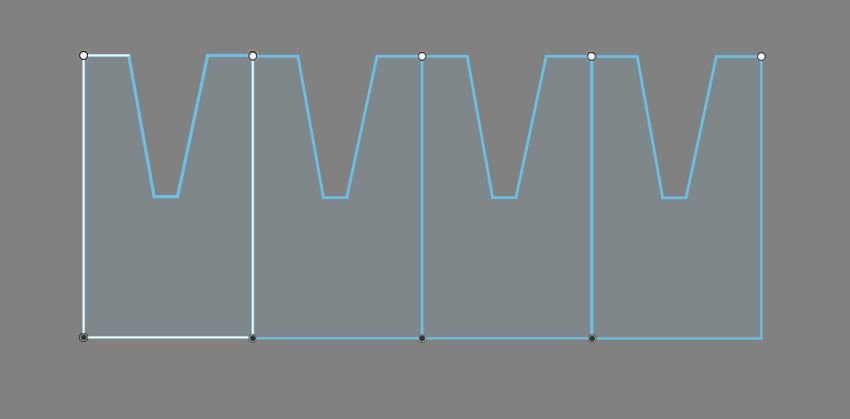
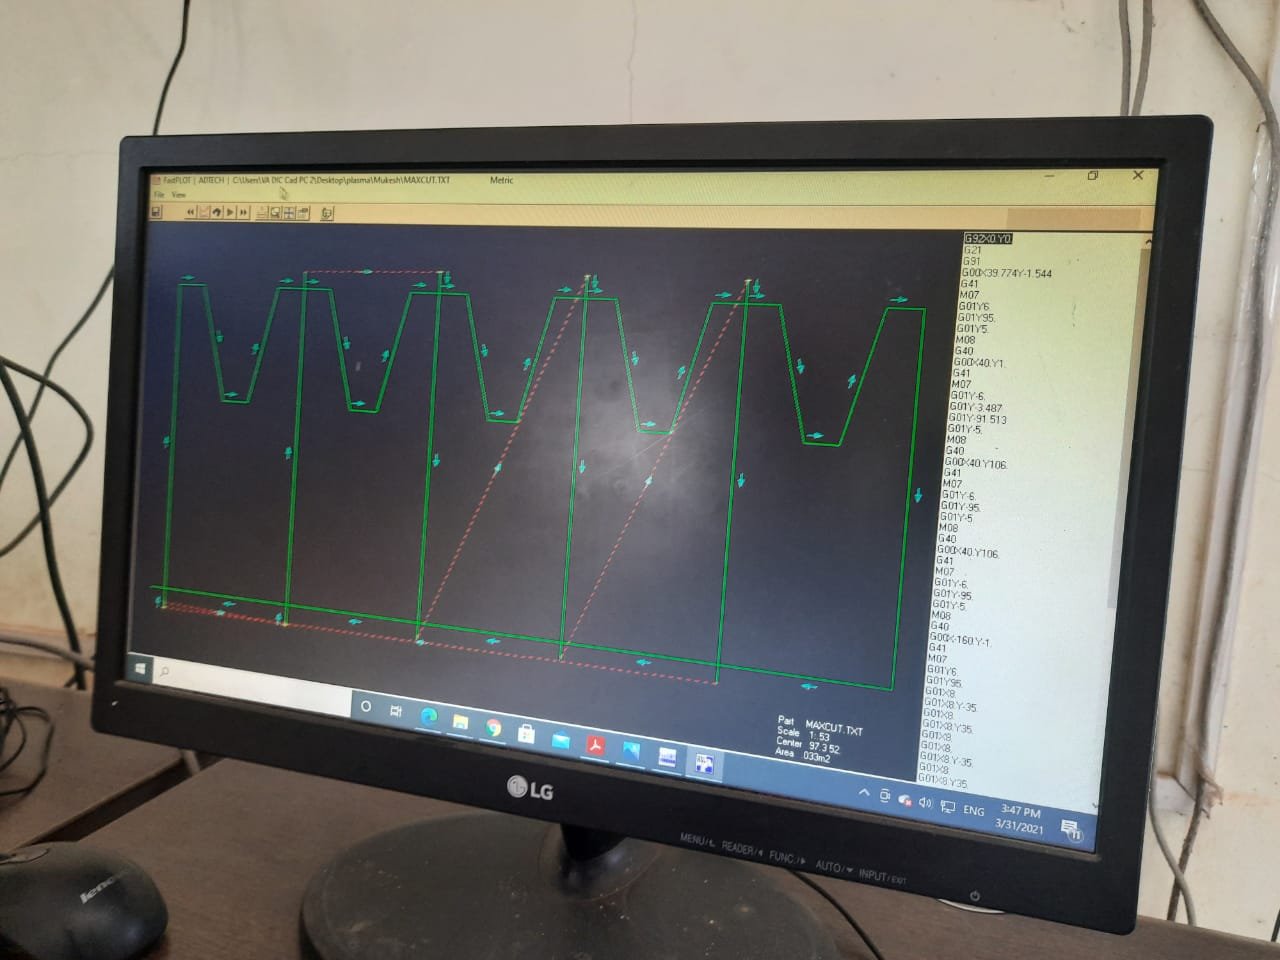
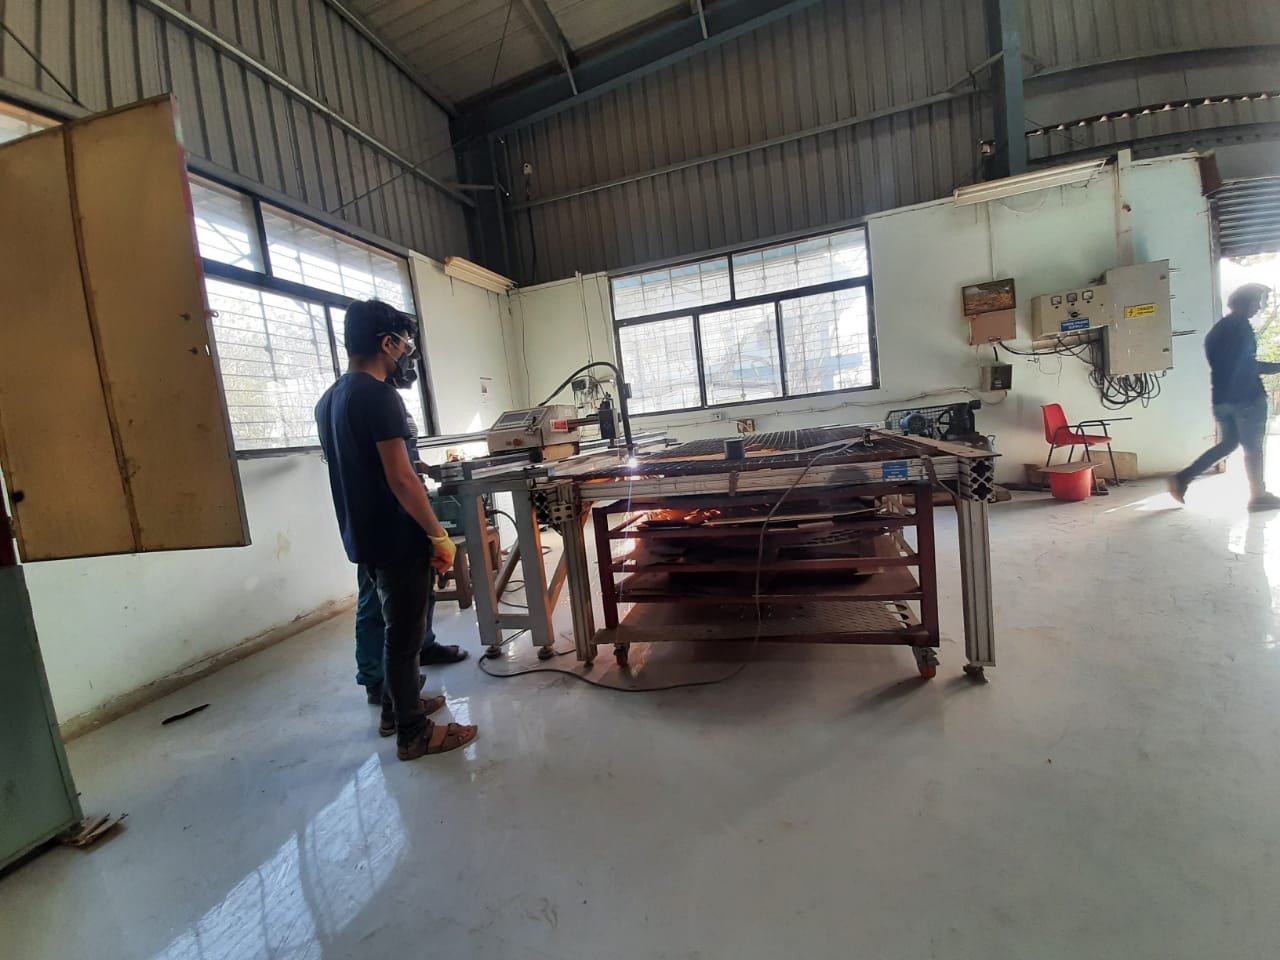
With it we also laser cut the base for the cutter. The base was drawn using the CAD software which was then saved as a .dxf file. The file was used to generate a G-code, it is a programming language for CNC (Computer Numerical Control) machines. G–code stands for “Geometric Code”. We use this language to tell a machine what to do or how to do something. The G–code commands instruct the machine where to move, how fast to move, and what path to follow.
The machine code was loaded into a Plasma cutter where the necessary adjustments were made to have the proper cutting operation. The adjustments are setting the axis above the metal supposed to be cut.
Once the plasma cut, the edges of the pieces were made smooth using the grinder. Also, it was drilled the making sure we could properly mount the cutter on its surface.
The pieces were then bent and welded into the hook. Once completed the entire assembly was grinded to remove any excess material. After that, it was painted to make it resistant to corrosion if any possibility.

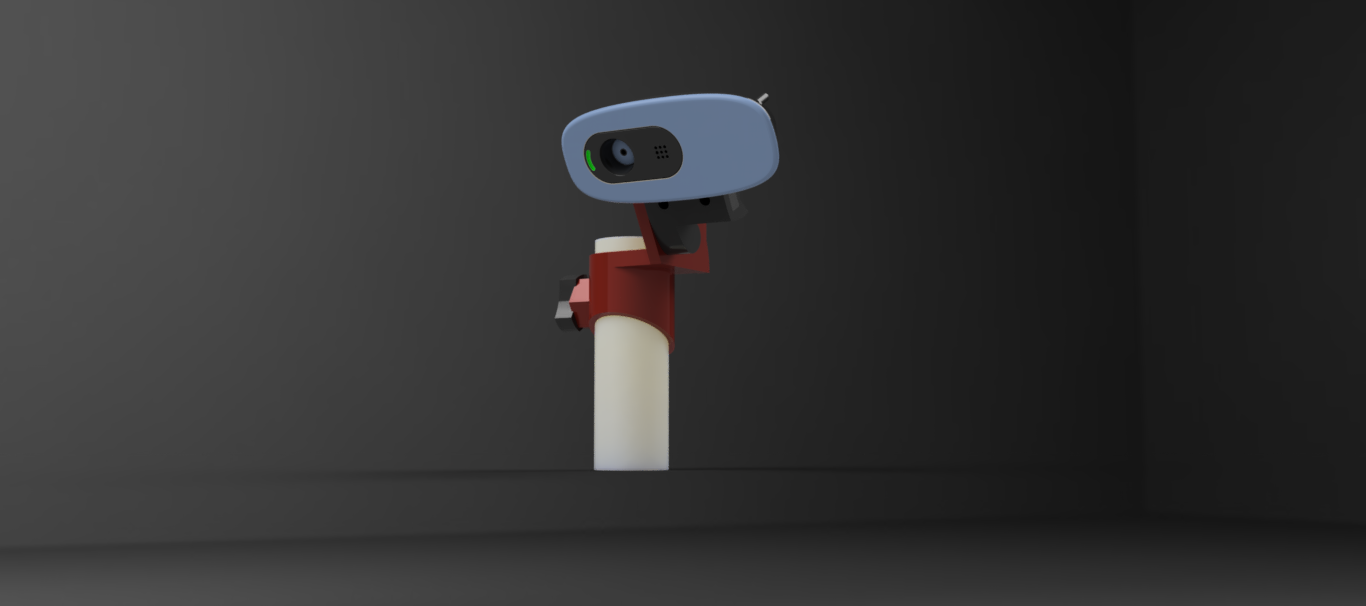
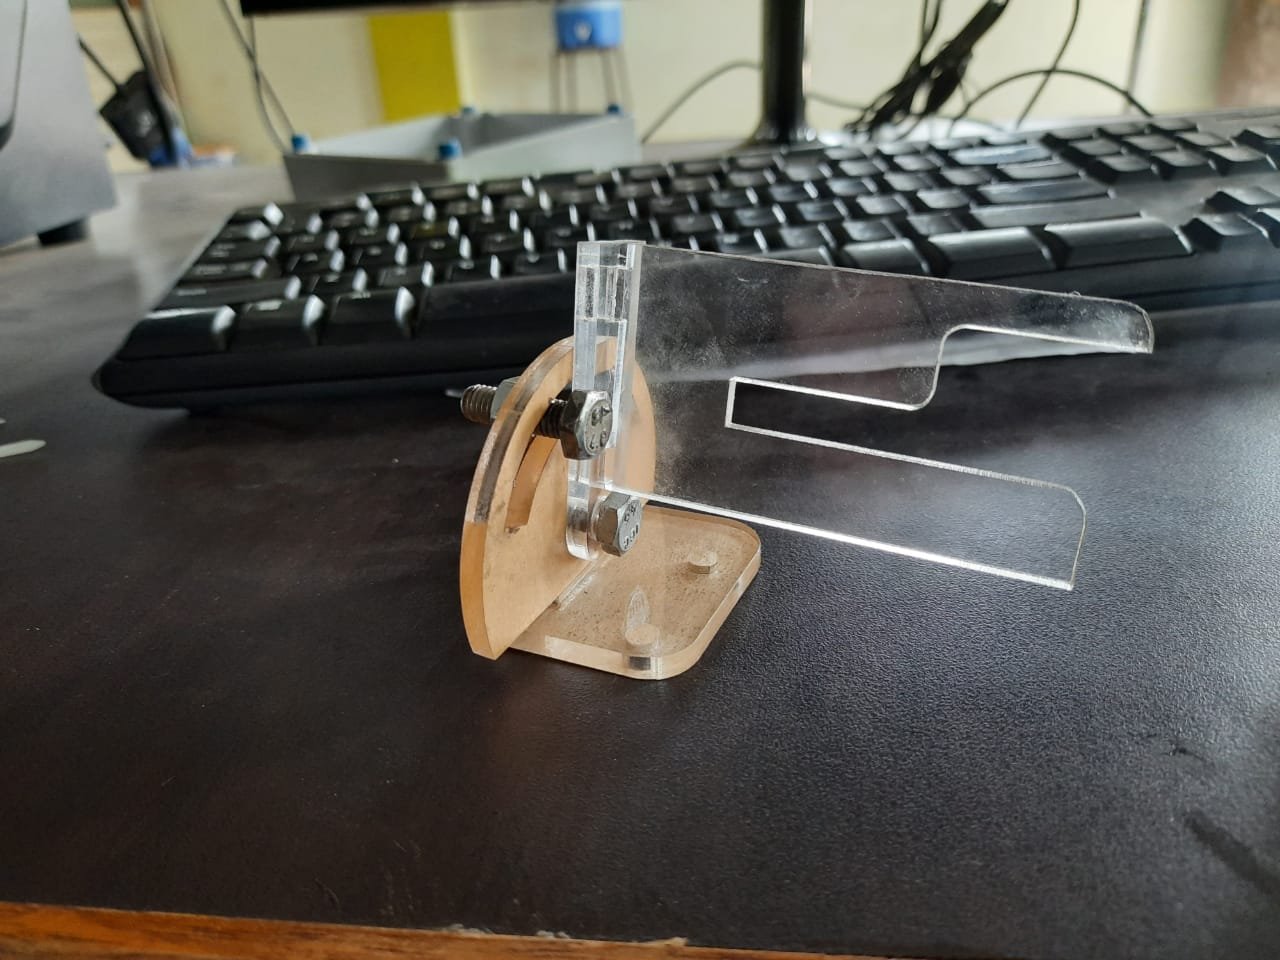
Final Cam mount 7/4
After all the iterations the final design was made using the acrylic sheet.The sheet was cut using a the laser cutter machine. The sheet is 4 mm in thickness so for press fit was designed accordingly. After that the cut acrylic pieces were attached using adhesives. A template was printed to make sure that have backup pieces in case.

Final AsSembly

The TEST - 10/4
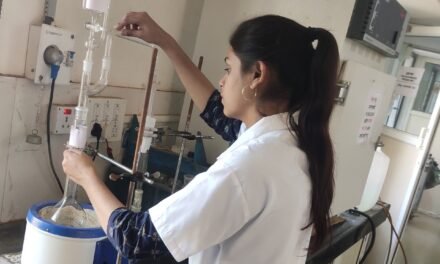
Before sending the whole setup for testing in the Mango Plantations, we experimented to get a feel about the actual setup. A mock was given to avoid any problems during the actual testing condition.The tree was near the close proximity of the village so it made us easy to get the test done.
The setup has been sent for testing and the next iteration would be based on the input from the actual users.

Conclusion
The project was different than the projects I usually do. The project was able to perform the task it was designed for mainly:
- Provide better visual accessibility to see the fruit.
- Improve the ergonomics of the fruit picker.
After the testing, it is seen that the fruit cutter has less utility since the traditional methods use a smaller stick and it has just a hook without having a cutter. When we compare the speed of the two the traditional one surpasses being lighter. It was suggested that the same stick could be useful for cashew trees where color is an important factor. The primary goal as decided after brainstorming was to able to see the color. But the chances are mango is picked even before it ripens. The cutter for specifically designed for Devgad mangoes found in Ratnagiri. If the test are again conducted we can expect different results

