Moore’s law, prediction made by American engineer Gordon Moore in 1965 that the number of transistors per silicon chip doubles every year. It refers to Moore’s perception that the number of transistors on a microchip doubles every two years, though the cost of computers is halved. Thus it  states that we can expect the speed and capability of our computers to increase every couple of years, and we will pay less for them.

Recently we have seen an increase in the number of Open source hardware like Arduino and Raspberry Pi and  programs like Python, OpenCV, a computer vision and machine learning software library becoming mainstream. 

With the ready availability of hardware and software tools we can create interesting projects like never before. In this blog we will see the creating a face recognition system using python and OpenCV library.  The final aim is to combine it with hardware so that it could be deployed as a standalone project. Below are the steps taken to successfully execute the program.

step 1
Python is a High level programing language and a general purpose programming language with an extensive library support. Python is also very famous for its simple programming syntax, code readability and English-like commands that make coding in Python lot easier and efficient. Additionally, there are many applications for which Python is a great option, including data science, AI and machine learning, web development and Internet of Things (IoT) with devices like the Raspberry Pi.

Thus we will install the programming language using the Python official website.

STEP 2
For the ease of programming we will use PyCharm which  is an integrated development environment used in computer programming, specifically for the Python language. The program can be downloaded from the Jetbrains website. Also Install Visual Studio community edition from the link.
1. Open the file tab and go to the settings

2. Click on the Project: XYZProject and then to the Python Interpreter

3. Hover to the Install + sign and click on it.

4. Search for opencv-python, numpy and face-recognition and install package.

5. Click on OK to exit the window.


You may ask what is a library? A software library is a suite of data and programming code that is used to develop software programs and applications. It is designed to assist both the programmer and the programming language compiler in building and executing software.

STEp 3
Now we can start writing the code for the programing the for face detection, and also displaying a bounding box on the face and displaying the name. The code can be downloaded from the following GitHub repository.

Before starting the project we need to import the necessary libraries needed we had installed. opencv-python  is a machine learning ad computer vision library. It was built to provide common platform while will facilitate the development of machine perception and computer vision applications.

face_recognition library recognizes and manipulates faces from Python or from the command line. It is said to be the world’s simplest face recognition library with an accuracy of 99.38% on the Labeled Faces in the Wild benchmark.

NumPy is a Python library used for working with arrays. OpenCVPython makes use of Numpy, which is a highly optimized library for numerical operations with a MATLAB-style syntax.

The below command is used to import the video file/footage from the webcam or the inbuilt cam on your laptop
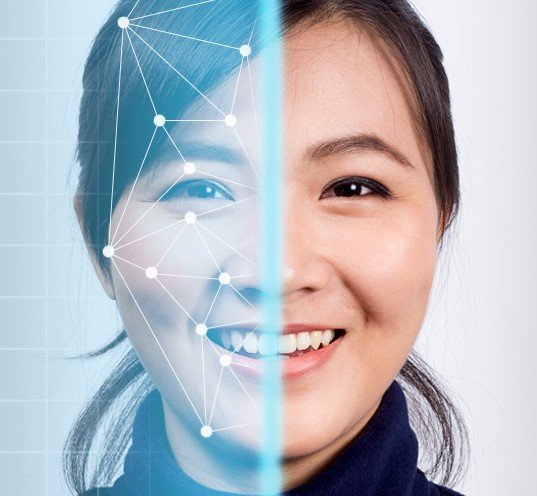
Wondering how will be recognize us? Here comes face_recognition library comes into picture. It uses just a single picture of the subject and is capable of recognizing with great accuracy. For face recognition, the algorithm notes certain important measurements on the face — like the color and size and slant of eyes, the gap between eyebrows, etc. The live video feed is divided into frames and for the each face detected a encoding is generated. The generated encoding is further compared with the image file input. A certain tolerance is given in order to maintain an accuracy.
Here we are giving names to the encoded faces. For now the aim is to display the names of known faces in the live video footage.
Here at video_capture.read() each frame is read and stored in the respective variable. With cv2.resize we resize the image accordingly, as per this application we reduce the frame size to render it faster. At face_locations we pass it to algorithm to detect the face location points, the face in the feed are encoded and compared with the known face list images to check for matches. face_recogniton.compare_faces is used for comparision, a tolerance is given to determine how strict the tolerance comparison should be. To determine how close the faces are. face_distance is used. Once the matched suitable names are given to the faces.
Now that the faces are detected and matched we create a rectangle frame on the faces. Suitable color and thickness can be provided as per user preference.
So using the cv2.imshow we can display the name of the person on the live video feed itlsef!
We can further develop various applications like an attendance system, intruder alert system and so on.


Note : The face is later blurred.