
Installation:
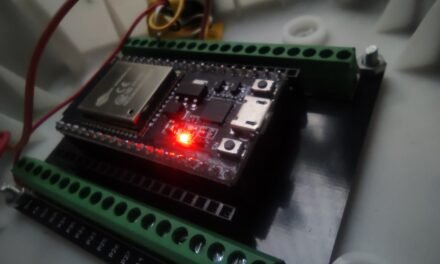
So, on August 17, a man from FASAL arrived, and Suhas Sir and I walked in that direction to install the FASAL project in the polyhouse. So, you can see the main unit of the FASAL project as well as all the sensors in the photo below.

Picture of main unit and sensors of FASAL project
Procedure:
After entering the polyhouse, we carried out some work, such as putting the soil temperature sensor and both soil sensors in the same pipe to protect the sensors’ wire from mice or other insects.
So there are two different kinds of soil sensors: a primary sensor, which can be buried up to 10 inches within the soil, and a secondary soil sensor, which can be buried up to 15 inches inside. They are spaced apart so that one is on one side of the crops and the other is on the opposite side of the corresponding crop. Then he installed the BME sensor, which measures the air’s temperature and humidity, as well as the leaf wetness sensor, which indicates how moist a crop leaf should be. Finally, he fixed the solar panel, which produces 9V of power, and the light intensity meter (i.e. the lux meter).
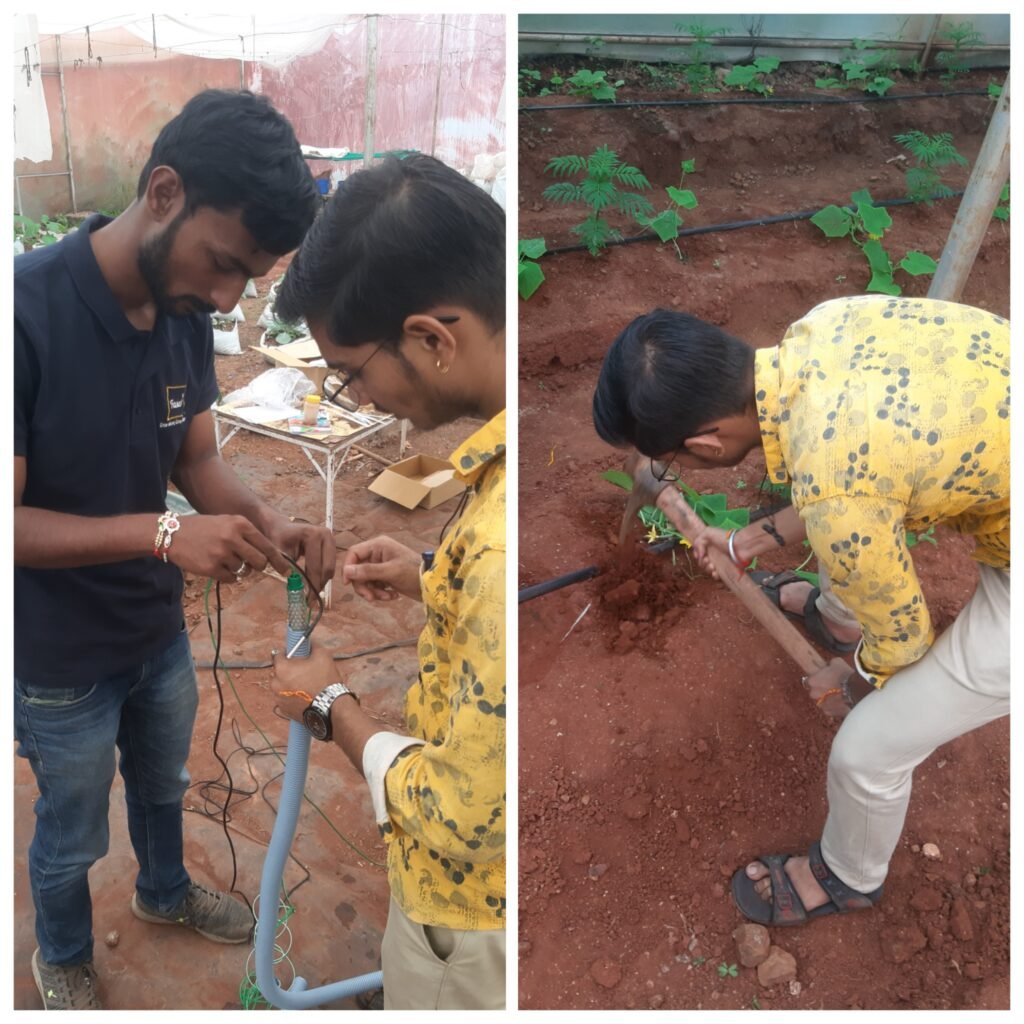

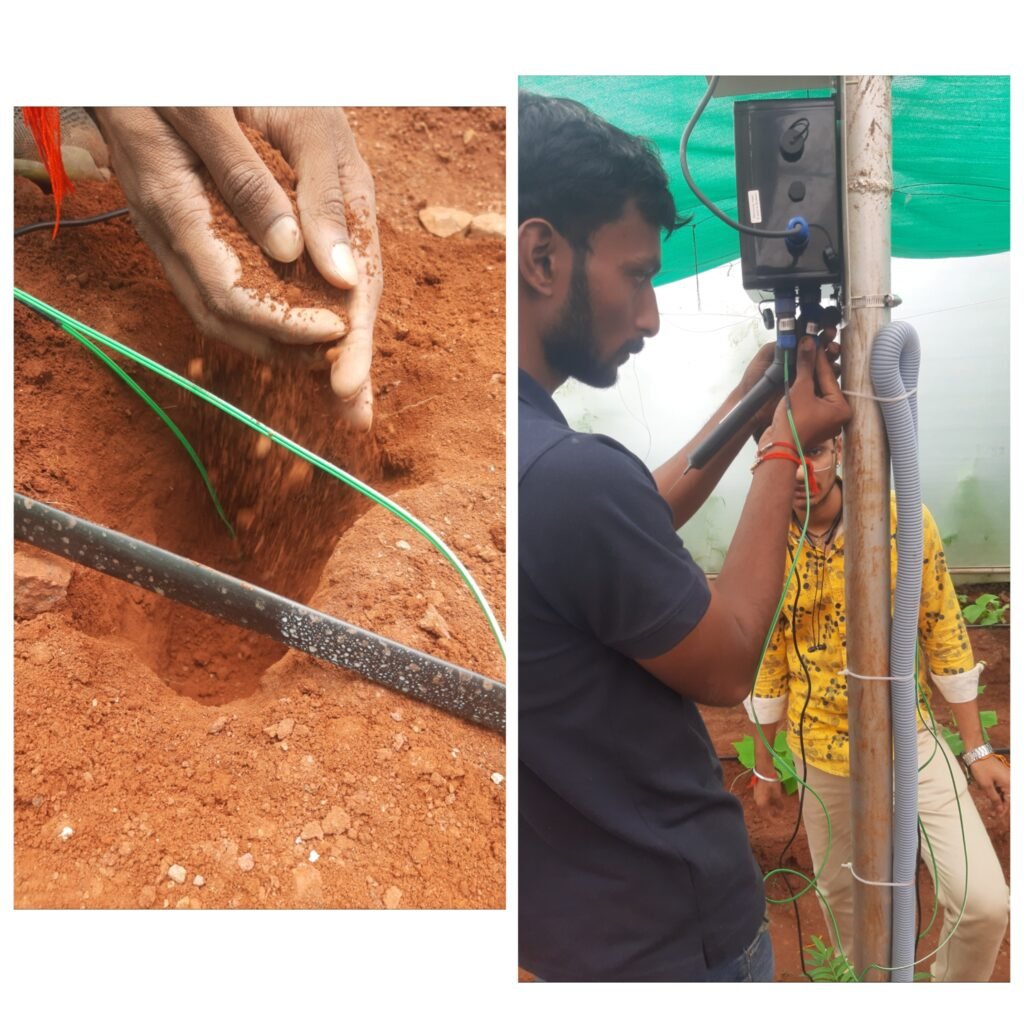
Photos While Installation
App interface:
You can download the app from play store or Click here to download the FASAL App.

App Main Interface
In the app we can see the temp. Humidity and Soil moisture also we can also the VPD (Vapour Pressure Deficit), air pressure, etc.

Alerts Section
In alert section you can see if any pest have been attack on your crops or is there any chances of rainfall, etc.
Manual Reading:
So just for cross checking is the FASAL unit is giving correct value or not. I also visit the polyhouse twice a day to check the temperature, humidity, and to see if any pests have been attacked and the FASAL unit hasn’t responded to that.
You can download the excel file from here, I have keep the record of everything you can check it.

checking pest attack
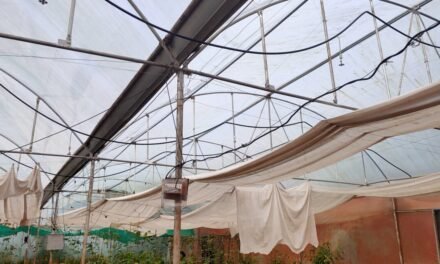
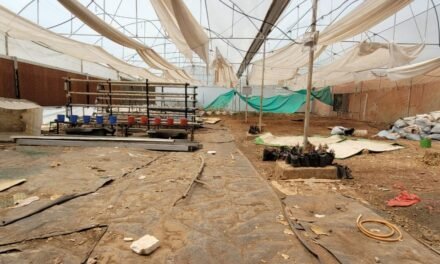
Final Photo After Installation:

After Installation
