INTRODUCTION
A flat bed dryer is a type of machine used to dry materials, such as food, herbs, or other products. It consists of a flat, horizontal surface (the bed) where the material to be dried is placed. Hot air is circulated over the material, either naturally or using fans, to evaporate the moisture. The dryer may also have controls to regulate temperature, airflow, and drying time. As the material dries, it can be easily removed from the bed, making the flat bed dryer a simple and efficient way to dry a variety of products.
ADVANTAGES OF FLAT BED SOLAR DRYER
1.Utilization Of Renewable Energy
2.Cost-Effectiveness
3.Improved Product Quality
4.Reduced Post-Harvest Losses
5.Simplicity and Ease Of Operation
6.Protection From Contamination
25/02/2025
We had a meeting with Dixit sir, Prasad sir, and Abhijeet sir, during which we were assigned a few tasks:
1.Nandini Flat Bed Dryer
26/02/2025
We started working on the design and several calculation required for the flatbed dryer. Such as surface area, loading capacity, volume for the dryer.
28/02/2025
Abhijeet sir shared the plan to build the new dryer with polycarbonate sheets, required for its construction.
01/03/2025
We estimated the costs of using aluminum and mild steel angles to determine which would material would be more cost effective.
6ft=5
2ft=2
1ft=2
3ft=2
2.75ft=2
0.5ft=2
02/03/2025
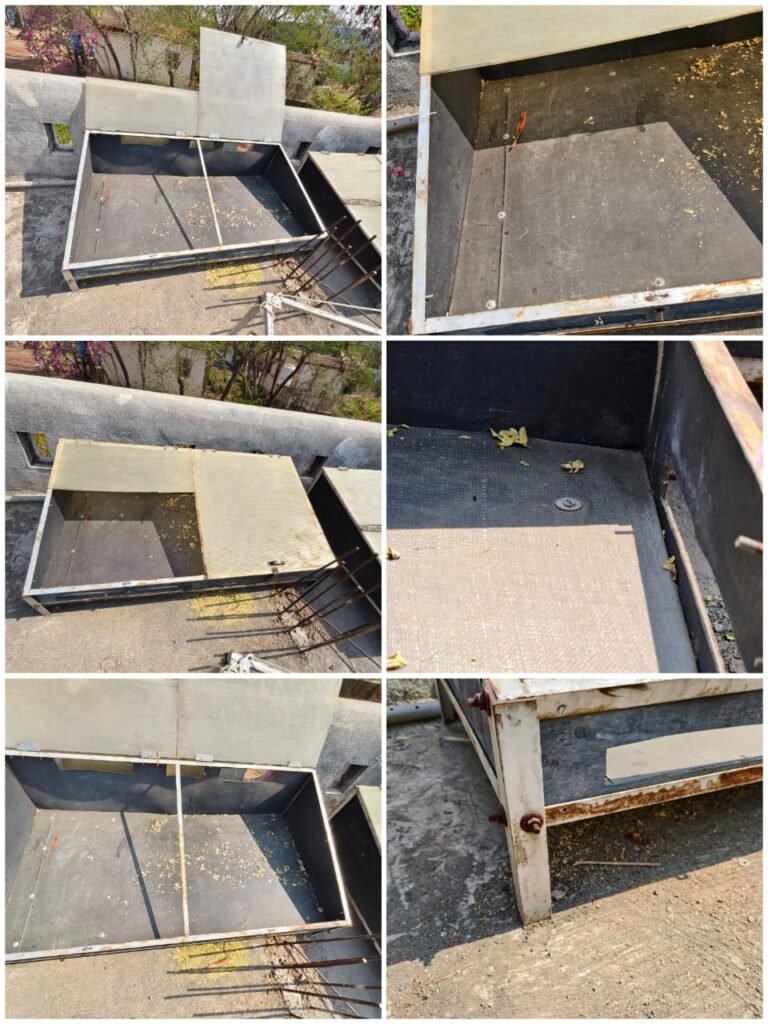
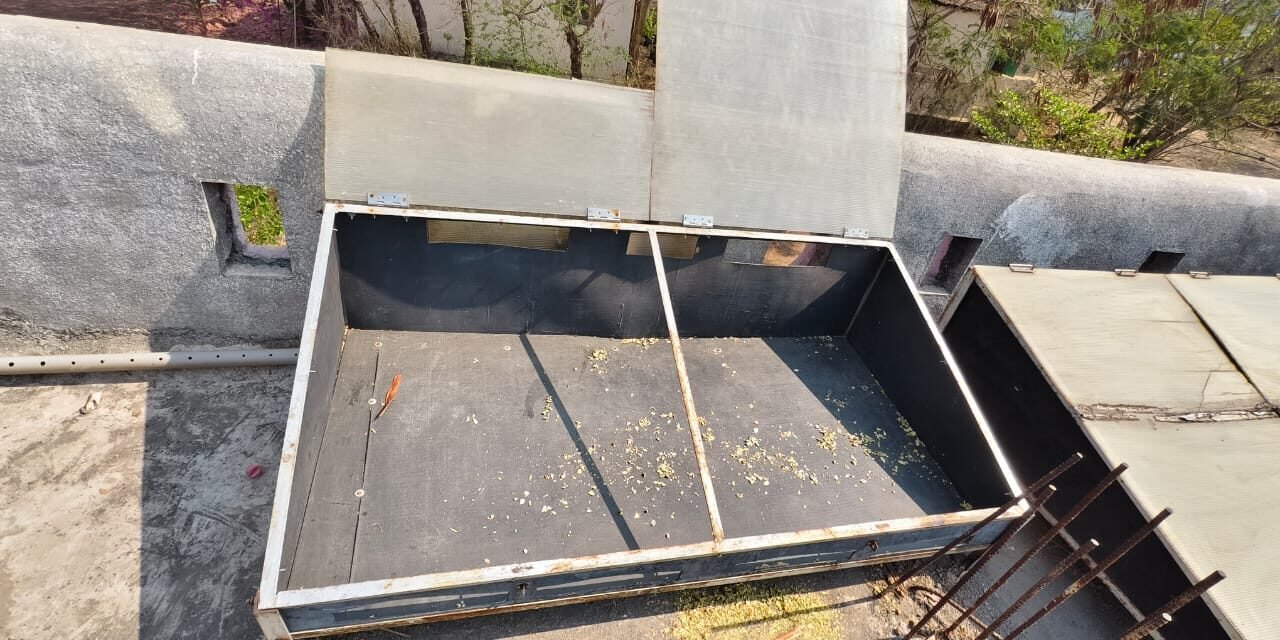
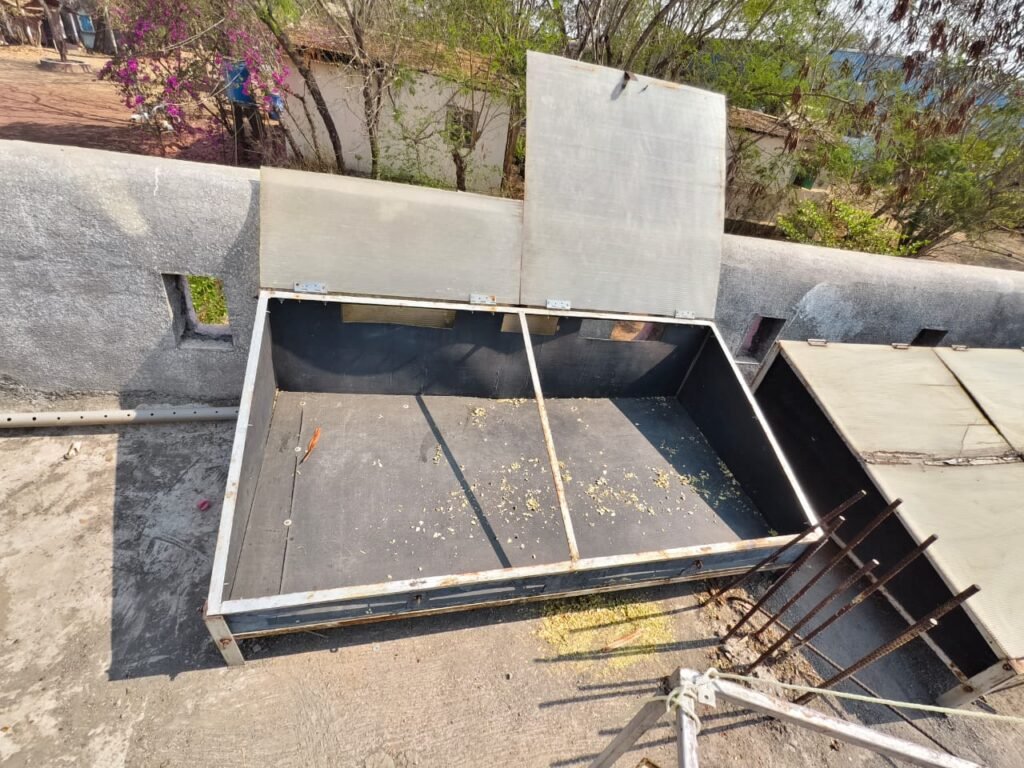
We individually examined the former flat-bed dryer.
In our assessment of the previous flat-bed dryer, we identified several factors contributing to heat loss, with the primary issue being the gaps between the plywood sheets. To reduce this problem and enhance the dryers efficiency, we are exploring various solutions:
1. Sealing the gaps.
2. Upgrading insulation.
3. Optimizing airflow.
4. Regular maintenance
5. Adjusting drying parameters.
04/03/2025
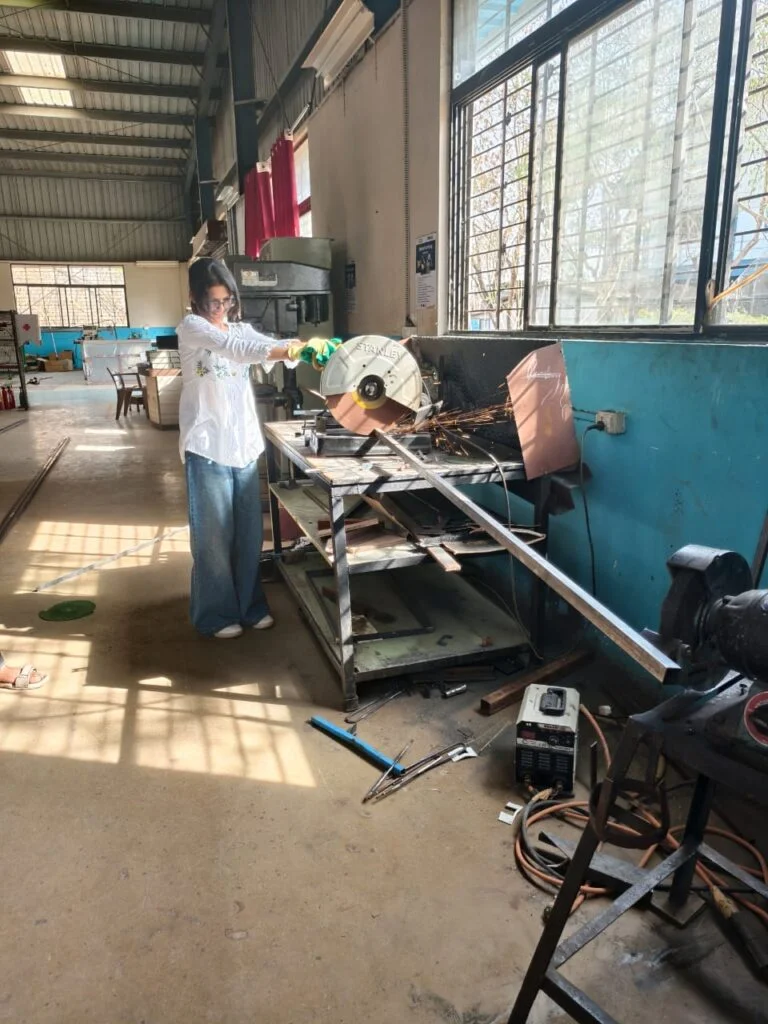
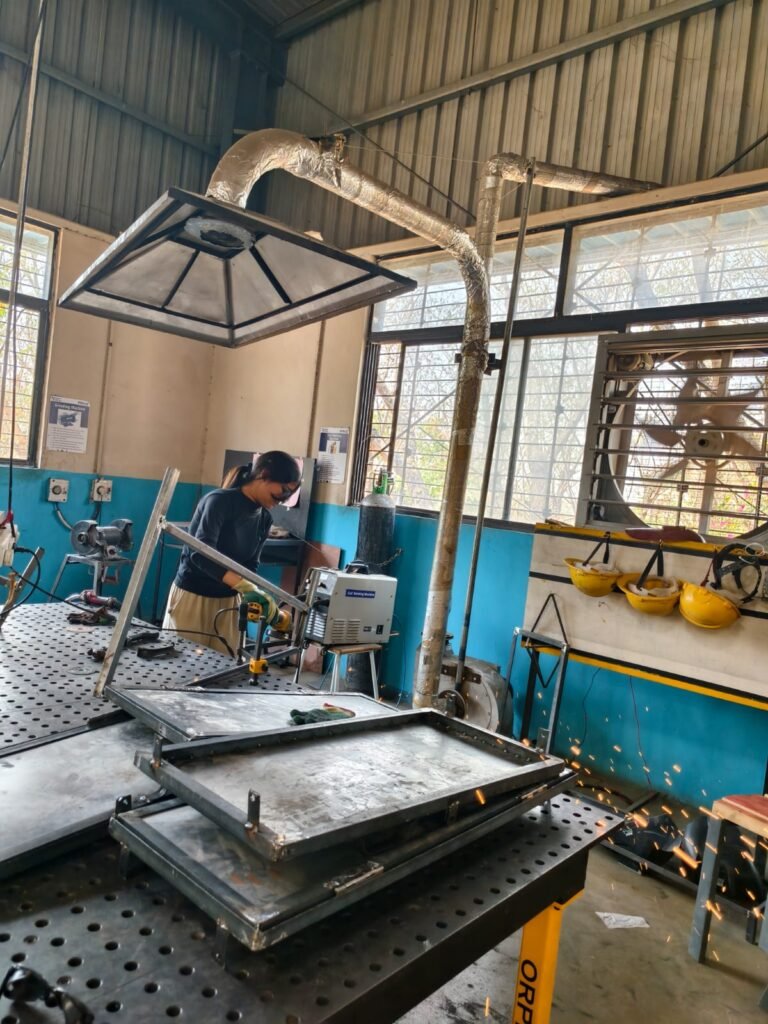
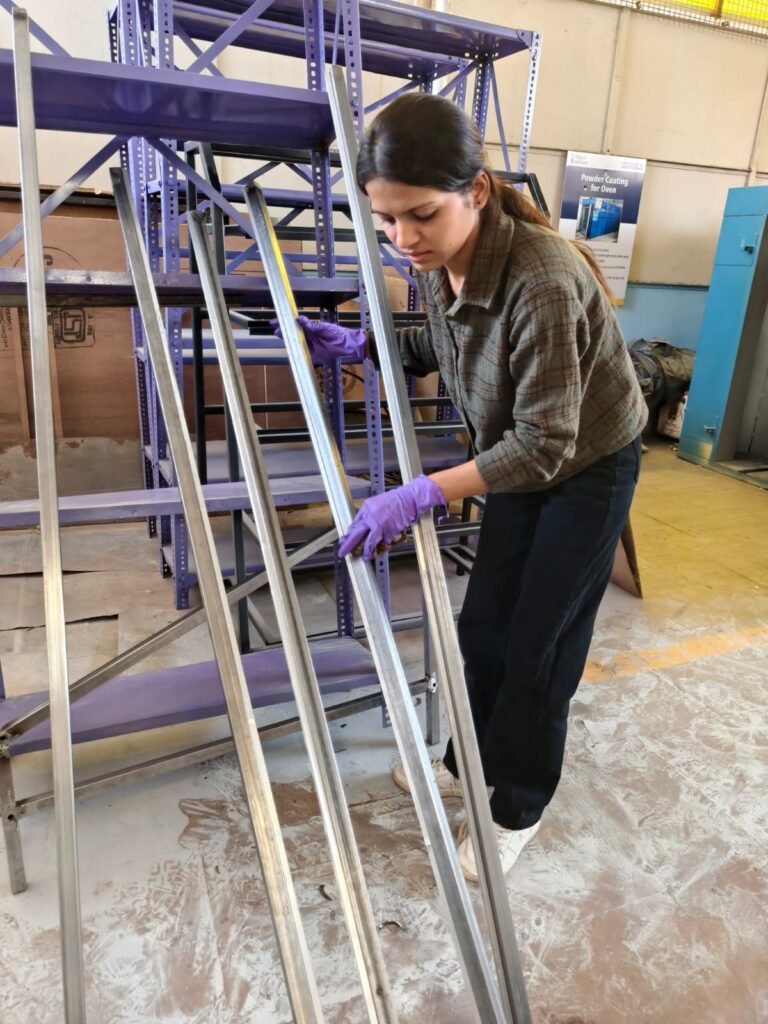
We began constructing the flatbed dryer by cutting the square tubes according to the required specifications. This included the adjustments and modifications that had been previously planned. The fabrication process stared with precisely cutting the square tubes to fit the newly determined measurements, were incorporated into the design. As part of the fabrications process, we carefully cut the square tubes to the exact specifications, including all the revisions we had made earlier.
Modification Made:
- Square tubes will replace the L- shaped metal pieces for the frame.
- Polycarbonate sheets will be used instead of other materials.
- The whole dryer will be made to fold, making it easy to store and move.
- The polycarbonate sheets will fit into silts, so there’s no need for drilling or using nuts and bolts to hold them in place.
- Instead of painting the plywood, it will be covered with a 350-micron black paper sheet for a clean finish.
08/03/2025
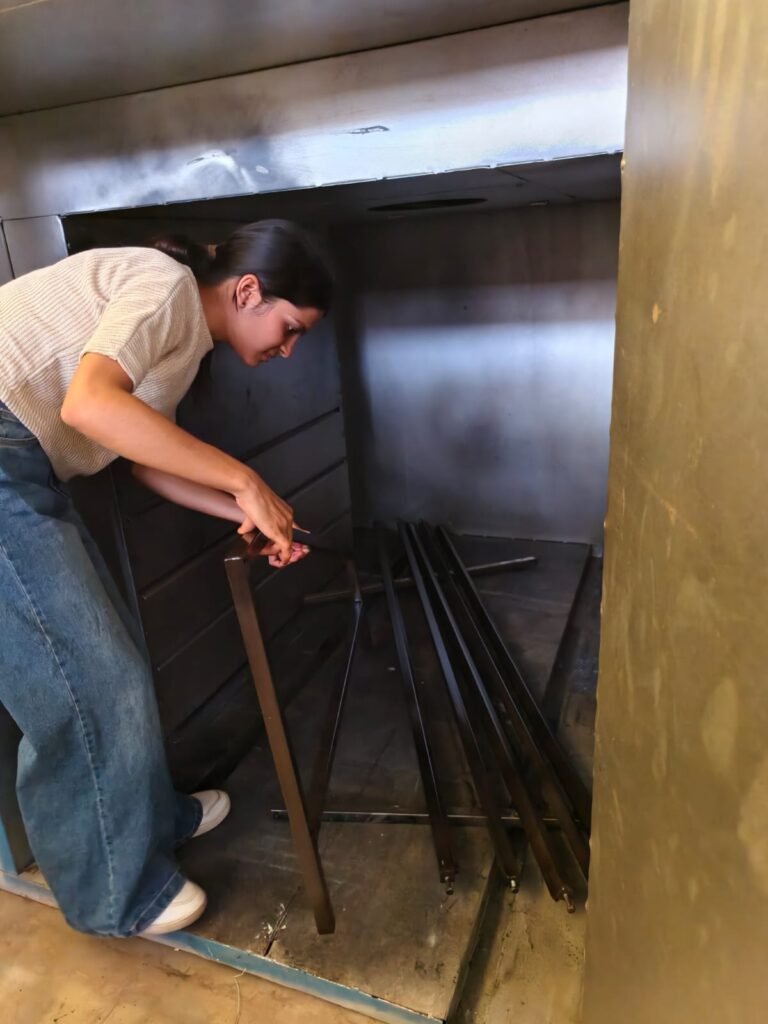
We have completed the grinding, drilling and polishing process for the square tubes that will be used in the dryer. After carefully grinding, drilled, and polishing the square tubes, they are now ready for the next stage in the dryers fabrications.

11/03/2025
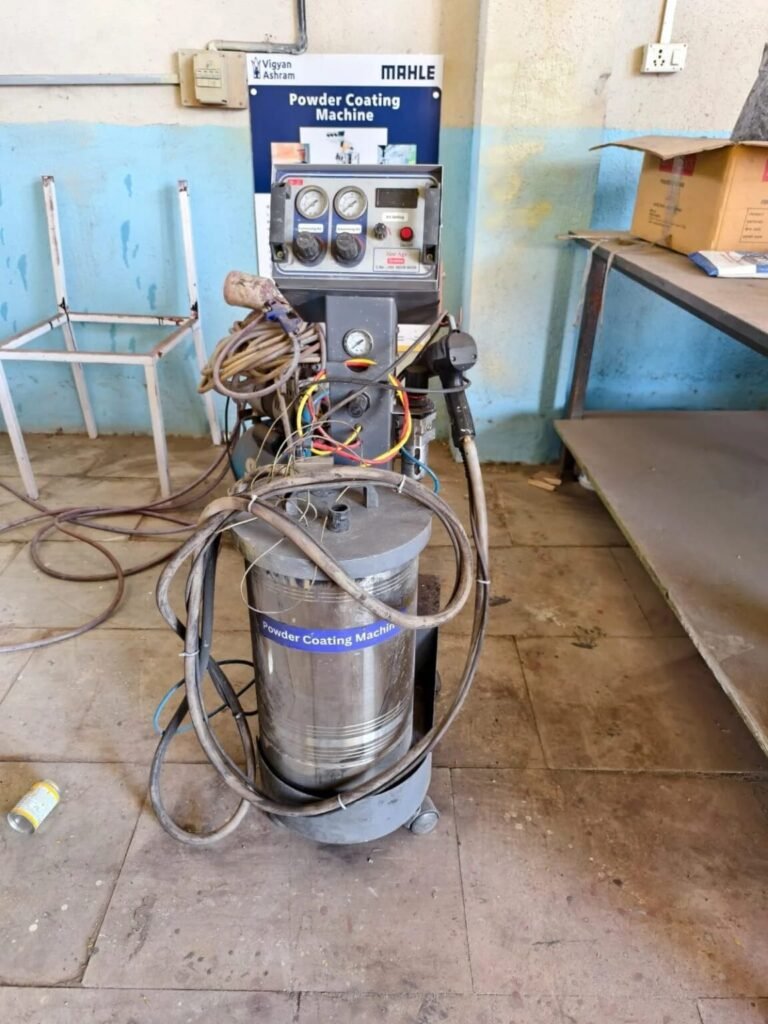
powder coating is a popular dry finishing technique used to apply a tough and protective layer to metal and some other materials. Unlike traditional liquid paints, powder coating involves spraying a fine powder made of various ingredients like plastic, pigments, and resin onto the surface. This powder is electrically charged, causing it to stick evenly to the material. Afterward, the coated item is heated in an oven, where the powder melts, fuses, and forms a smooth, durable coating.
- Exceptional Durability
- Weather Resistance
- Materials Gain Stronger
- Extends Life Span
12/03/2025
The cutting and griding the new frame are now completed.
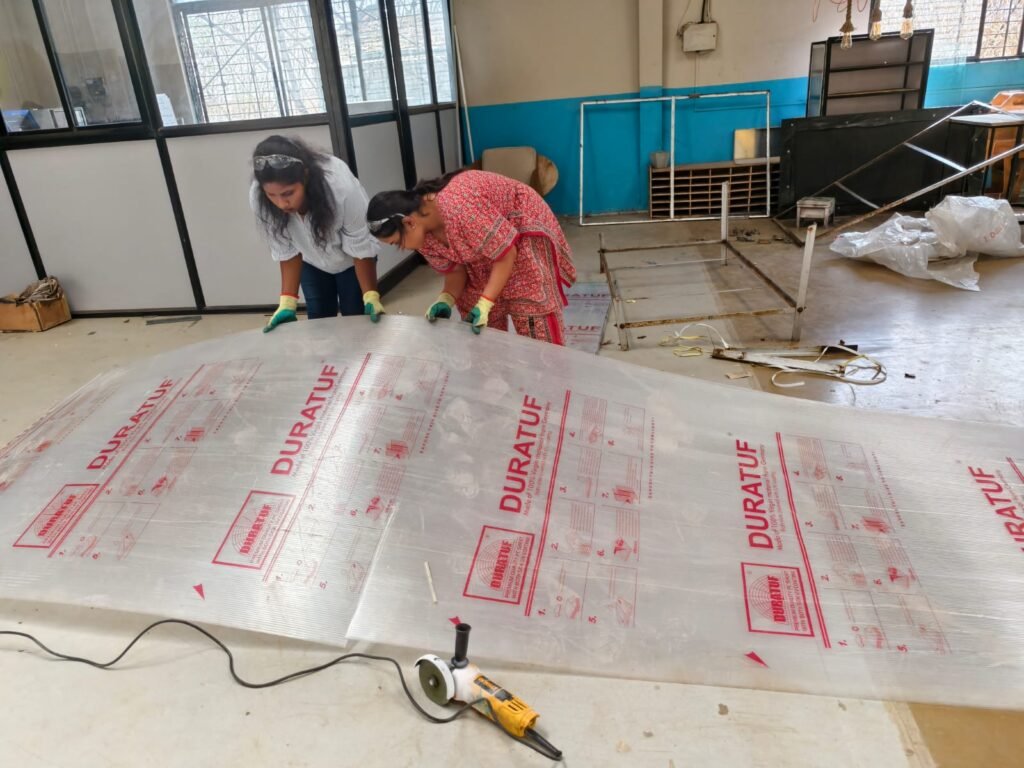
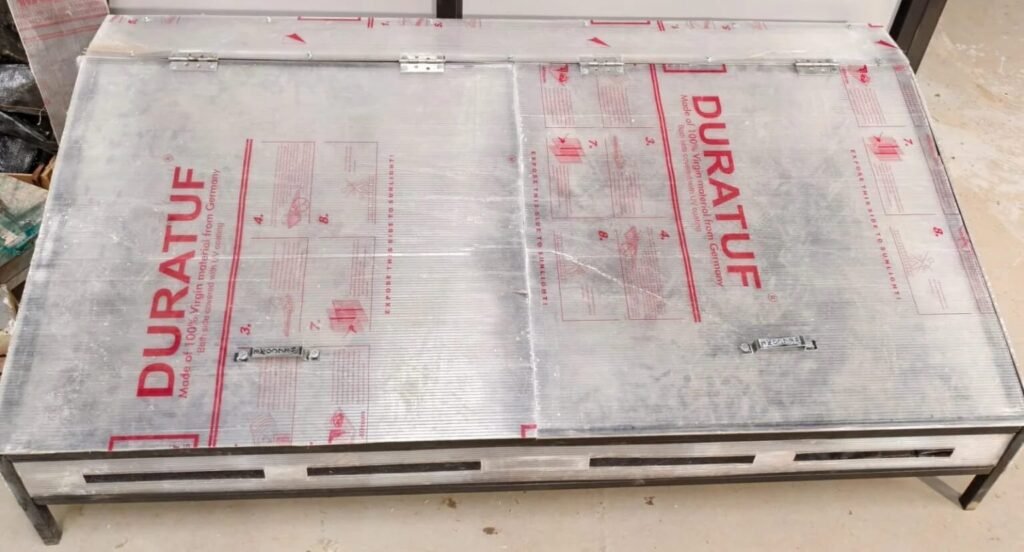
We carefully cut the polycarbonate sheets to meet the required dimensions.
1.6*2.75=1
2.6*0.5=2
3.6*1.5=1
15/03/2025
After drilling the necessary slits, we inserted the polycarbonate sheets, immediately noticing a positive transformation in our model appearance. we took great care to ensure the sheets were evenly placed and fit tightly. By adding supports and fine-tuning the positioning.

16/03/2025
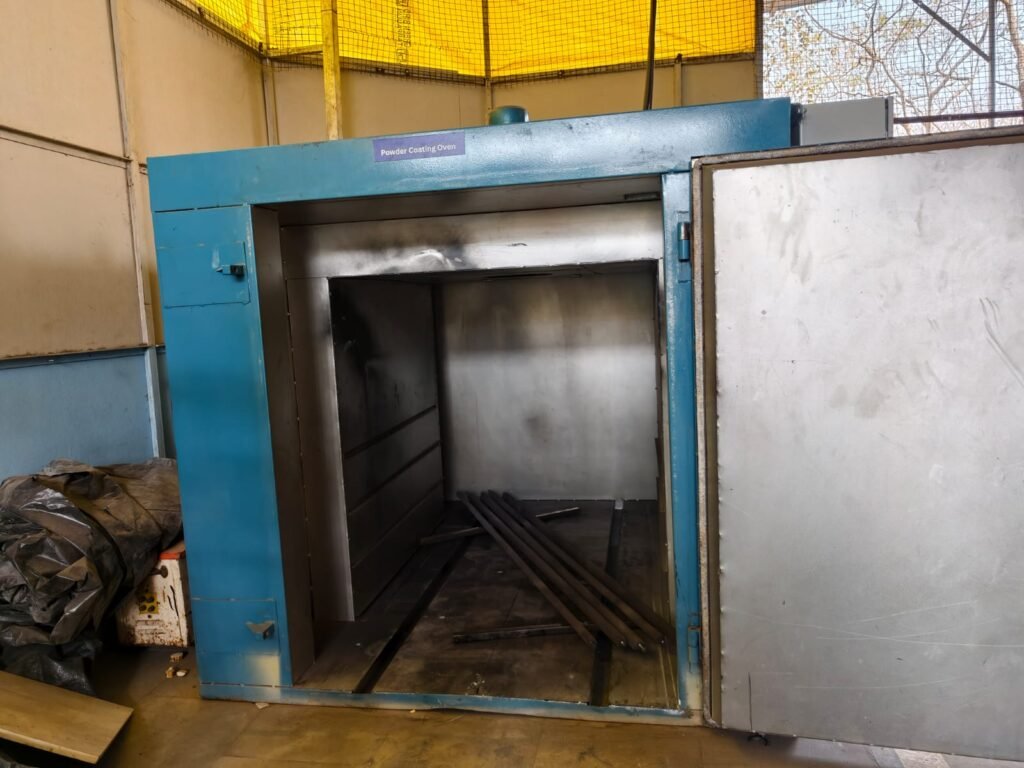
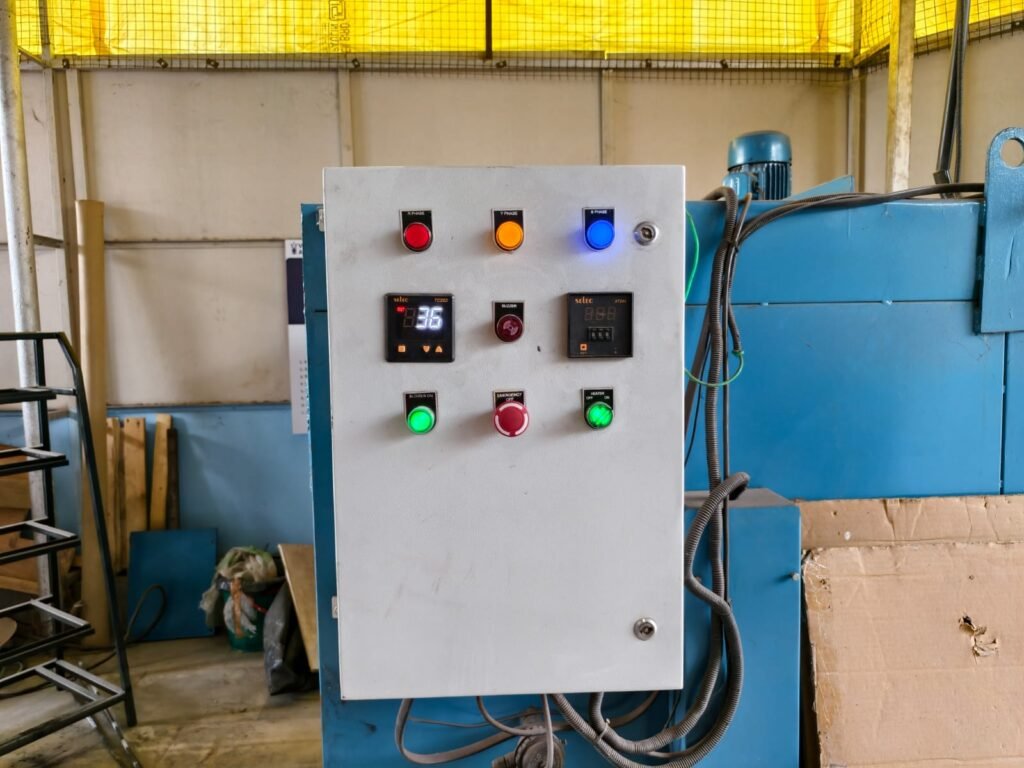
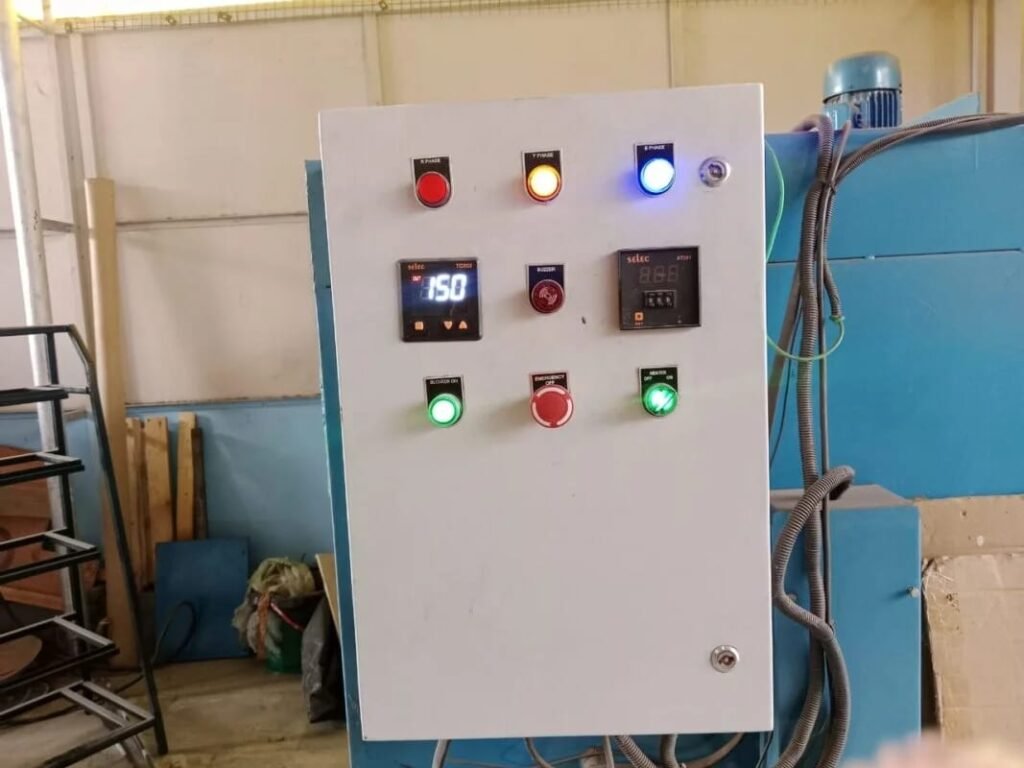
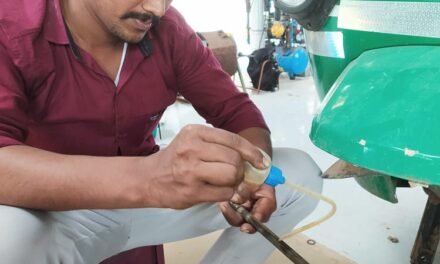
In this day first we used sandpaper to make the frames surface nice and even, like smoothing wood. Then we cleaned it with a very weak acid, like a special cleaning liquid, to make sure the powder sticks well. We let the acid sit for a little while, then wiped it off and let the frame dry completely. once a frame was dry, we sprayed it with a special powder coating. Then we put it in a hot oven and heating it up to 150 degrees. We left the frame in the oven overnight to cool down slowly, so the powder coating would become hard and strong. When it got hot enough, we turned off the ovens heat.
1.Acid application.
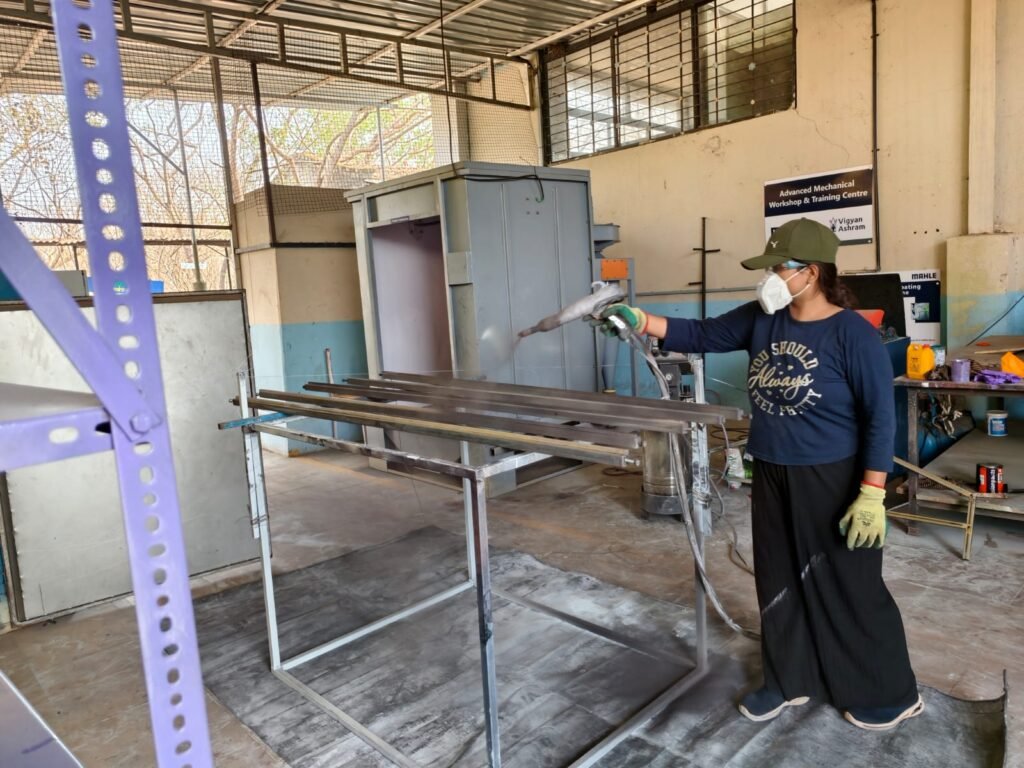
2.Powder coating.
3.In the oven.
4.Initial temperature.
5.Final temperature.
17/03/2025
After the powder coating was done, we proceeded with carefully lifted the components out of the oven.
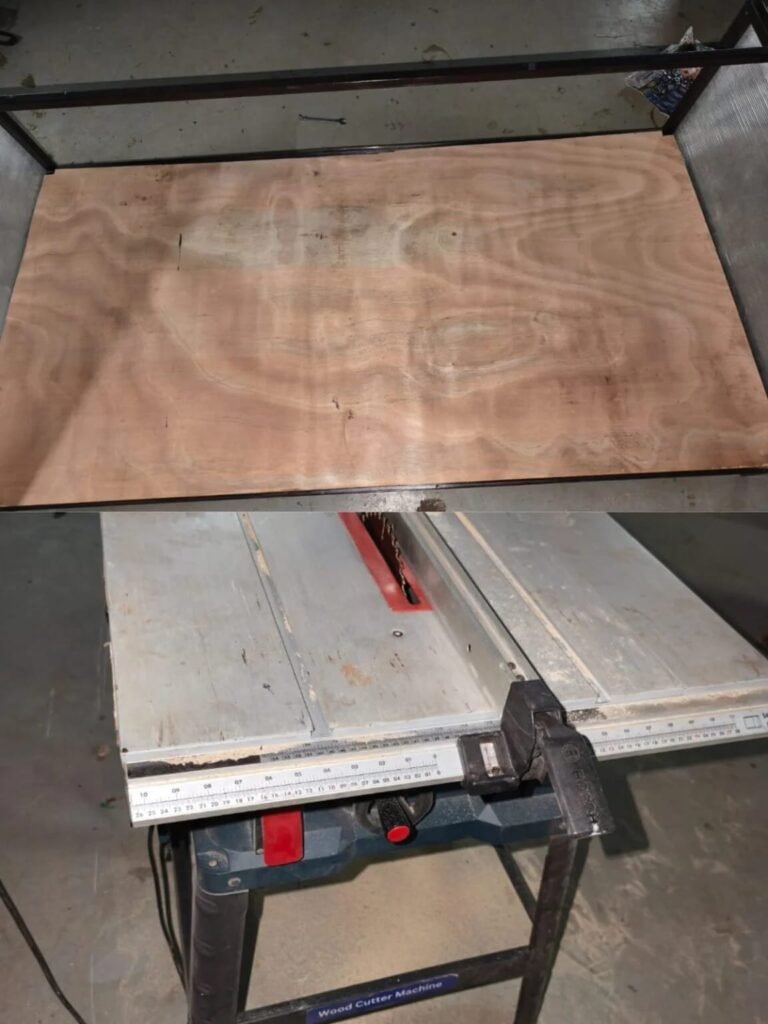
A wood cutter machine was used to cut the plywood sheet into dimensions of 6 feet by 3 feet, providing the base for the solar dryer.
Front vents:32*3.5cm
Back vents:3 vents 32*3.5cm
19/03/2025
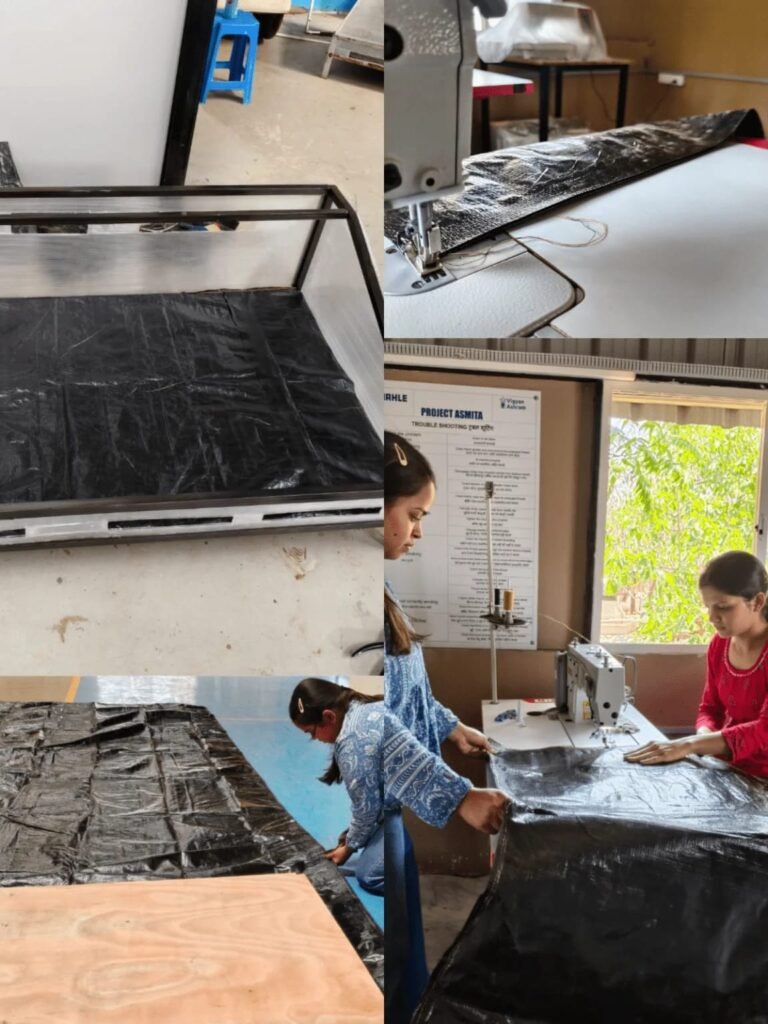
After carefully cutting a black pepper sheet to the exact size of the plywood, We placed it over the wood, ensuring that it fit perfectly. This black cover was chosen for its ability to absorb heat, improving the solar dryers performance by creating a dark surface that efficiently harnesses sunlight. Once the cover was in position, the base of the dryer was completed.
21/03/2025
After we finished the first round of powder coating on the flat bed dryer parts, we checked everything carefully and were disappointed to see that some areas were still not coated.
This was a problem because those uncoated spots wouldn’t be protected from rust and damage, which could affect how well the dryer works and how long it lasts. So, we decided to start the whole process over again.
We cleaned the parts very well to remove any dust, oil, or dirt that might stop the coating from sticking properly. Then, we applied the powder coating again, making sure every surface was fully and evenly covered. After that, we baked the parts in an oven so the coating could harden and stick to the metal.
By redoing everything carefully, we ended up with a smooth, complete coating that will protect the parts and help the dryer work better and last longer.
22/03/2025
After finishing the powder coating, we started putting together the flat bed dryer. One important step was attaching the hinges to the door so it could open and close properly.
To do this, we used a drilling machine. First, we carefully placed the hinges where we wanted them on the door and marked the spots for the screws. Then, we used the driller to make small holes in those spots, which helped guide the screws in the right way. Finally, we put in the screws and tightened them so the hinges were firmly attached.
23/03/2025
After fixing the hinges, we moved on to installing the handles on the flat bed dryer door. This was important so users could open and close the door safely.
We measured carefully to find the best spot for the handles, making sure they were easy and comfortable to reach. Then, we marked the spots, drilled small holes, and screwed the handles in place. Finally, we checked to make sure the handles were tight, straight, and evenly spaced.
24/03/2025
For the final step, we added rubber legs to the bottom of the dryer’s metal legs. These protect the floor from scratches and damage. We just pushed the rubber pieces onto the ends of the legs, making sure they fit tightly. Now, the flat bed dryer was fully put together.

25/03/2025
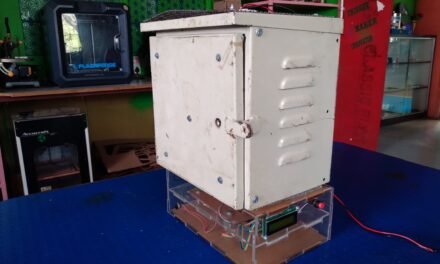
After finishing the assembly, the flat bed dryer was now ready to be used.
04/04/2025
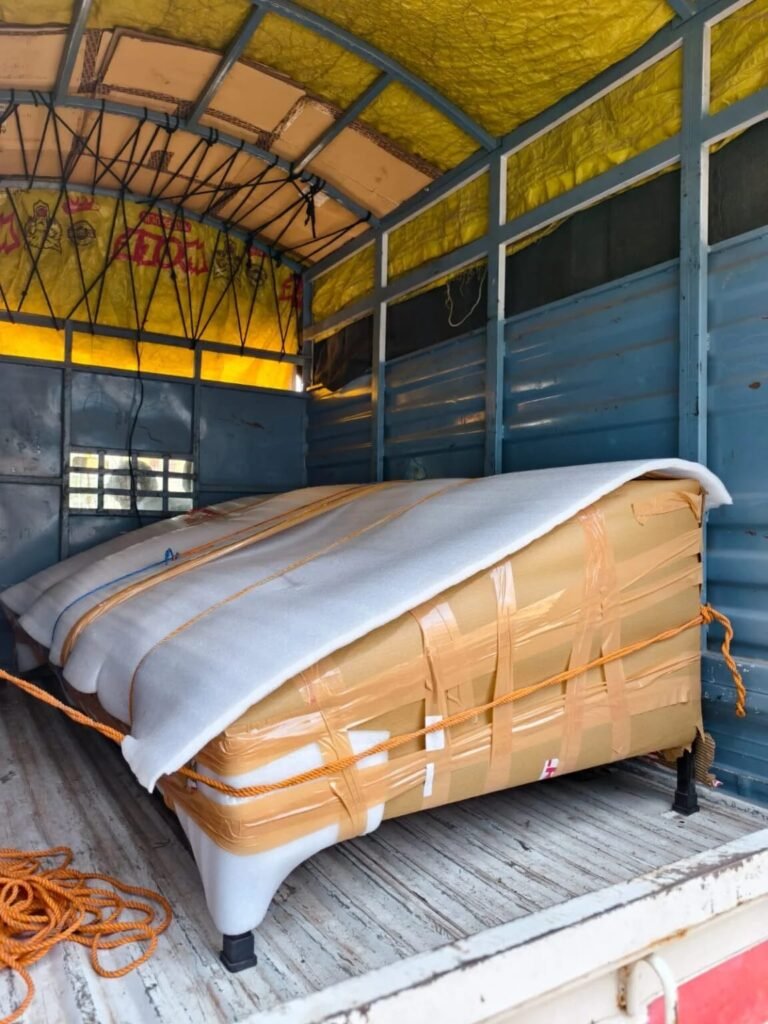
To keep the flat bed dryer safe during transport, we wrapped it in foam and taped it securely. This protects it from bumps, scratches, and damage on the way.
05/04/2025
The flat bed dryer was securely delivered to the customer.
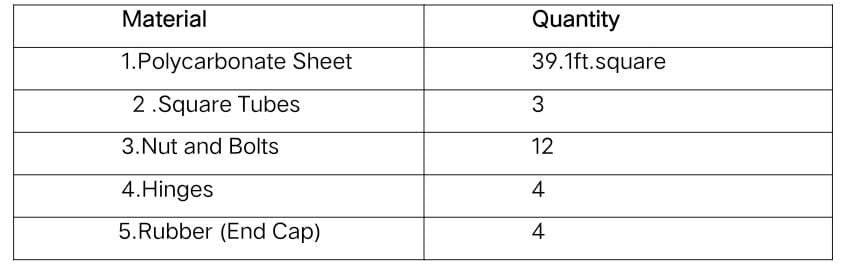
The Bill of Materials (BOM)
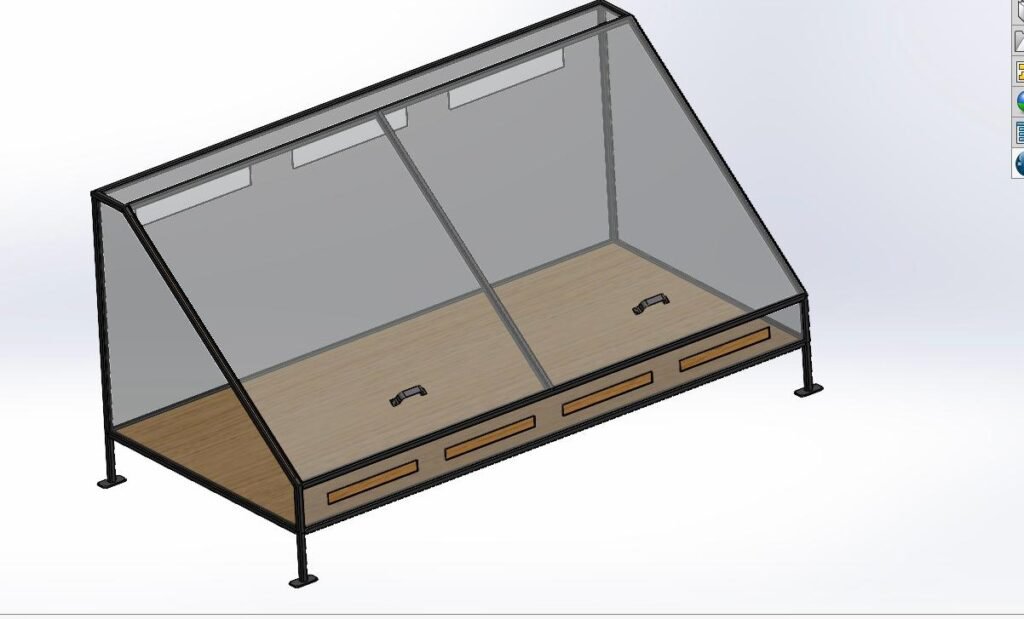
Flat-bed dryer design on solid works
