
Jnana Prabodhini, an Educational organization based in Harali, Solapur, visited Vigyan Ashram. They saw the incinerator designed for 5-6 pads and recognized their need for it. They placed an order with us, and afterward, DIC Heads decided to entrust me, to fulfill this responsibility. They had envisioned creating an entrepreneur who could help take the sanitary napkin incinerator—developed at the Ashram—further in the market.
Accordingly, Dr. Dixit Sir, who is the head of DIC, asked me to fill out a Google form, and here it is –
LPG Based Sanitary Napkin Incinerator (5-6 Pad).
Responsible Person :-
Siddhant V. Said.
Introduction / Background :–
- Inadequate disposal of sanitary napkins leads to hygiene issues and environmental pollution.
- Schools and hostels often lack proper disposal facilities, increasing health risks.
- The LPG-based incinerator provides an eco-friendly, hygienic solution for sanitary napkin disposal.
- Compact design (70×30 cm) makes it suitable for small spaces like hostel washrooms.
Need of the Project :-
- Traditional disposal methods can cause blockages, odors, and unhygienic conditions.
- The principal of a school having girls’ hostel requested a solution to address these issues.
- This incinerator offers a safe, discreet, and efficient disposal method, reducing waste to minimal ash.
Objectives :-
- Provide a safe, hygienic disposal method for sanitary napkins.
- Reduce environmental impact and health risks from improper disposal.
- Ensure compact, user-friendly design for hostel use.
- Promote eco-friendly practices in waste management.
Idea :-
- Develop a compact LPG-based incinerator for 5-6 pads.
- Use LPG for quick, clean incineration that reduces waste to ash.
- Ensure ease of use and safety in design, ideal for small spaces.
Methodology :-
- Design: Design a 70×30 cm incinerator and make its BOM.
- Purchase: Purchase the required material.
- Fabrication- Build a system for efficient incineration.
- Testing: Ensure it handles 5-6 pads effectively and operates safely.
- Installation: Set up in the hostel & train users and maintenance.
Client & Funding details :-
Gauri Kapre.
Possible end-users :-
Hostel Girls.
Starting date & Ending date :–
02/10/2024 To 18/10/2024.
I took on this project and began working towards its completion.
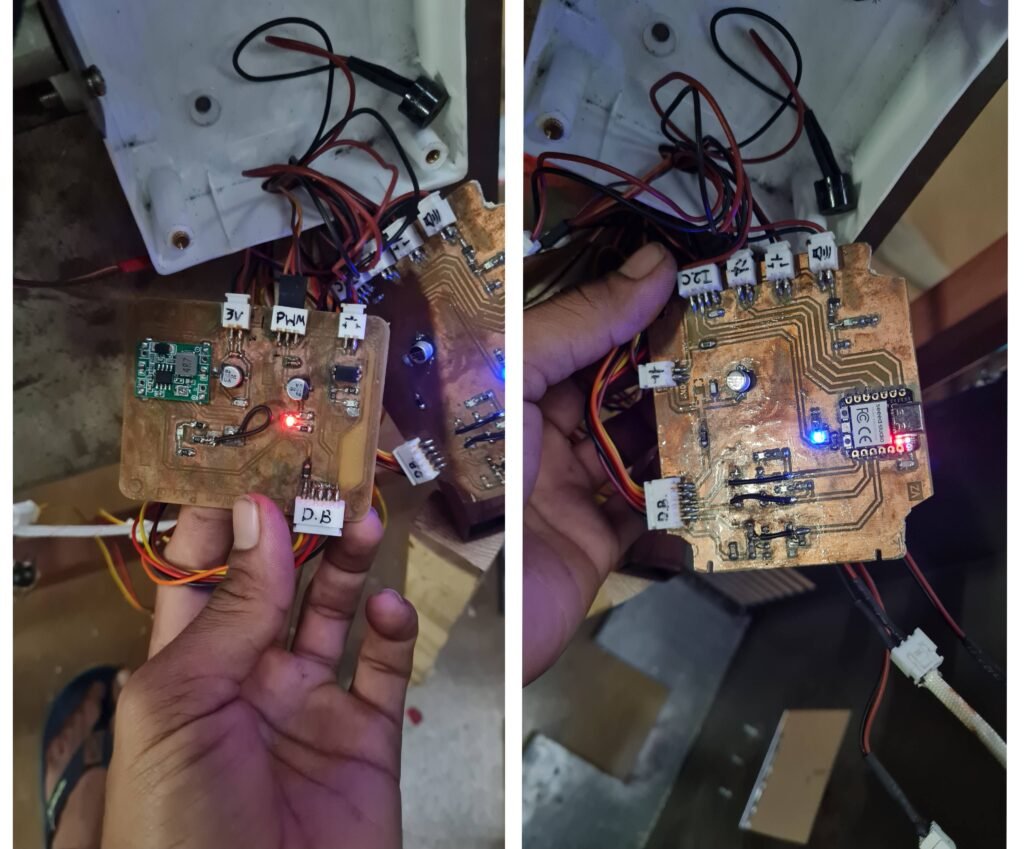
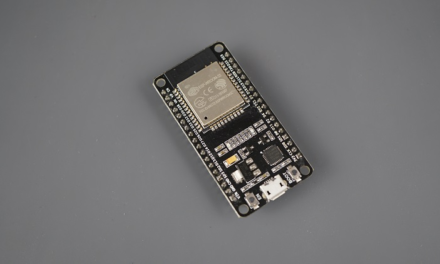
Initially, I planned to use an Arduino board for the control unit. However, one of our DIC alumni, Er. Vrushabh Zunjurkar, who was also involved in the development of the incinerator, suggested the idea of creating a custom PCB using the XIAO board for control. Dr. Dixit Sir agreed with this approach and called Vrushabh to design the electronics for the incinerator. With this new direction, we got started on the project.
When starting the project, I first created a Rough sketch to get a clear idea of the dimensions and where each part would be assembled.
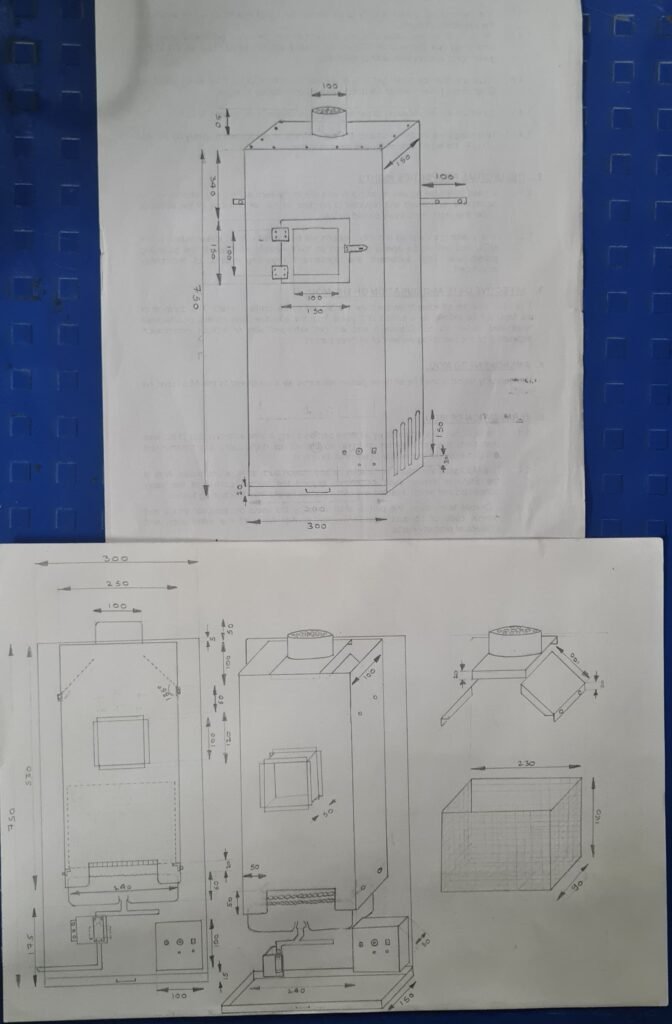
When I began sketching the diagram for the incinerator, I noticed some flaws that hadn’t occurred to me earlier, so I made the necessary corrections in the sketch. I had planned to place an ash tray behind the burner. However, I later realized it wasn’t feasible due to the pipe connections and other components.
After that, I prepared a bill of materials, listing all the necessary components, their costs, and sources. To purchase the required parts.
Bill of Materials (BOM)

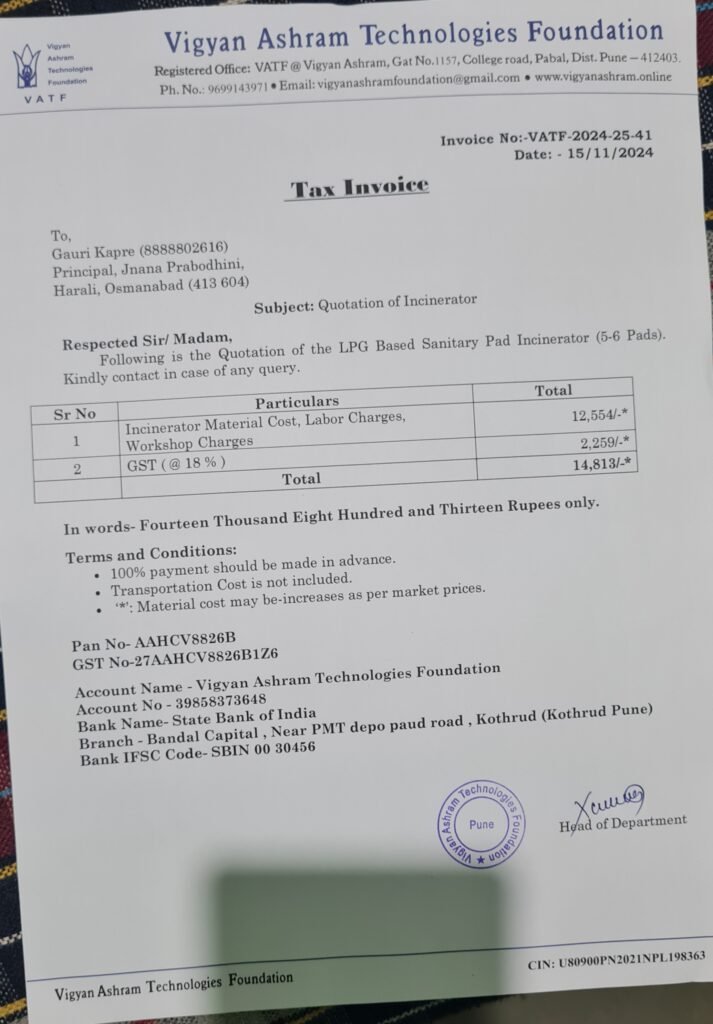
After creating Bill of Materials. I made a Tentative quotation, which we sent to Dnyanprabodhini.

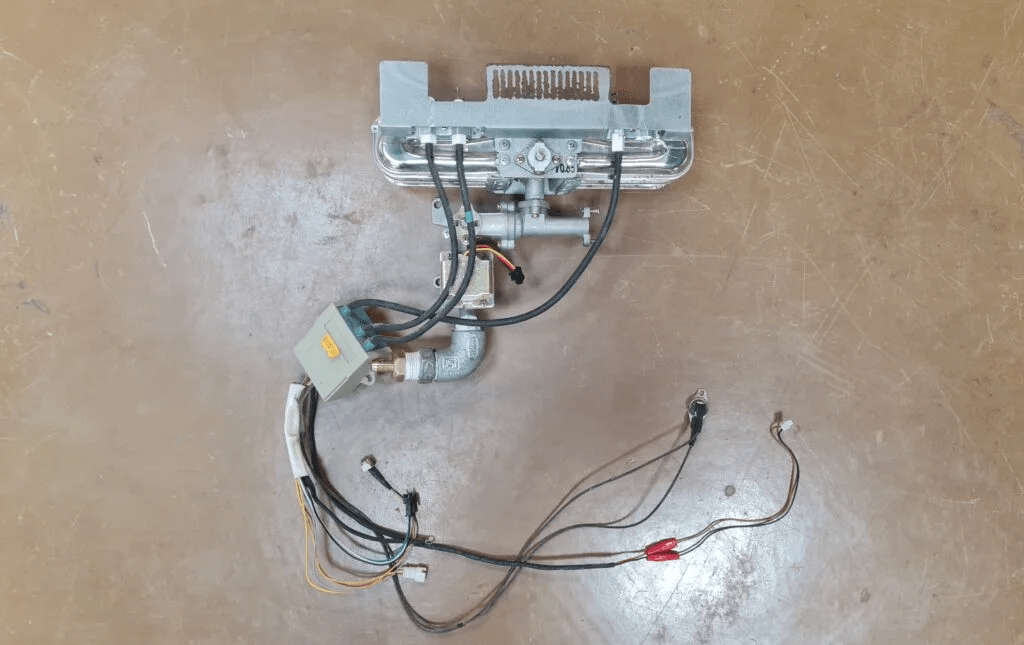
After getting their approval, we began working on building the incinerator. Our first step was to measure the electric current needed to run a gas geyser burner so that we could plan the PCB design accordingly. so we found that it works on 3V and 0.1A at the minimum.

We operated it at different voltages like 3V, 4V & 5V to figure out the maximum current it needs. Then, we used that information to design the circuit.
Electronics Doccument-
Fabrication-
I cut 400×70 mm sheet of MS 0.8 mm and bent it as follows to make inner and outer chambers connecting door. –

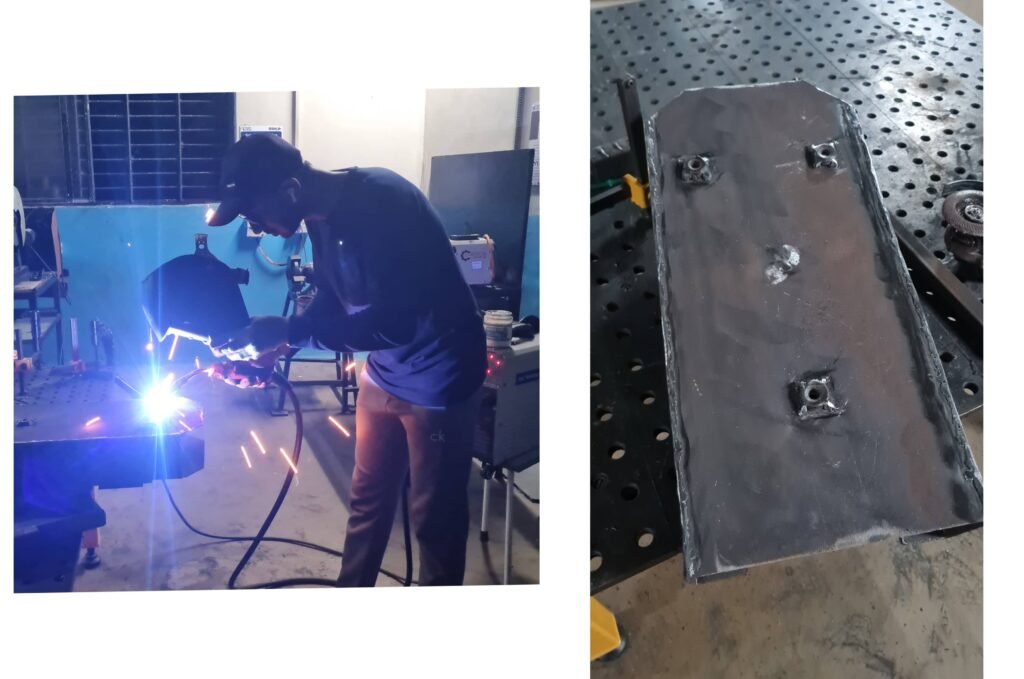
Then I Cut 1/2 Inch Square tube at 45 degree to make 10×10 cm Square.

and then welded it like this to make a door.

Then To make the inner chamber I created the part in SolidWorks as per drawing, and then converted it to DXF format.
With Mahesh’s help, cut a 2.5mm sheet on a plasma cutter.

Plasma cutting-
Then I bent it using a bending machine.


To form this like structure. Then I joined the two plates of the inner chamber together using CO2 welding. Then, I smoothed out the sharp corners by grinding them down.

Then i welded that inner chamber & outer body’s connecting door to the inner chamber –

From the backside to maintain air circulation gap between chamber and body i welded 3 visor of 2mm each.
Then I started designing outer shell
Actually, I was planning to build the outer chamber at the ashram itself. But due to a lack of bending machines, I decided to have it built outside. I’ll get it laser-cut and bent because laser-cutting has a better finish. We have a plasma cutter at the ashram, so I’ll laser-cut it.
Then i made its DXF Files for laser cutting and bending –

After making cutting bending Files i started to take quotations from different different laser cutting and bending Companies.
Among them we chose kakade laser & here is their Order.
After making outer body
I mark to drill holes for connecting door-

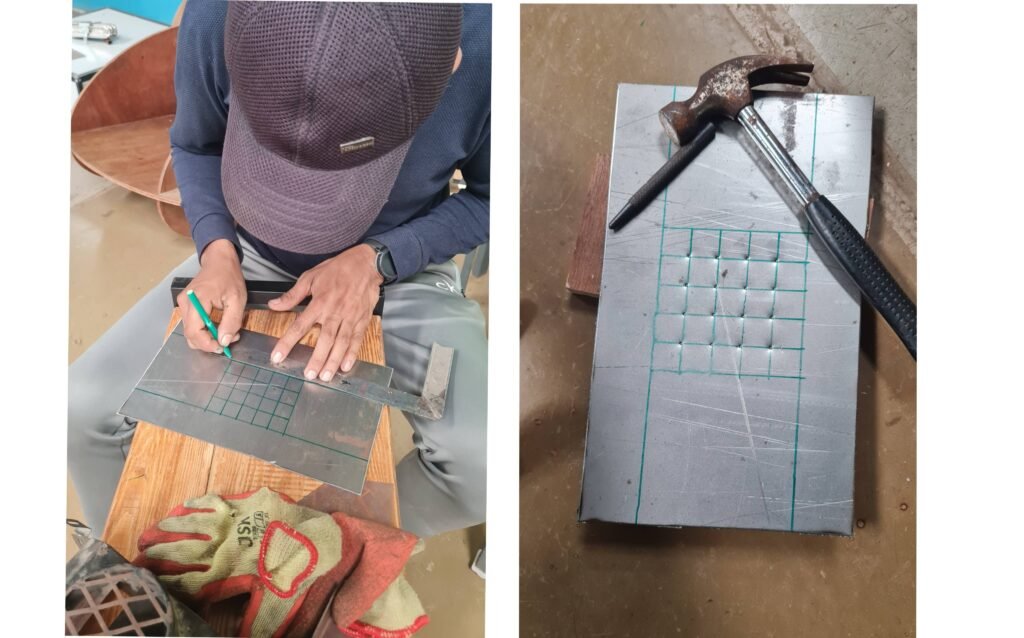
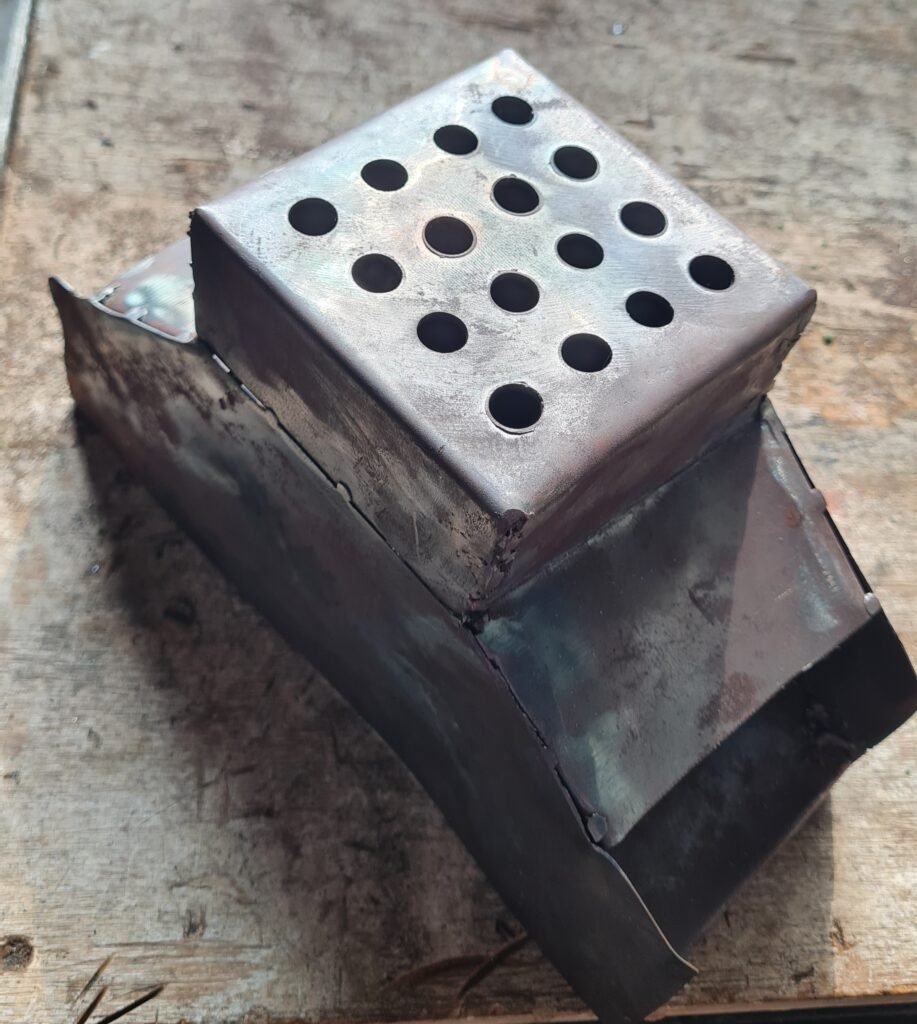
Then after drilling holes i started making chimney –
First of all, I drew a 10×10 cm square and drew 4 lines of 1 cm each in between. And where the lines were connected, I punched it with the help of a punch to make it easier to drill.”
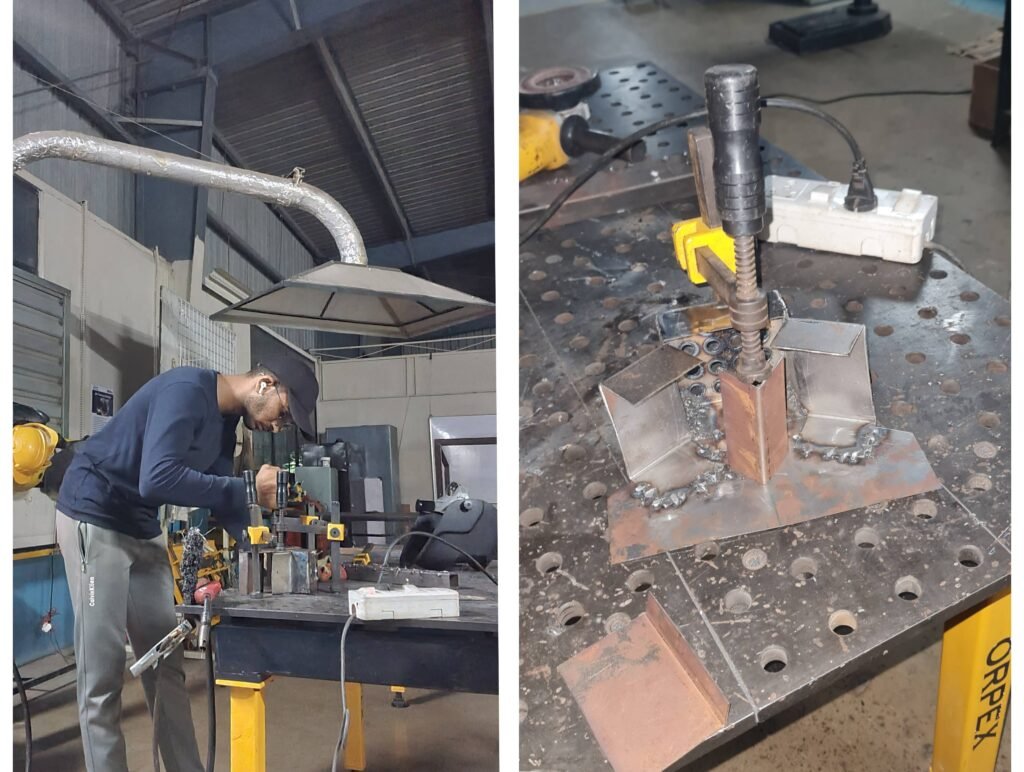
After drilling, I bent the side walls and re-bent them in the shape of a chimney.

After that, I cut smaller sheets which are thinner than 1mm in a metal sheet cutter and a bending machine.

After that, I placed them for welding as shown below.

After that, I have connected the burner as shown in the diagram below. This is a 0.5-inch galvanized iron elbow to turn 90 degree left side through which we can connect the gas pipe connector.
these are the PCB’s.

These are all nut bolts and some supports for holdings.

Started assembling all things to take Trials.
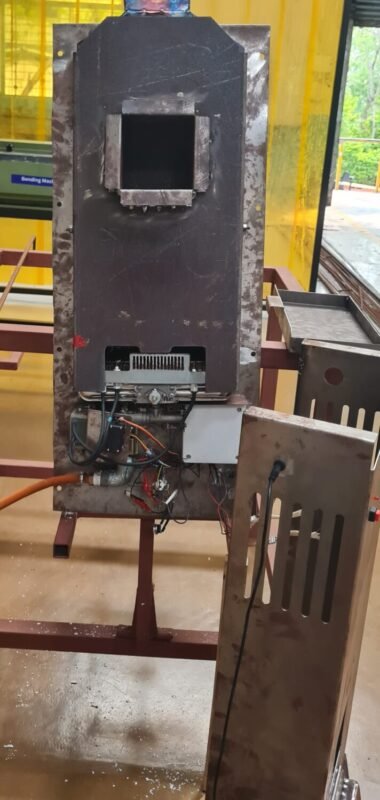
So, the incinerator looked like this in the end.
During the trial, I found that a lot of smoke was being produced, and the internal temperature was rising too much.
After some analysis, I increased the number of holes in the chimney, which helped to stop the smoke and stabilize the internal temperature.
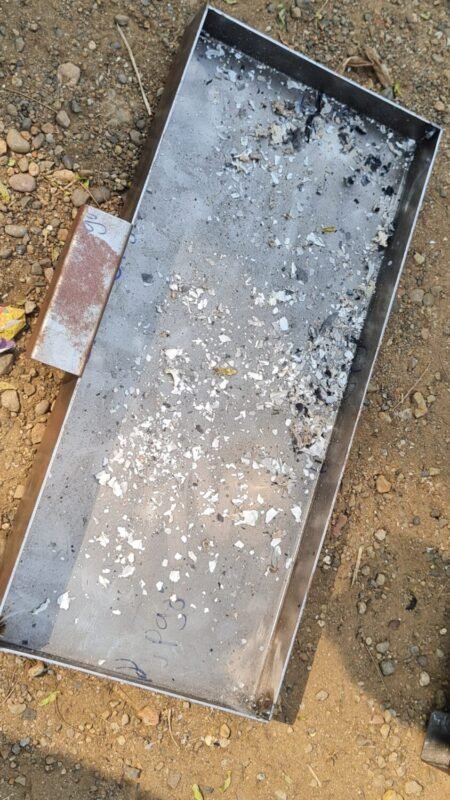
This is the Ash remained after Burning Pads.
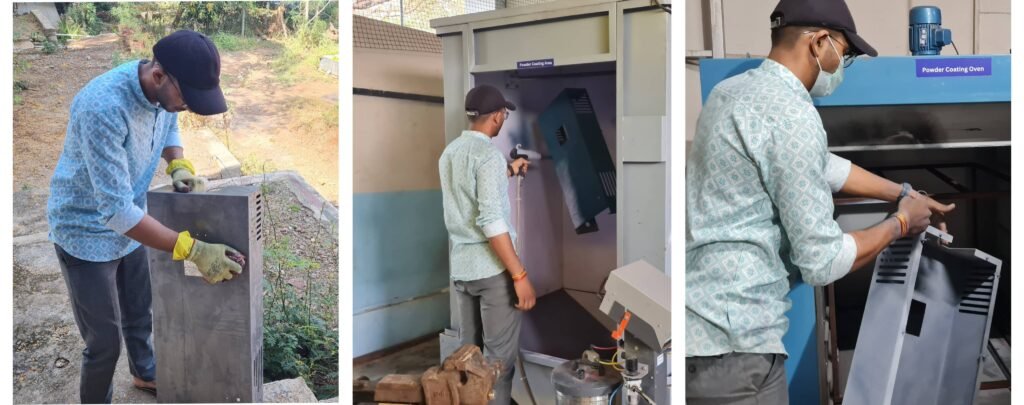
When the incinerator was tested and ready, I disassembled it and started the next process for Coating.
First, I cleaned the outer body of the incinerator with acid. Then I powder-coated it. I used three colors to powder-coat the incinerator, which will give me a shade like Ash. After the powder coating was done, I placed the parts in the oven for half an hour.
I also powder-coated the other parts and set them aside.

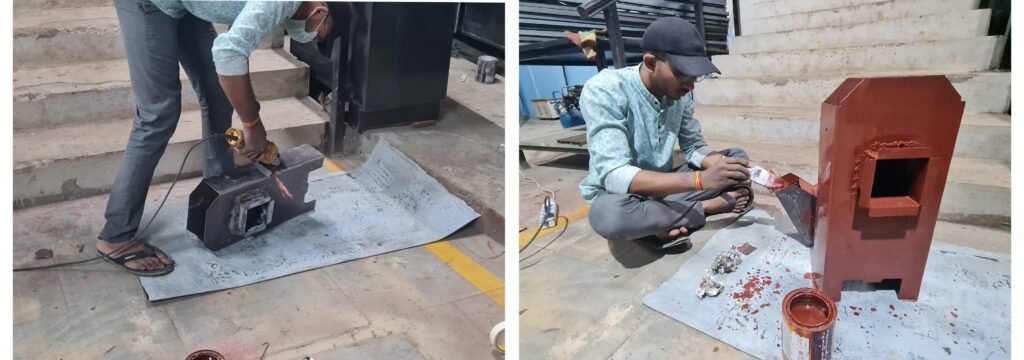
For the inner chamber, I scrubbed the walls and applied red oxide paint using a brush.
Finally, I gathered all the parts together and started reassembling the incinerator.

During reassembly, first, the mesh that was to be installed in the inner chamber was installed.

Then, the door that was on the outer body was installed.
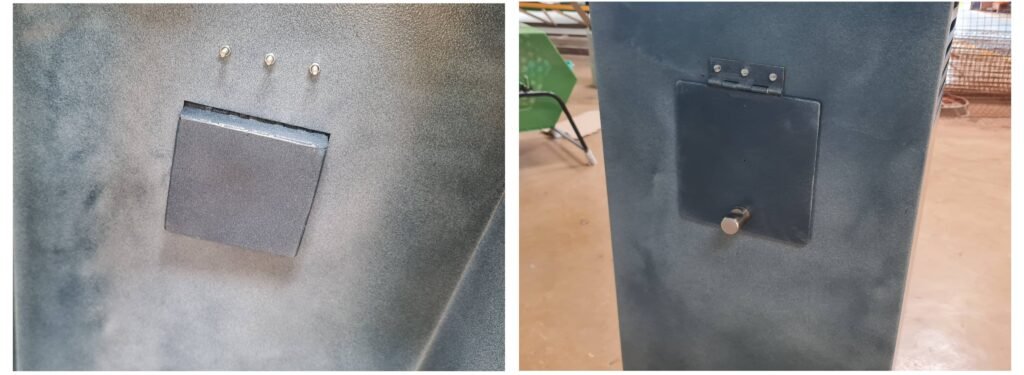
Then, after attaching the inner chamber to the back side panel, the burners and all the other components were connected.

There are a few wires, the first being the LED indicator, the second the power button, and the third the power jack.
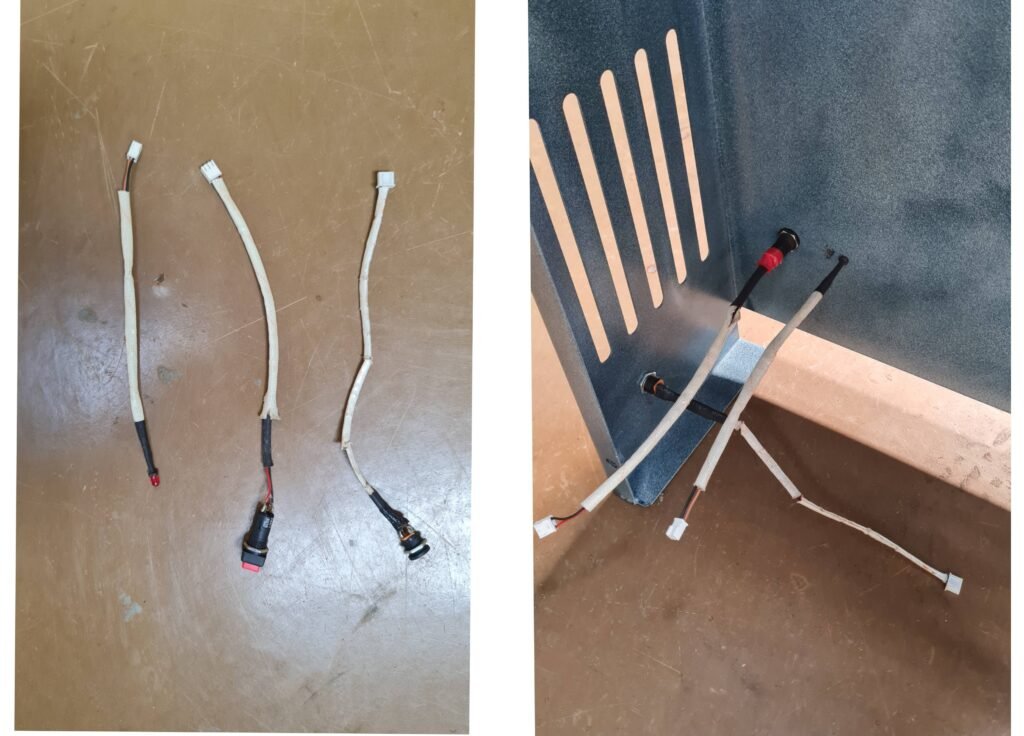
These are some connections of the motors and ignition coil below.

Finally, our incinerator was assembled and ready.

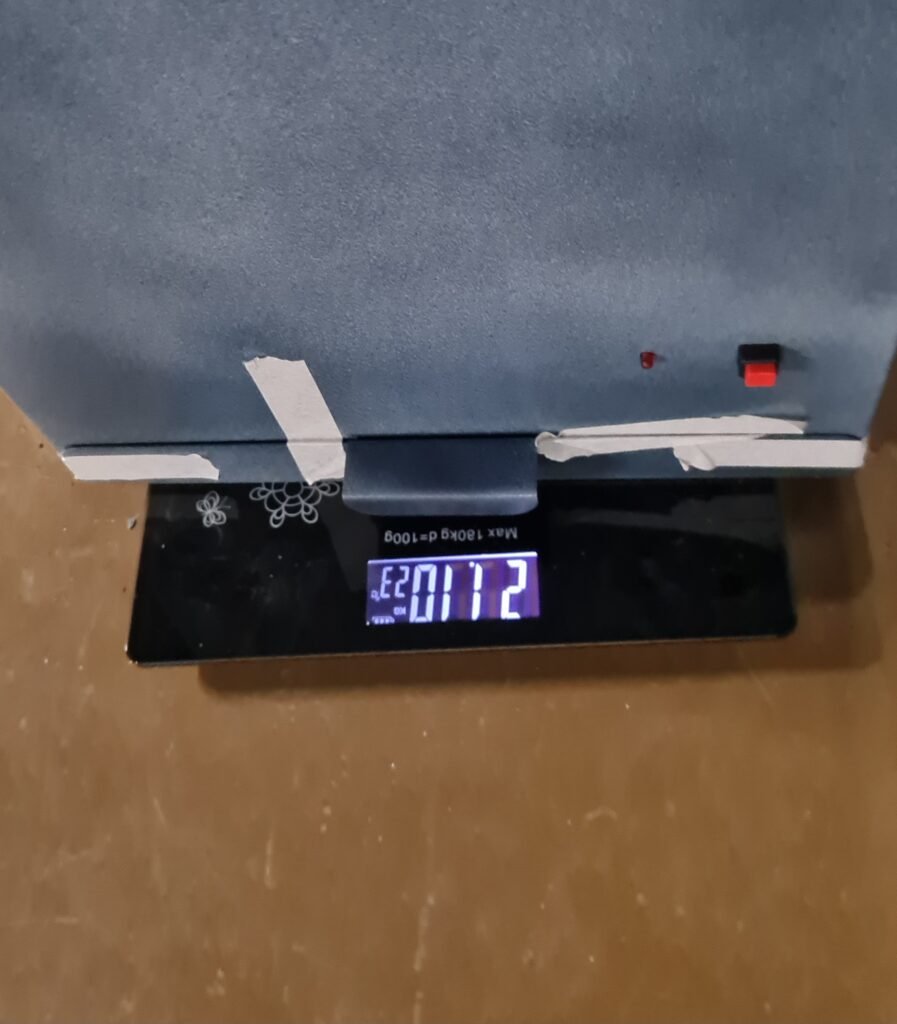
After weighing it, it came to 21 kilograms. After finalizing, we used cardboard from scrap for its packaging.
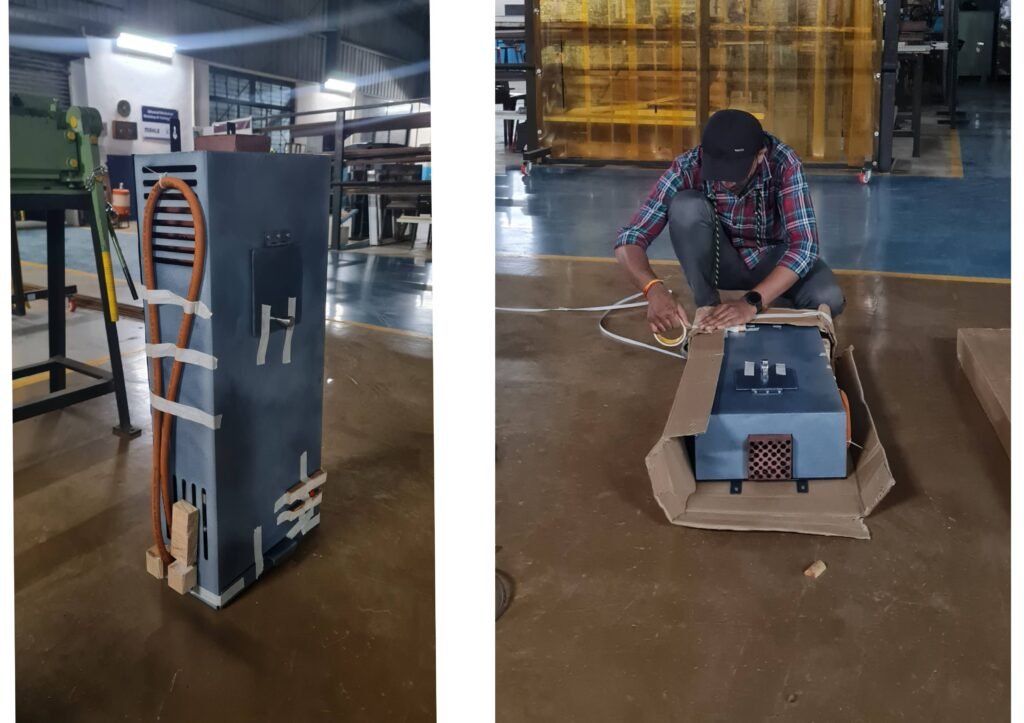
And then, to prevent it from getting wet in the rain, it was wrapped in polythene paper.
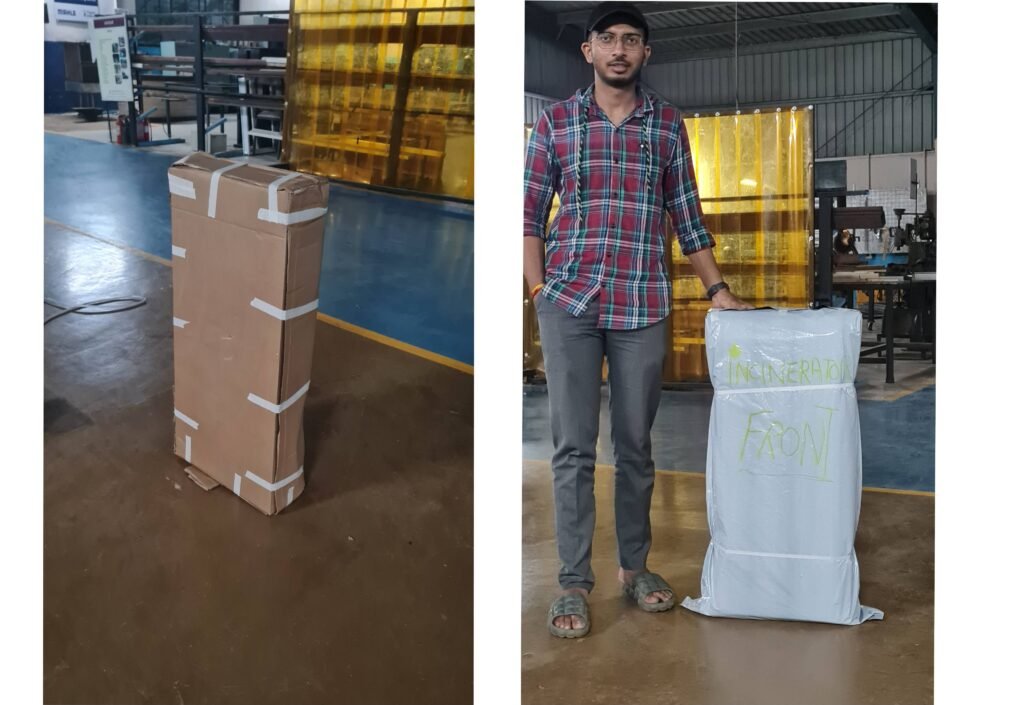
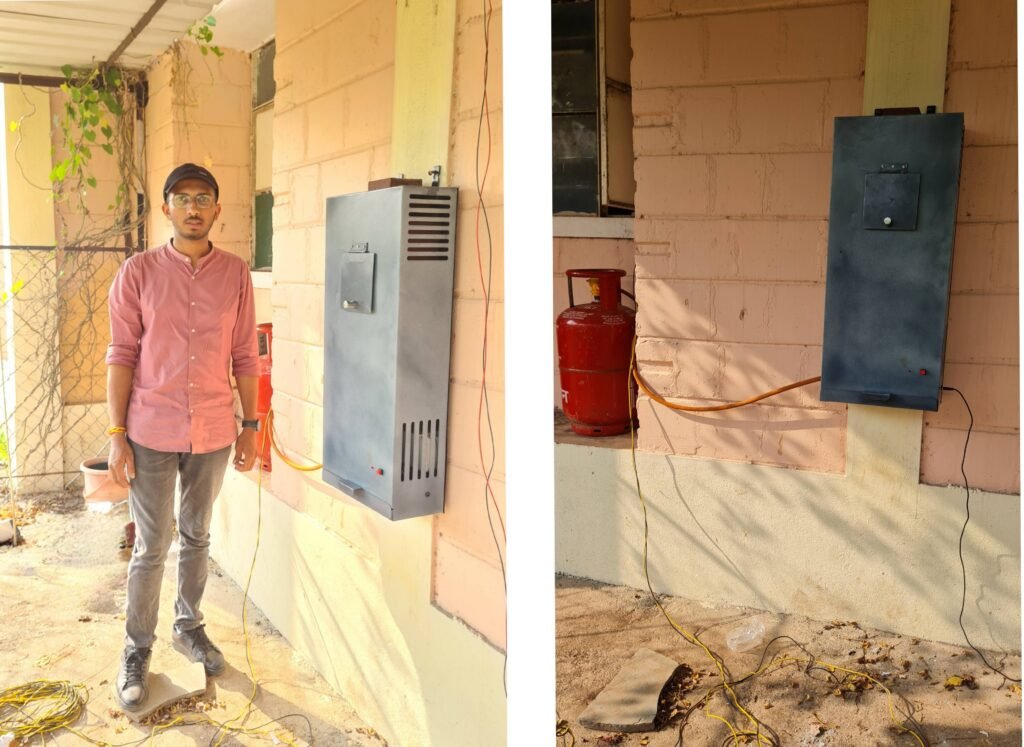
After this, an invoice bill was printed, and with the invoice and the incinerator, I went to Harali by car and installed the incinerator there.
We took it to the school in a car, installed it, and showed the teachers how to use it. We told them not to put plastic in it, and not too many pads at once, like five or six max. They were very happy with the machine.
Thank You…


