Different Task Using Arduino UNO
Objective:
To learn Arduino board and programming for LED blinking using Arduino.
Introduction:
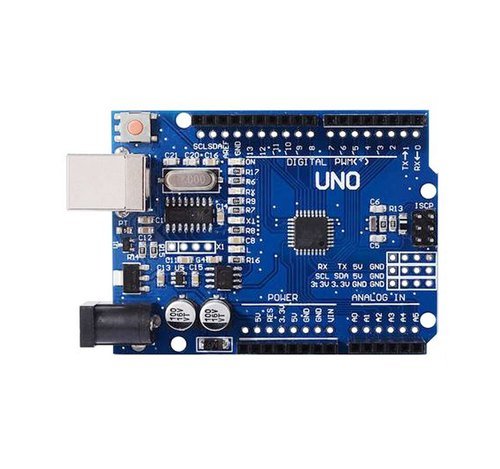
- Arduino UNO
The Arduino Uno is an open source microcontroller board based on the Microchip ATmega328P and developed by Arduino.cc. It has 14 digital input/output pins ,6 analog input/output pins, and is programmable with the Arduino IDE (Integrated Development Environment). It contains everything needed to support the microcontroller ; simply connect it to a computer with a USB cable or power it with a AC-to-DC adapter or battery to get started..

2.LED( Light-Emitting-Diode):
A Light Emitting Diode (LED) is a semiconductor light source that emits light when current flow through it.

Date:12/08/2021
Task 01 : LED Blink Using Arduino Uno
Task to blink a LED for time interval of 1 second.
Equipment’s :
- LED(1)
- Arduino Uno(1)
- Resistor 220 ohm(1)
- Jumper Wires
- Bread Board(1)
Software Used :
- Arduino IDE
- Tinker CAD
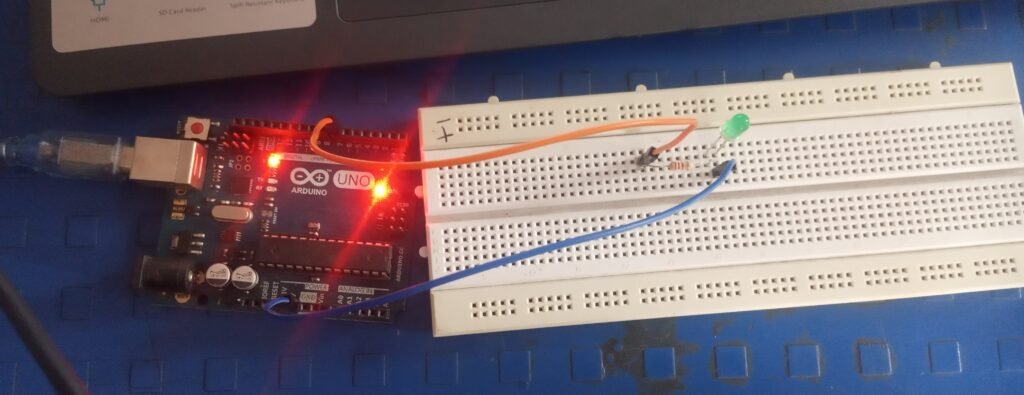
connection For Arduino:
Connect the long leg of the LED (the positive leg, called Anode) to the resistor and other end of the resister to the digital pin of Arduino . Connect the short leg of the LED (the negative leg ,called Cathode) to the GND.

Sketch For Arduino:
int led =7;
void setup() {
pinMode(7, OUTPUT);
}
void loop()
{
digitalWrite(7, HIGH);
delay(1000);
digitalWrite(7, LOW);
delay(1000);
}
Algorithm:
- Set the pin to HIGH(5v),this will turn the LED on.
- wait for 1000 millisecond .
- Set the pin to LOW (0v),cutting the power of LED and turning it off.
- Wait for 1000 millisecond and then repeat again.
Application:
Blinking LED light can be used in,
- Traffic Signal Lights
- Home Decoration
- vehicles Indicators


