Here how to make? your own lamp with easy available materials at Home.
List of Material Required!
- 600 x 600 mm size 8mm thick cardboard
- 2 x ( 50mm length 6mm diameter bolt )
- 6 x washer and 2 x lock nuts
- 2x (1 inch 2mm bolt, washer and nuts)
- mirror paper/mirror plastic wrap paper
- Some Ribbon Wires
- 1x Limit Switches
- 1x COB White LED 9-12v dc / 9-12v dc white led strip
- 1x 9v dc battery and connector
- Glue and paper tape
- A4 papers
Tools required!
- Blade cutter
- scissor
- scales
- pencil and eraser
- printer for printing on A4
Step 1: Designing


So I designed whole lamp with 2d vector software. Here I have not done any cad designing but you can do it since to let it be simple and more creative I choose CorelDraw software. You can even use Inkscape for it if you searching for opensource software. Since Here I am not focusing on Designing part here so you can direct download attachment files available in DXF and PDF. There is two design file one is for cardboard and another is for cutting out mirror paper to make reflective surface around LED on cardboard.
Step 2: Printing and Cutting


Download above files and take print out on a4 paper.
After printing design on a4 papers cut using scissor
Use Cuts to trace on Cardboard using pencil or you can stick cuts on cardboard sheet
Once you done with it use blade cutter and cut cardboard carefully
cut all cardboard design on cardboard
then using same Idea cut out all mirror design on mirror paper (can use any reflective foil)
Be careful with cutting and go slow
( Here I have used laser cutter to cut out parts and also tried with hand cut since most will not have laser-cutter)
Step 3: Stick All Pieces and Assemble
So Before you glue all part make confirmation about position of all parts. Here maybe you need to modify some part to fit it properly as you go you will know.
Use normal glue since it is papers you need to hold things for long until it get stick with each other well which is slow process. Else if you don’t have patient can use instant drying glue but then you have to be fast and accurate
Once you complete sticking pieces you will have two parts – head and body. head is part with reflective paper where our led will come and body is big L-shape part where to will put your limit switch and battery.
connect head part with body using 6mm diameter bolts, washers and lock nuts.
Here I used lock nut to prevent nut from falling off while moving head up and down.
Step 4: Electronics


Here I referring given led circuit diagram. Since I am using 12v DC COB (circuit on board) led with 9v battery so no need to put resistors here if you using same given components.
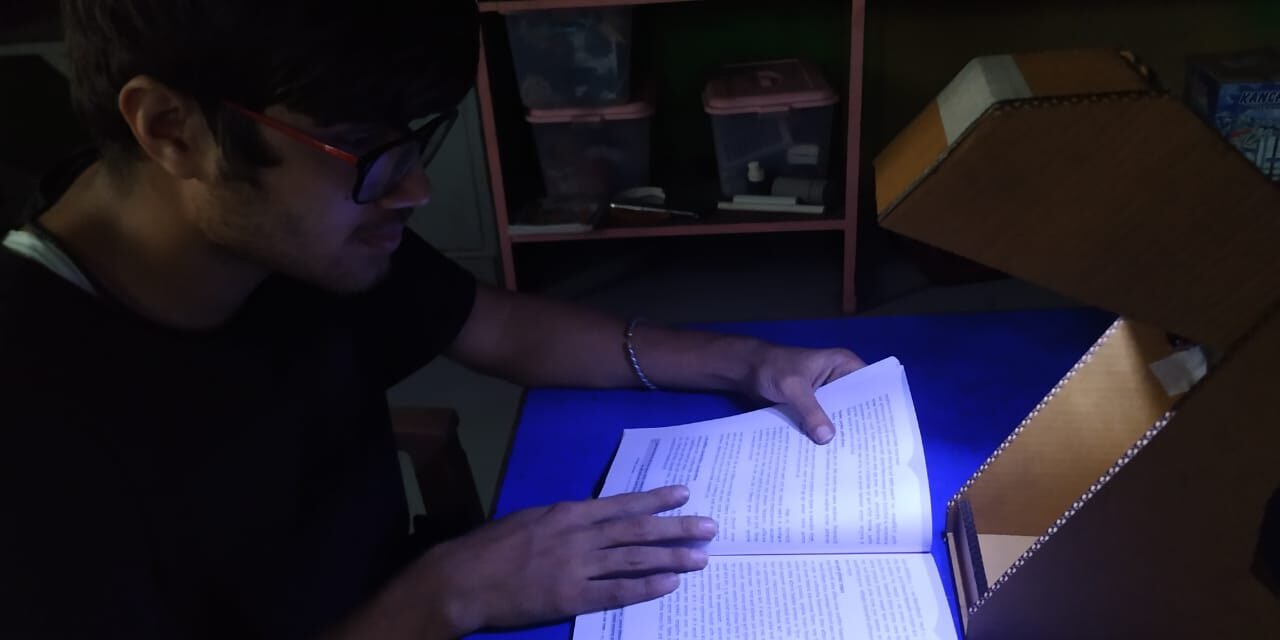
If you see all images you will find positioning of components on our cardboard Lamp. Limit switch is fixed in a corner using small bolts,washers and nuts in such way that when you head down lamp it press the switch and led turn off and only by putting head up again led turns on.
Using Soldering and Ribbon wire connect all component accordingly. Here I assuming that you may have little idea about electronics to figure it out how you make connection. If not then do try and error since It all for learning purpose.
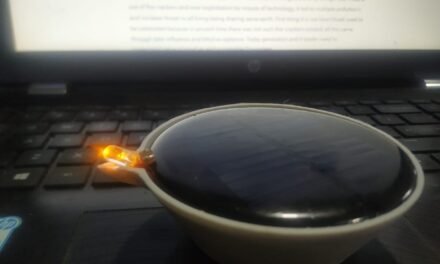
I used battery here because I wanted it to be wire-free but you can experiment more with power adapter, rechargeable battery and solar panel.
Good Luck! and Do share what you make 🙂


